The tank barn

The tank barn is located near Sheperdsville, KY. This is our primary location where tanks are restored, maintained, and prepared for action! Every tuesday is tank nite. We fix whatever is next in line, tell stories, and plan upcoming events. Visits to the tank barn during tank nite are welcome, but should be scheduled. Handy with a wrench? Maybe you could come out and work on some vintage WWII armor. Contact us for more information.
Track maintenance
Its a fact, rubber track wears out. When track is 70 years old, it wears out fast! So we have developed a process to rebuild track. Unfortunately it is costly, so here we are replacing some very worn track with some moderately worn track.
Fresh track
|
|
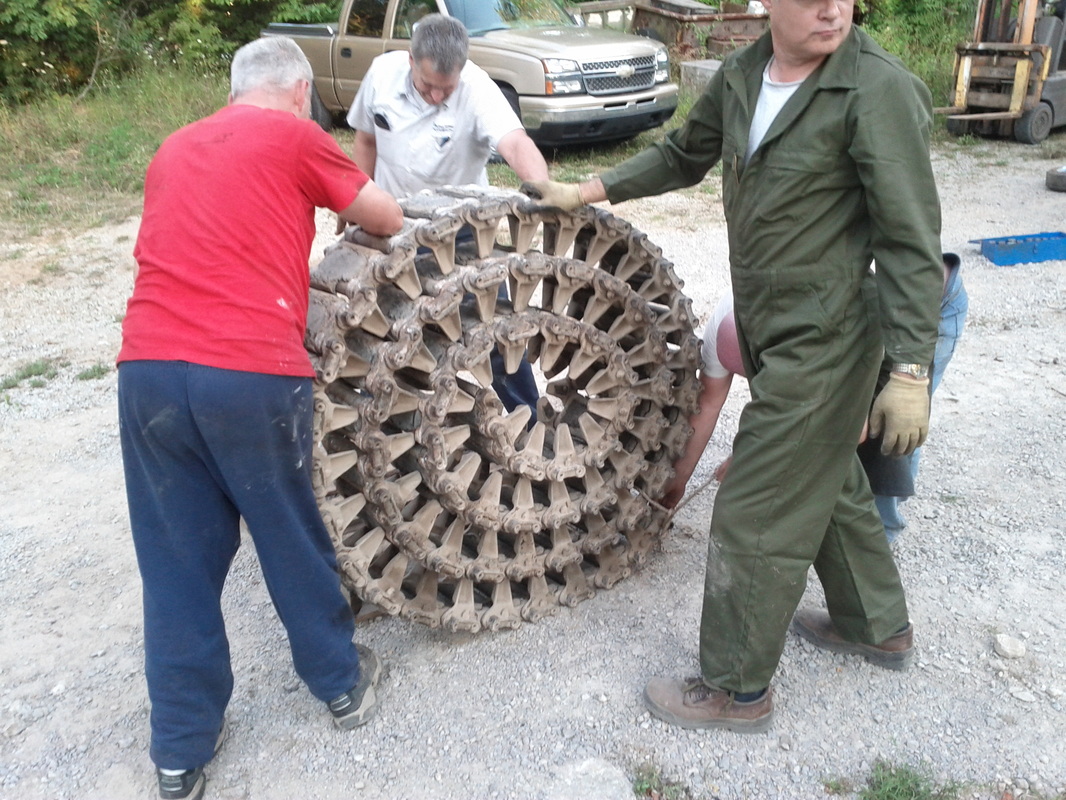
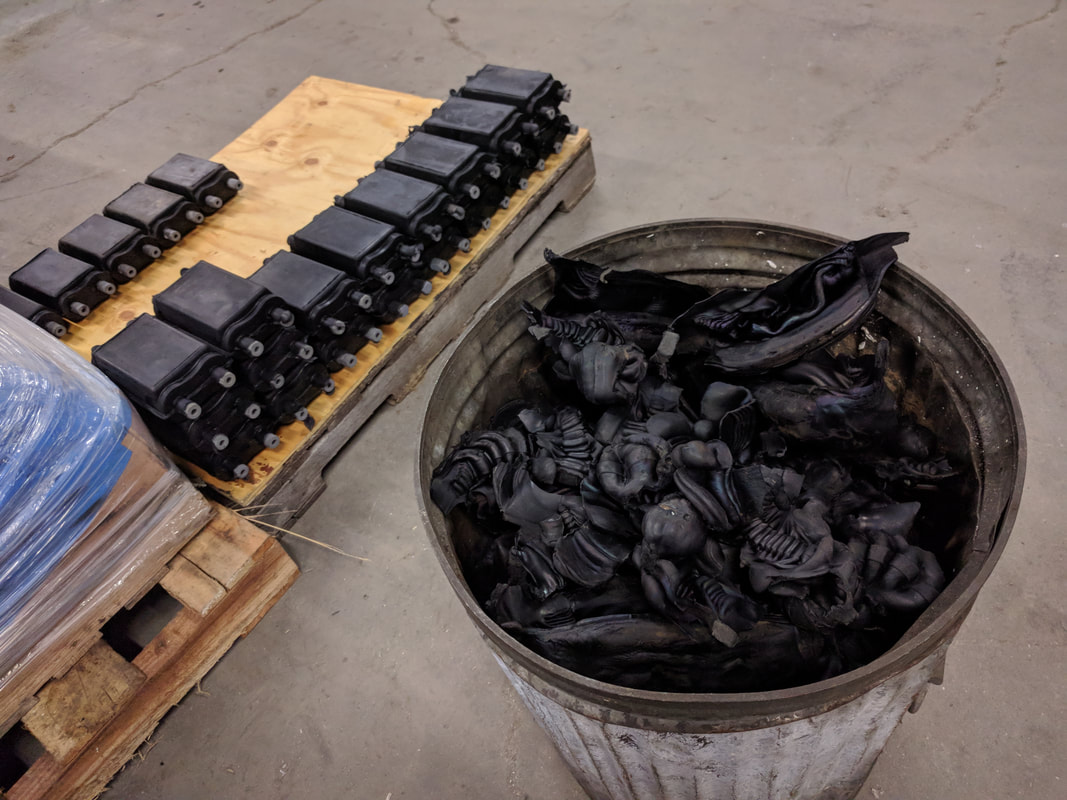
Finally time to get some fresh track! Buy some? Probably not. Any NOS stuff left out there will fall to pieces in short order. It is just too old. So we refreshed a set. This was a year long project. That timetable could be sped up for a paying job, but this is a volunteer outfit! Follow along on some pictures to show how we took worn out rubber track and made it road ready!
|
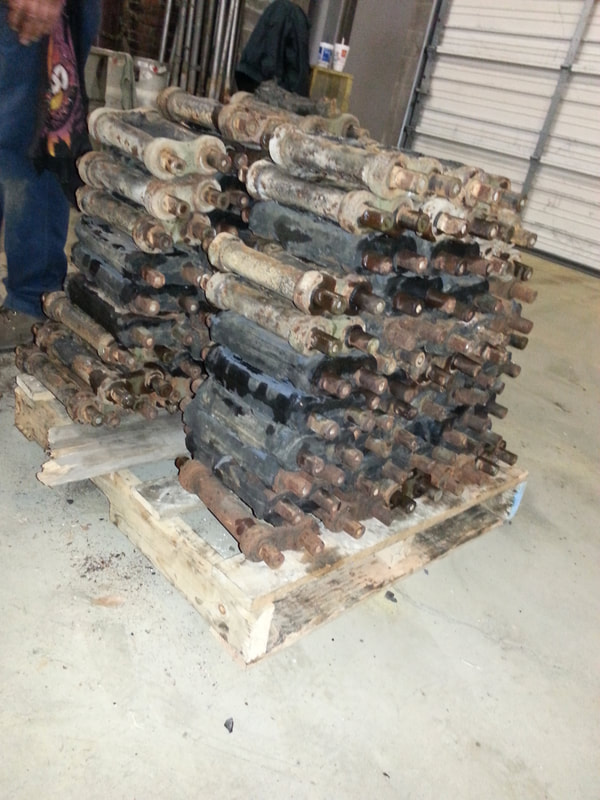
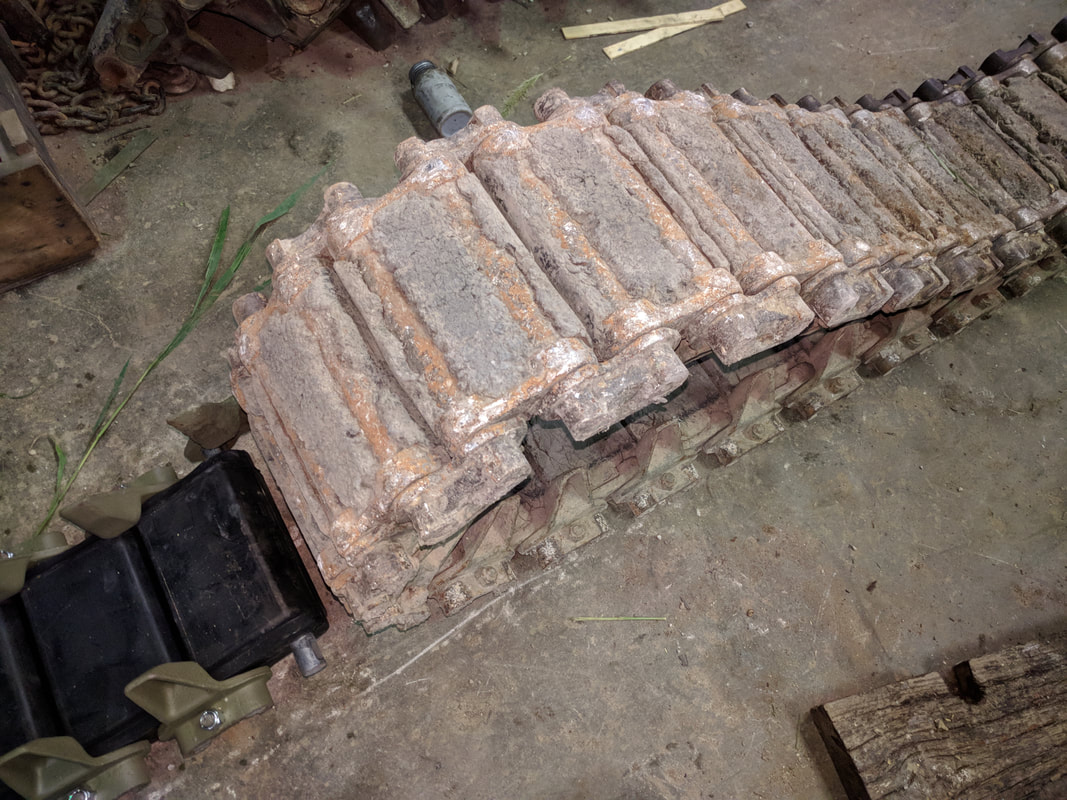
You can't just leave a tank with no track for a year, so we started with a spare set. Here it is broken down into individual sections.
|
|
The track sections must be stripped down. This is the worst part of the process. First we run it through a modified log splitter to push out the center section, this leaves it like the piece of track off to the right in the photo.
|
|
|
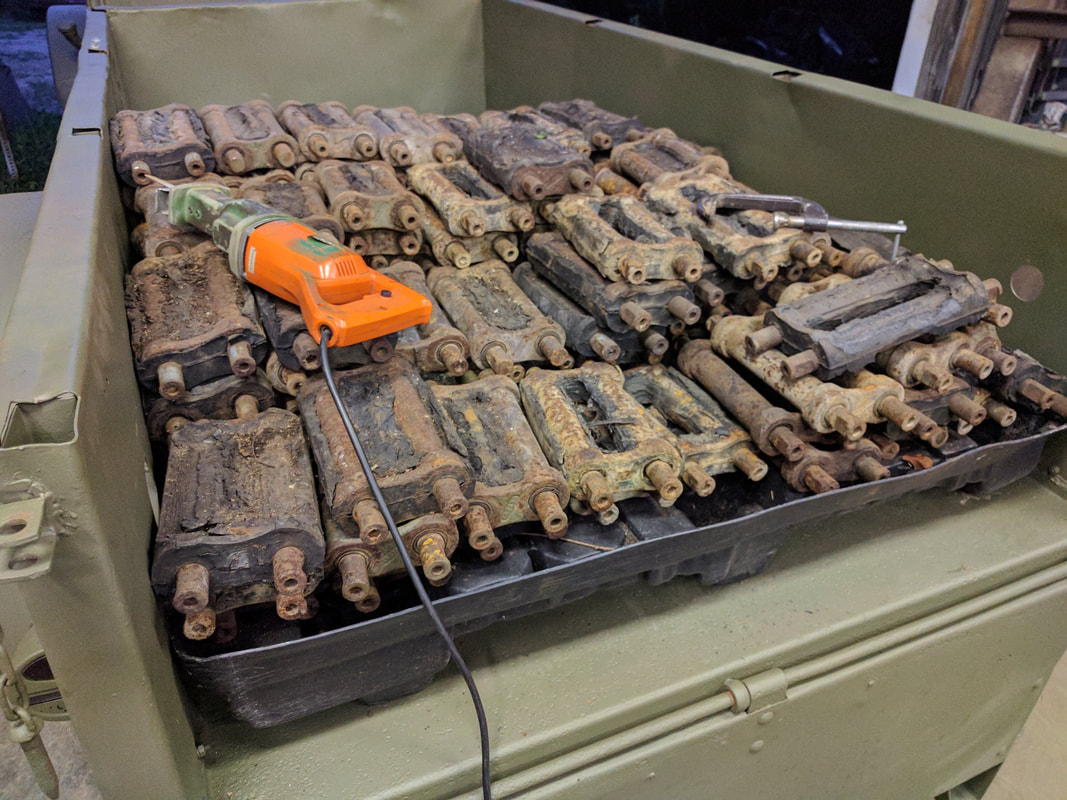
Getting down to the ugly part. How to get it off?! A sawzall is pretty good. Scrape it, cut it, slice it. However the rubber can come off! The narrow blade on this saw is good for those inside corners that are hard to reach.
|
|
Different tools still taking rubber off. Once you get deep into it some of the rubber is still soft and smells like new.
|
|
|
At long last, ready to sandblast! There are 66 blocks per side. So 132 total. 264 connectors and 264 wedges. Better get new nuts, so 264 of those too.
|
|
Right out of the blaster here is how they look. The last bit of rubber is now scraped off so the primer will stick to the metal properly. Of course that means sandblast it again.
|
|
|
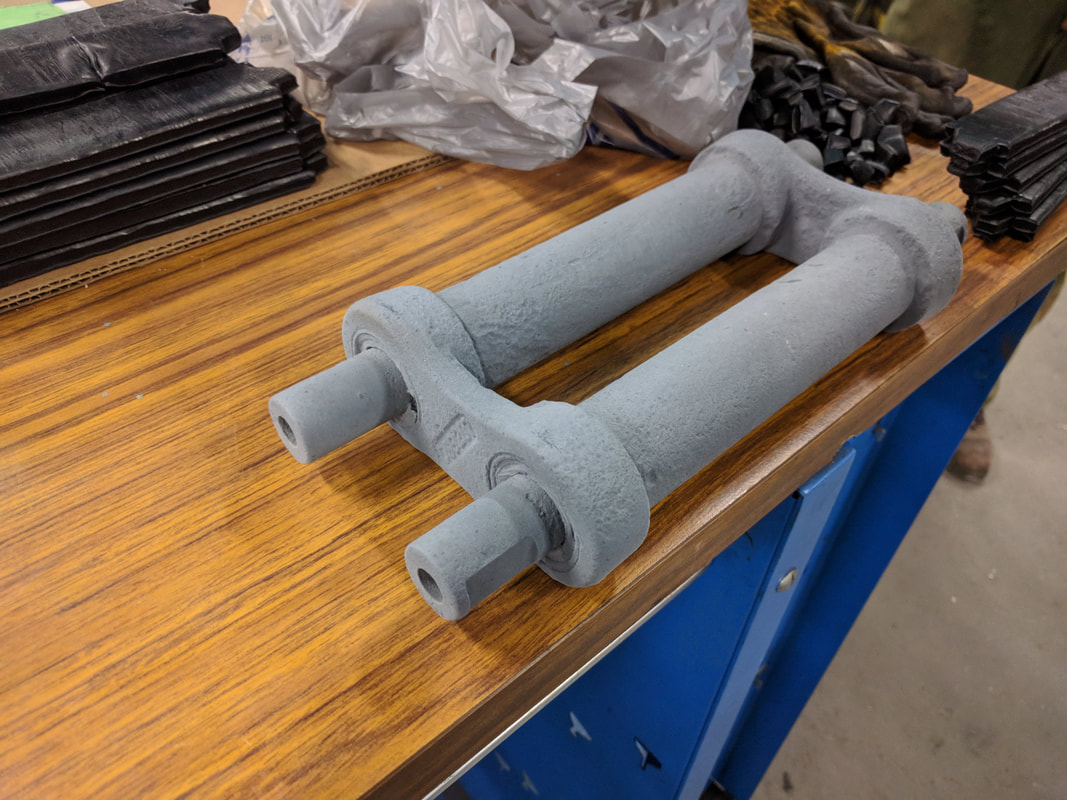
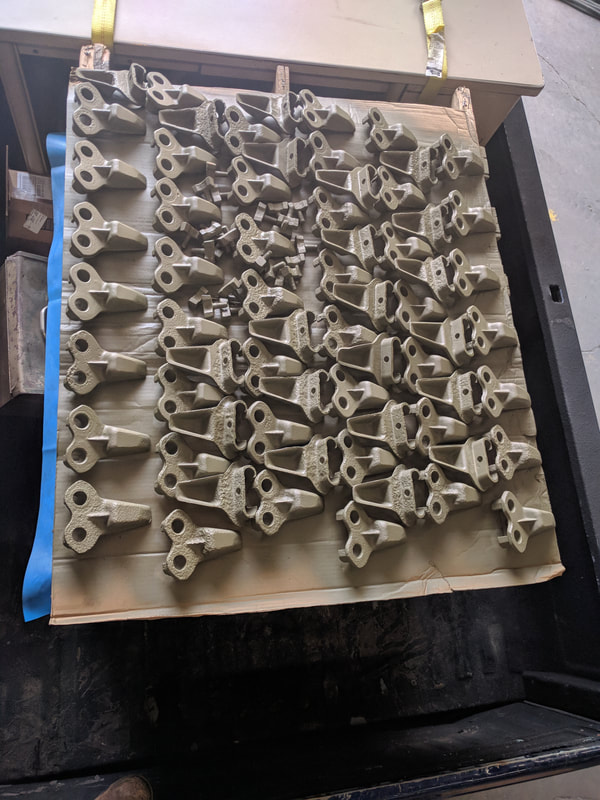
A primed piece of track waiting for new rubber.
|
|
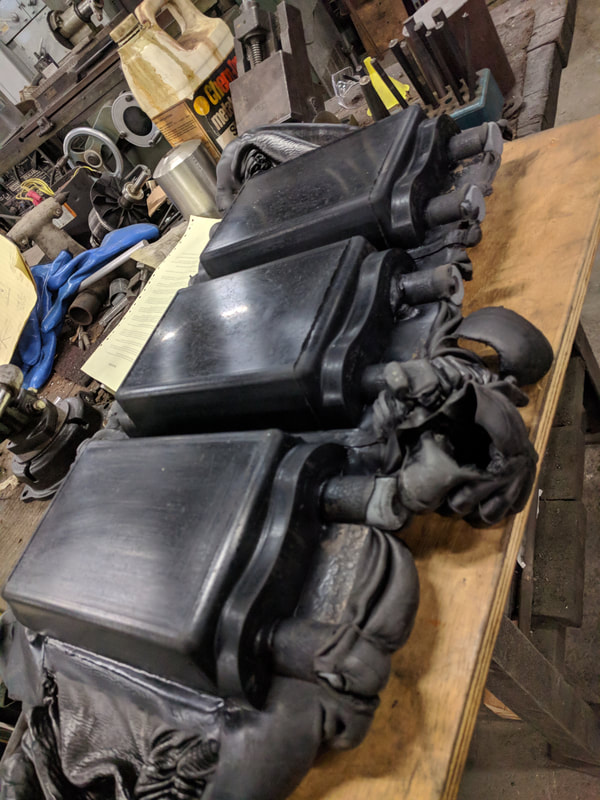
New, uncured rubber is carefully cut and measured to provide the right amount for each track block. Then you make a nice track block sandwich. These are staged to go into the press.
|
|
|
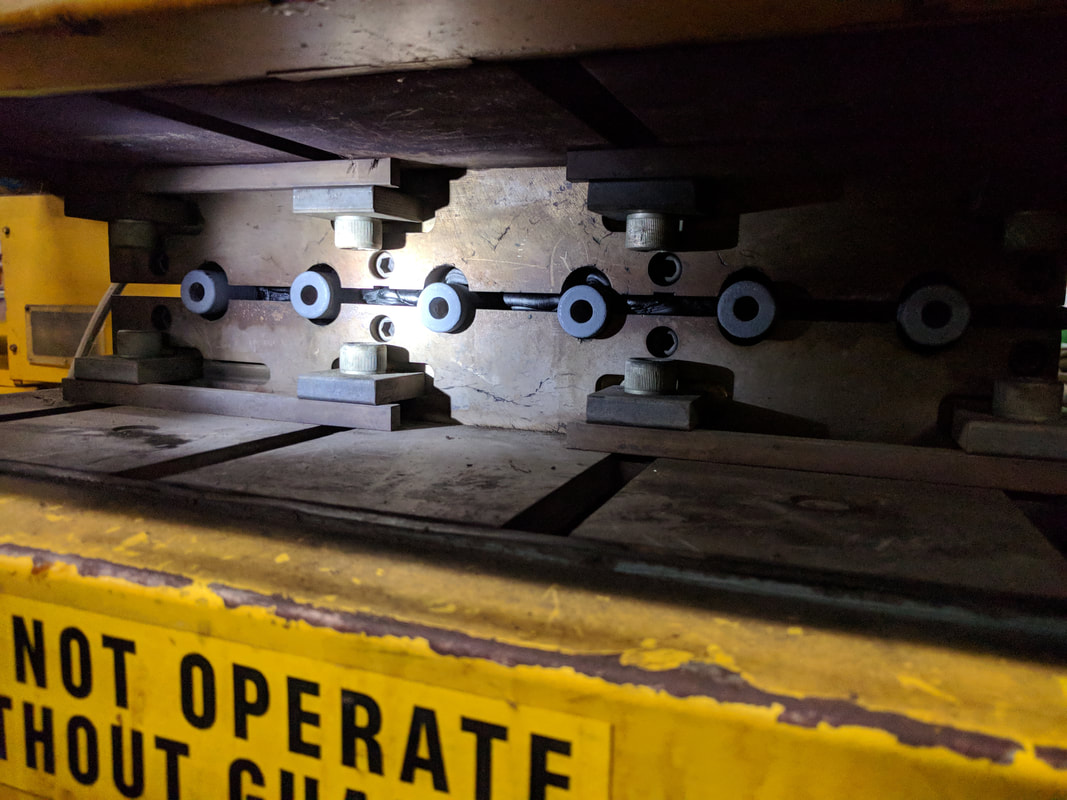
Now bake at 325 degrees for an hour, at 10 tons of pressure. Remember I mentioned some specialized tools!
|
|
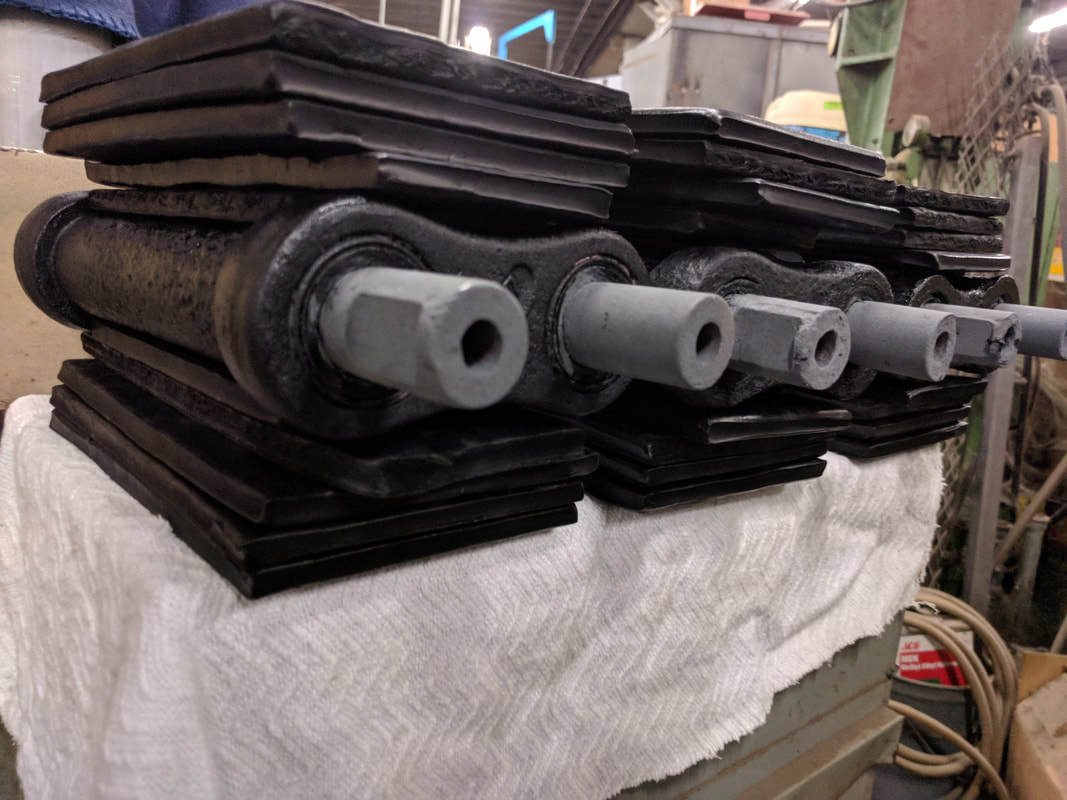
This is what you get, and it comes out HOT. All of that excess rubber has to come off.
|
|
|
Trimming rubber off goes in two steps. First take off the big stuff. That also breaks apart each section from the 3 blocks that come out of the oven/press. Then go back and trim off all the rubber from the exposed part of the metal where the connectors fit onto. It helps to have a connector to slide on and verify the fit.
|
|
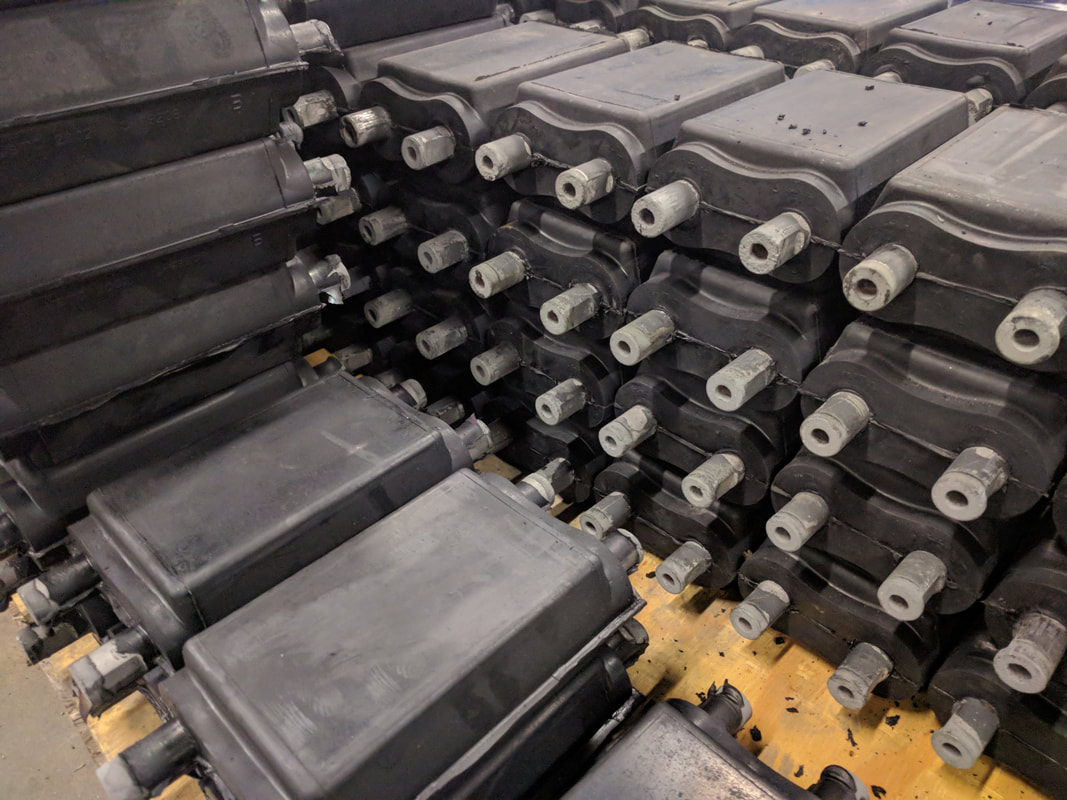
Nearly assembly time!
|
|

|
These are wedge bolts. Also known as wedges. Looks like they have been blasted already. Also want to chase the threads before assembly.
|
|
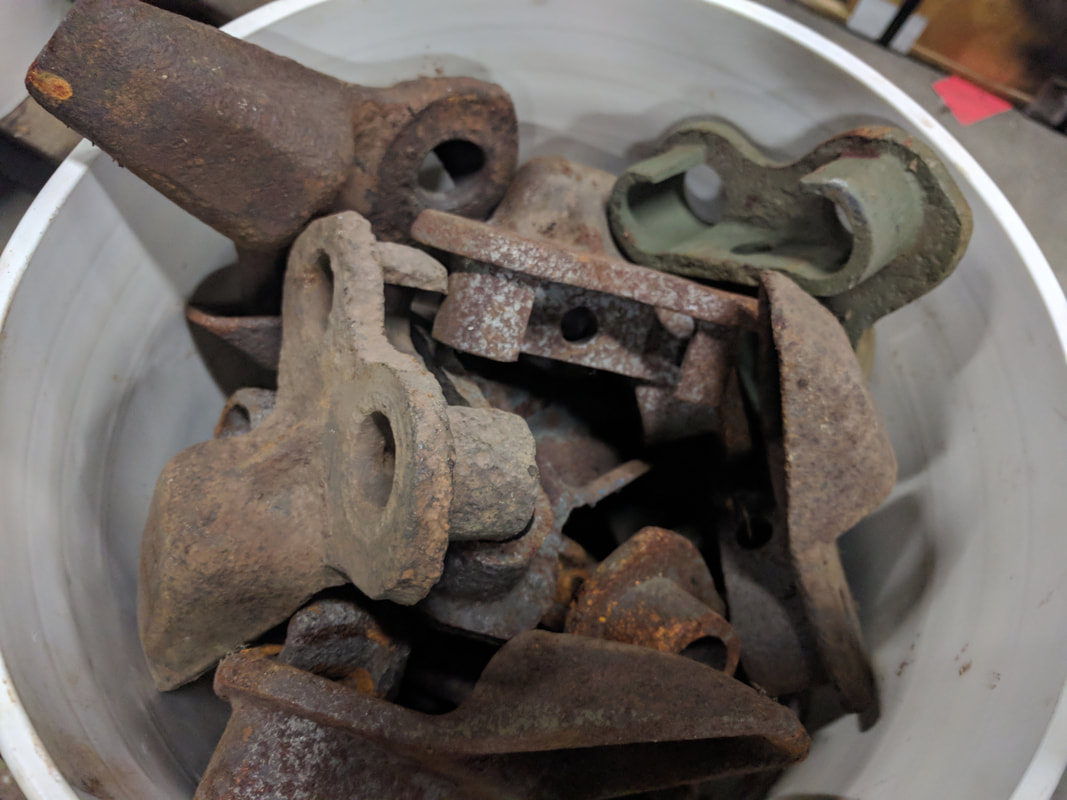
These are connectors. They have not been blasted yet.
|
|
|
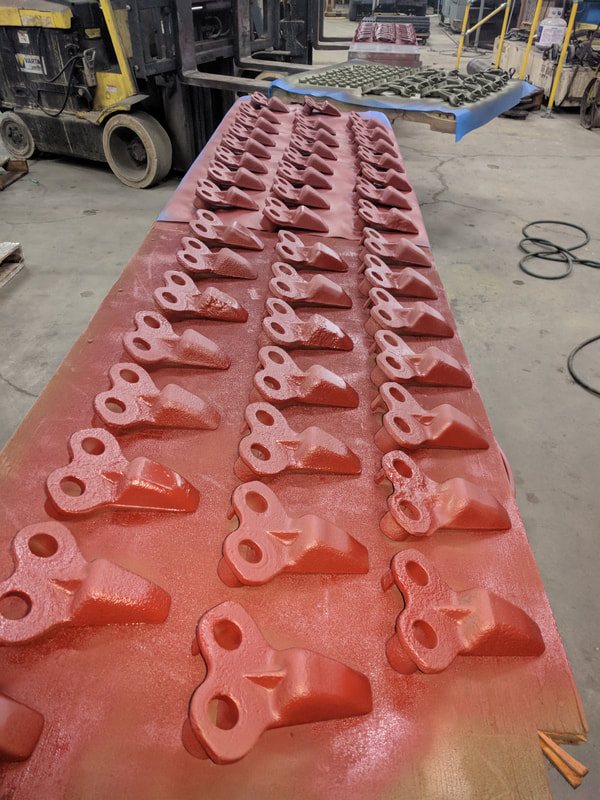
Here are the connectors after sandblasting and primer. Note the ones at the far end on the other skid that have already been painted green.
|
|
Lots of green parts, now we are really close to assembly.
|
|
|
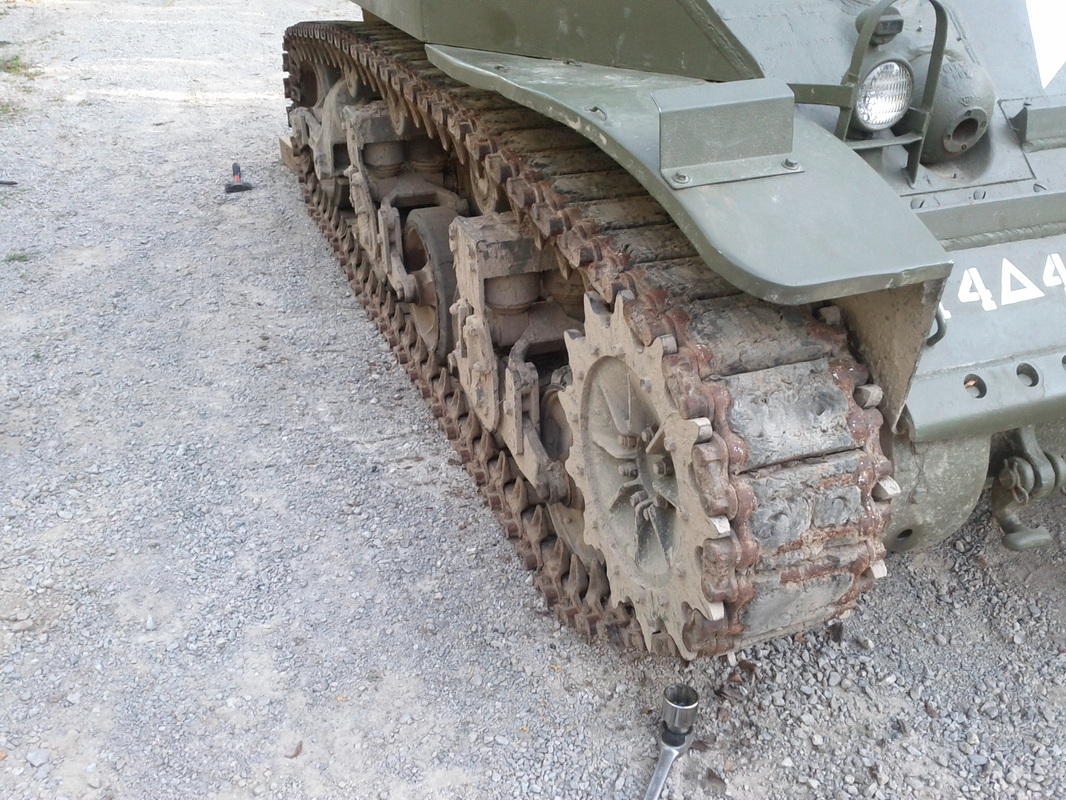
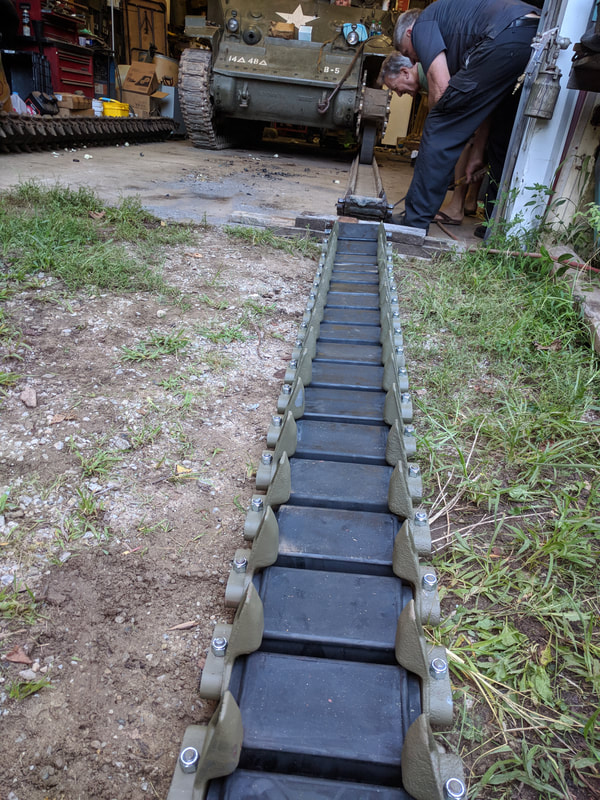
Put all parts together. The exposed ends of the blocks have a very slight taper to them. Make sure to check it before putting on the connector. Here is the tank ready to drive from the old track onto the new. It worked really well.
|
|
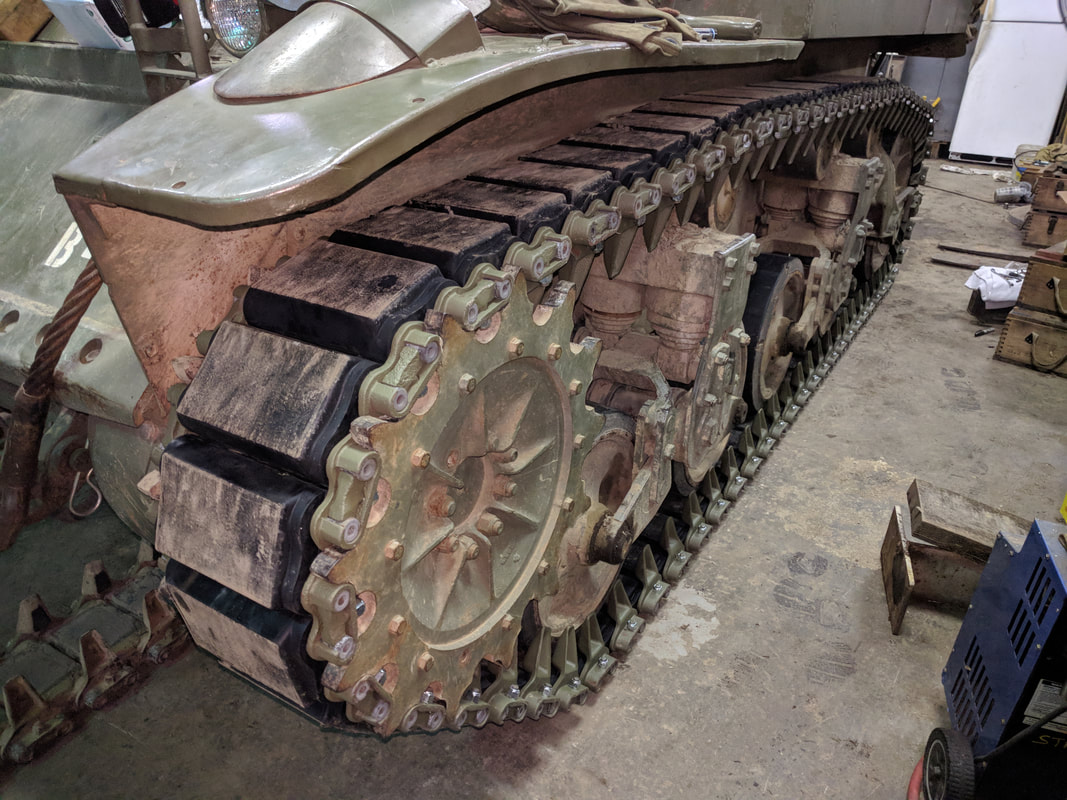
Repeat for the other side. Nice before and after shot here. Also take a look for the used up anti seize bottle and paint sticks used to find the taper on the track block ends.
|
|
|
All done. There may need to be some final adjusting on the track tension, but don't do that until you run it some. All of the nuts on the wedges will need to be tightened several times. Don't use an impact gun! And don't strip out the threads on very hard to come by wedges!
|
Working on a winch cable
Maintenance is key to having your equipment ready when needed...
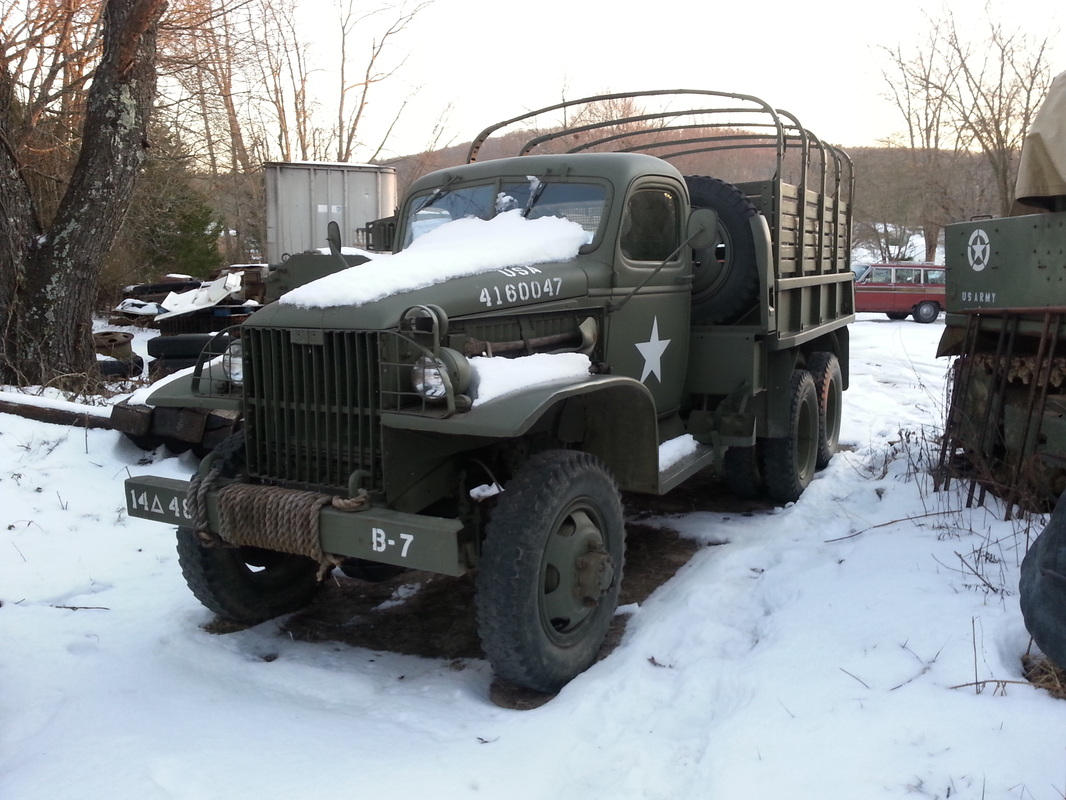
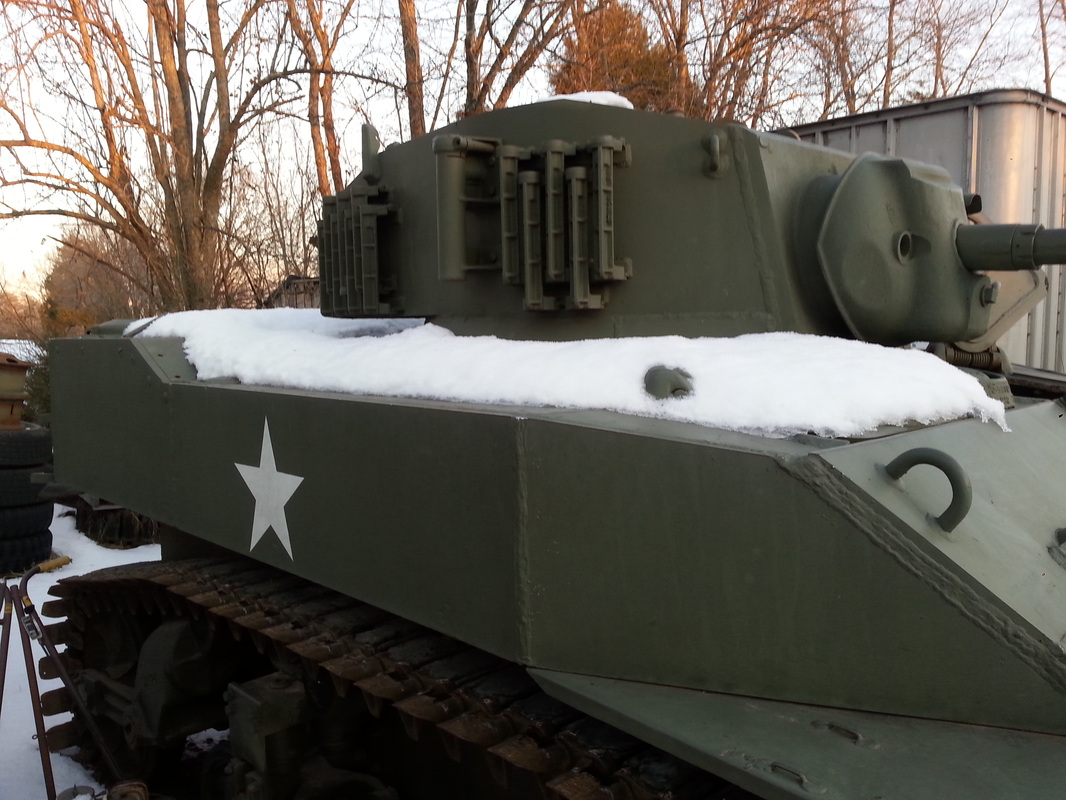
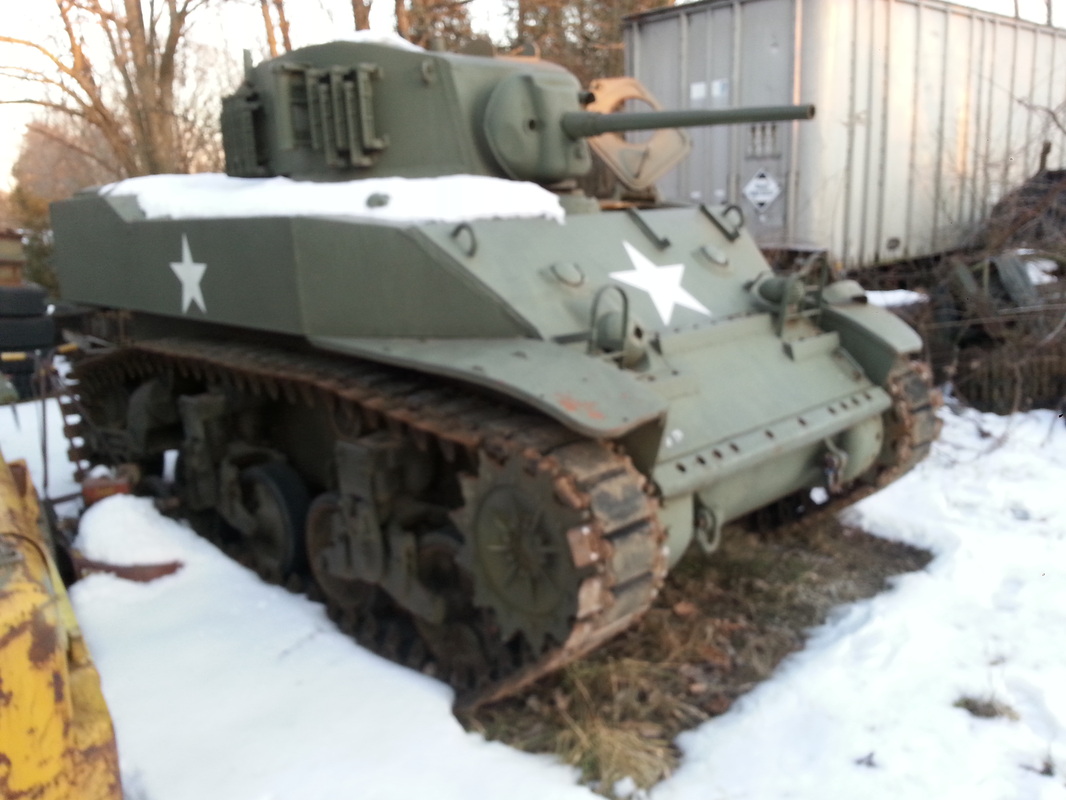
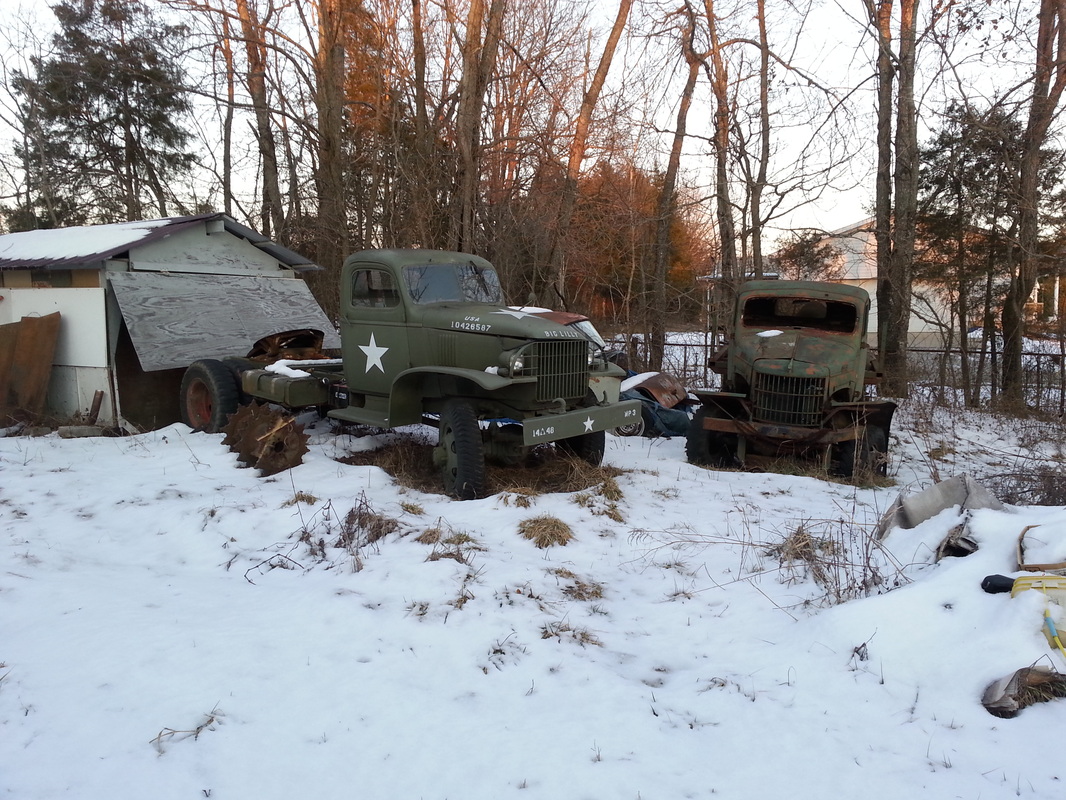
Winter 2015
Everything doesn't get to be inside during the winter. Take a look at this equipment waiting for springtime.
|
|
|
