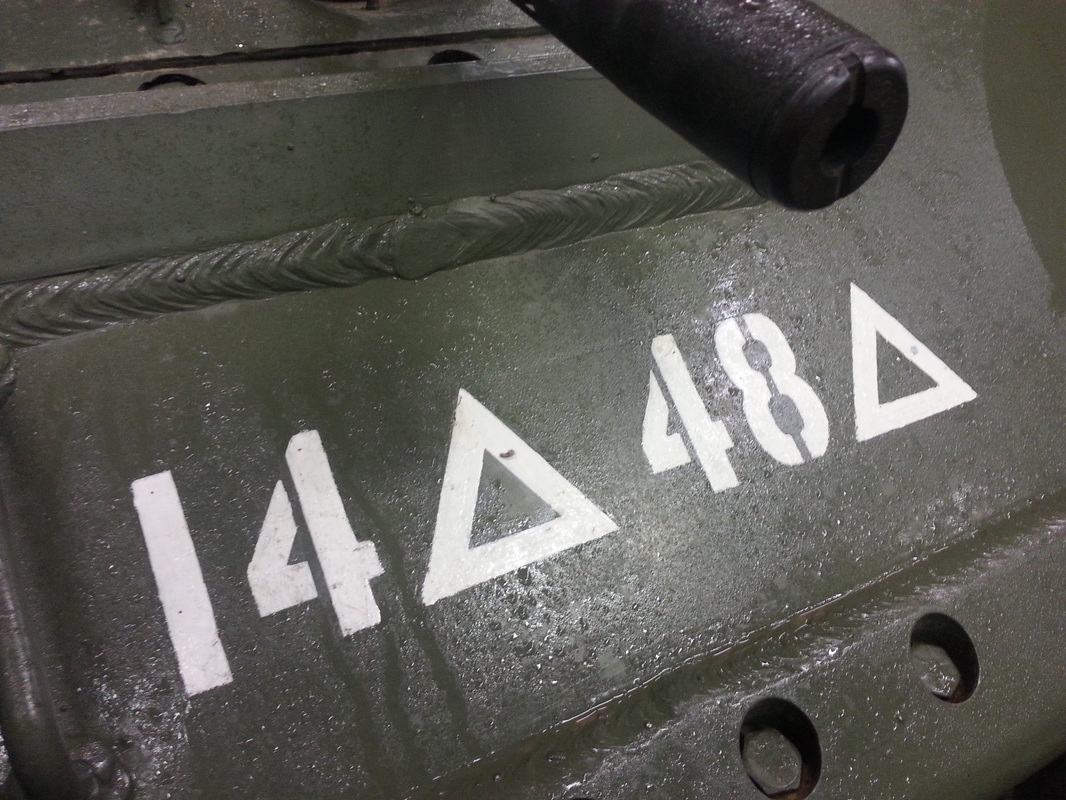
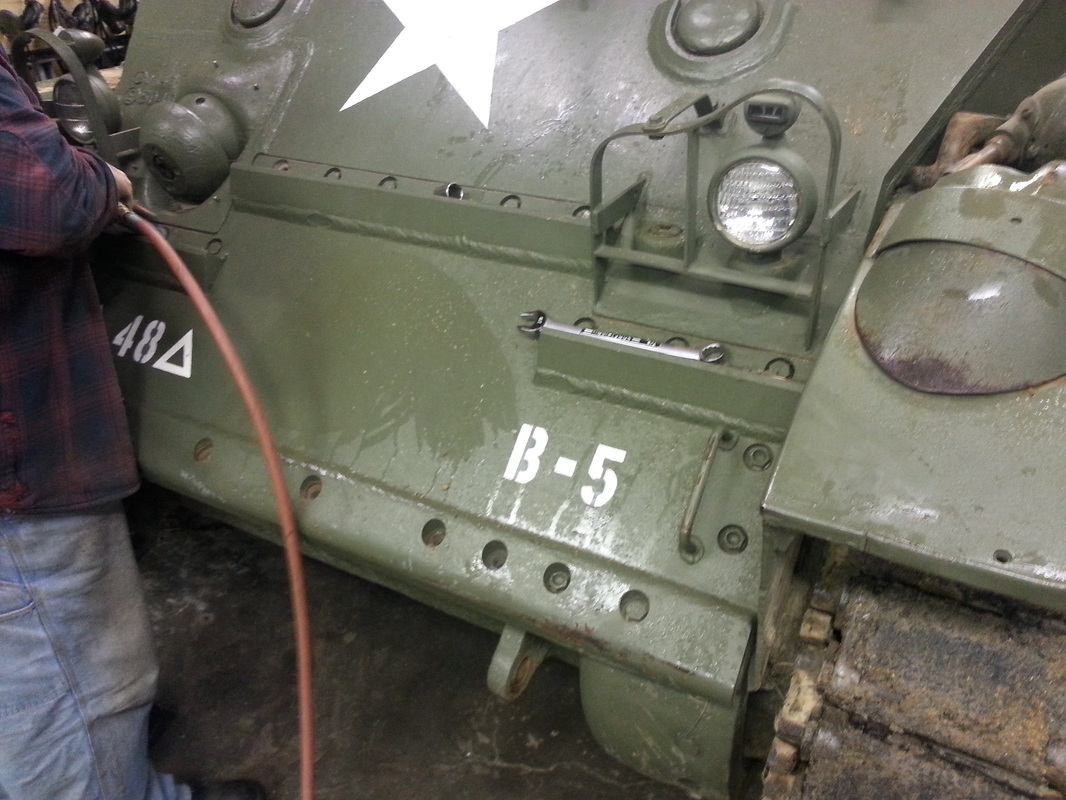
M5A1 B5
B5 was our first Stuart tank (as the 14th armored). This tank has had a full restoration and is fully fuctional. This tank has been all over the midwest the last 10 years doing reenactments, running over stuff, and looking good.
|
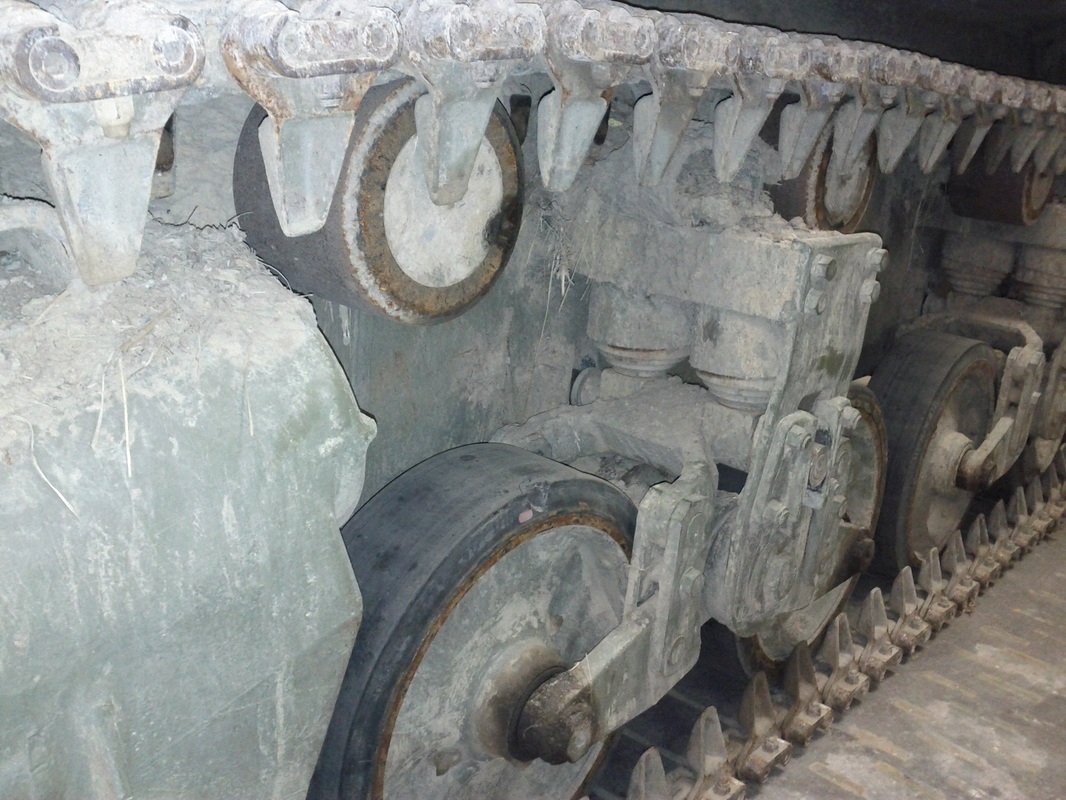
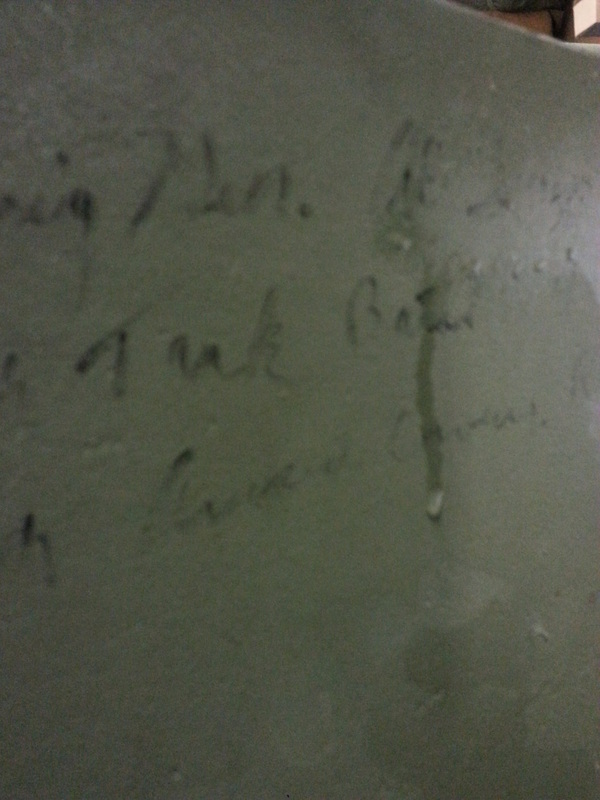
Here is a good shot of the track, suspension, and a good bit of mud on B5. |
|
M5A1 Stuart tank loading onto a trailer
Here is B5 loading onto a trailer after an event in 2012 at Churchill Downs.
|
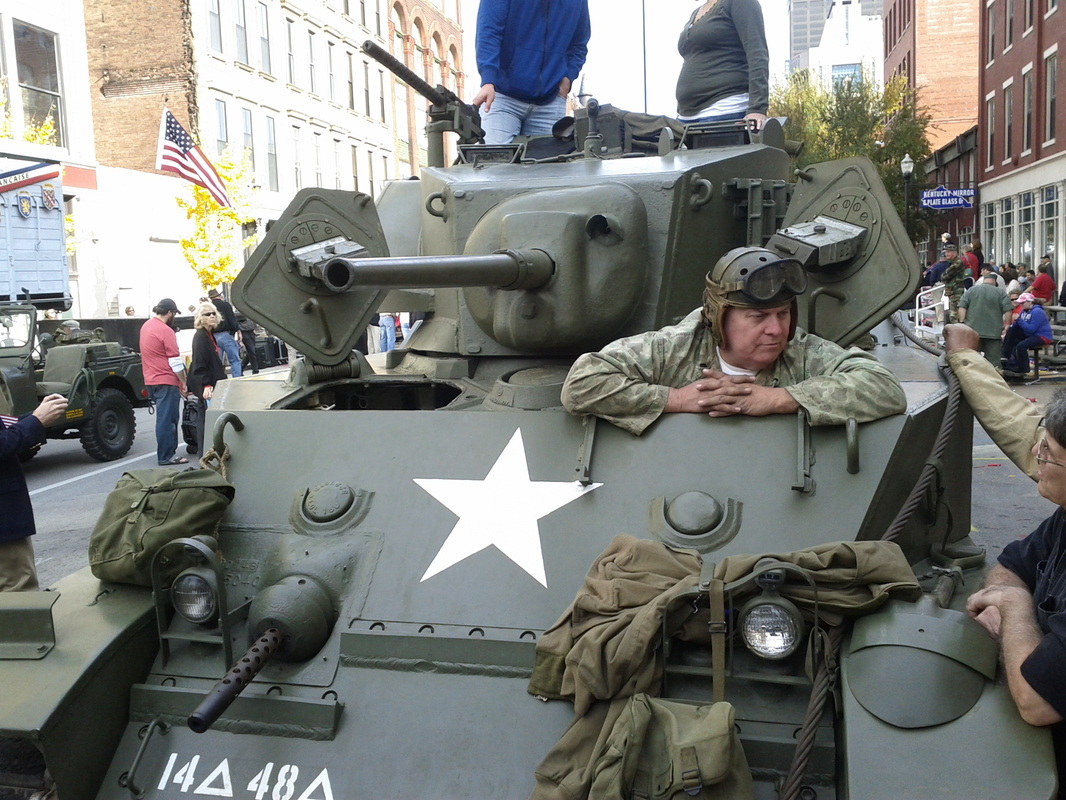
Here is B5 at a parade in 2012. Note the people all around the tank, always a crowd pleaser! |
|
The 14th meets up with FPS Russia
|
B5 doing some early spring driving. |

|
|
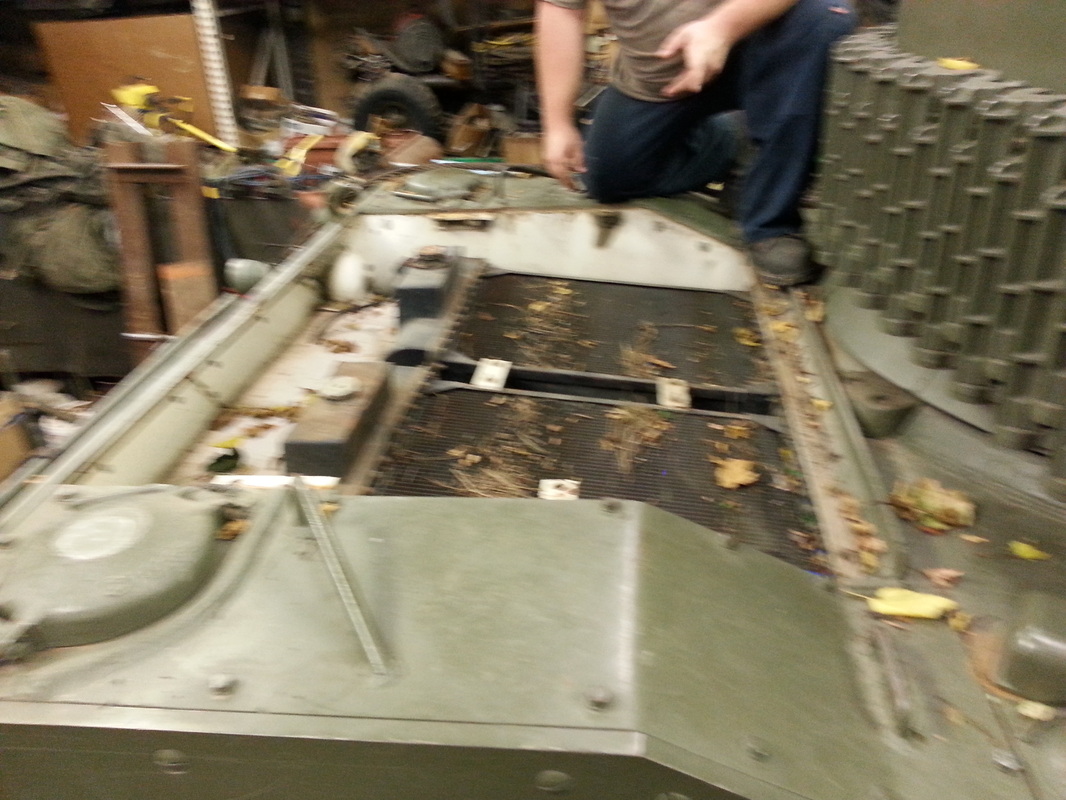
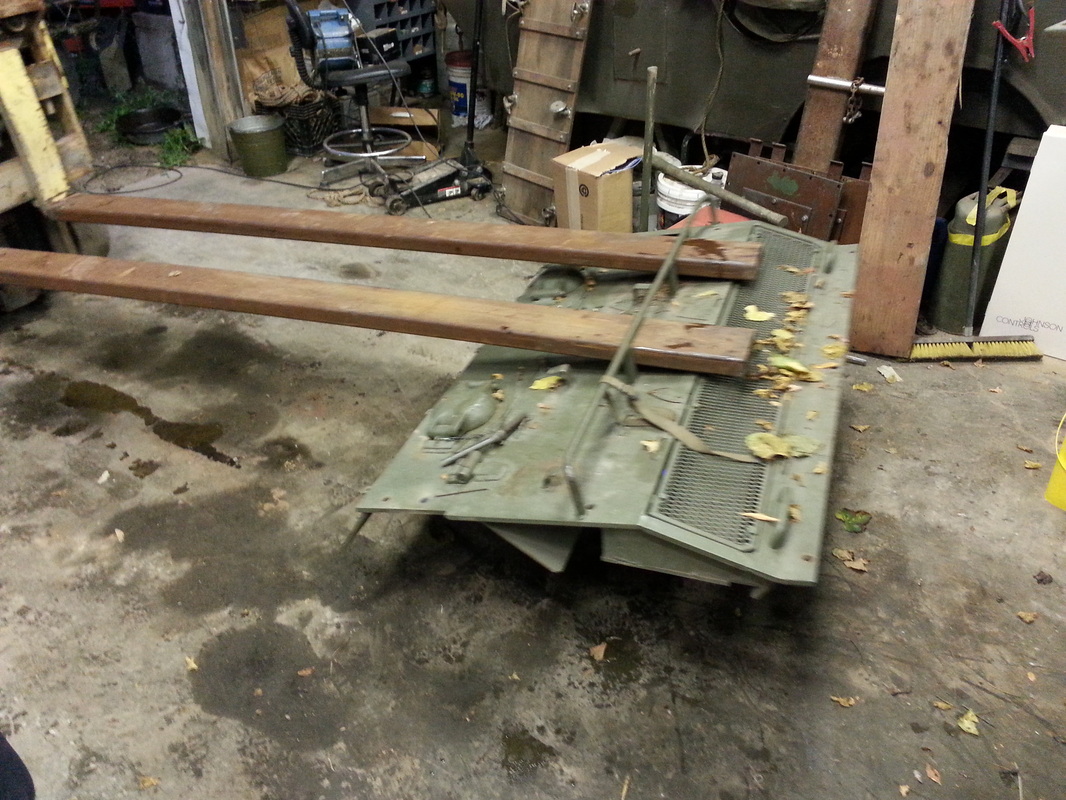
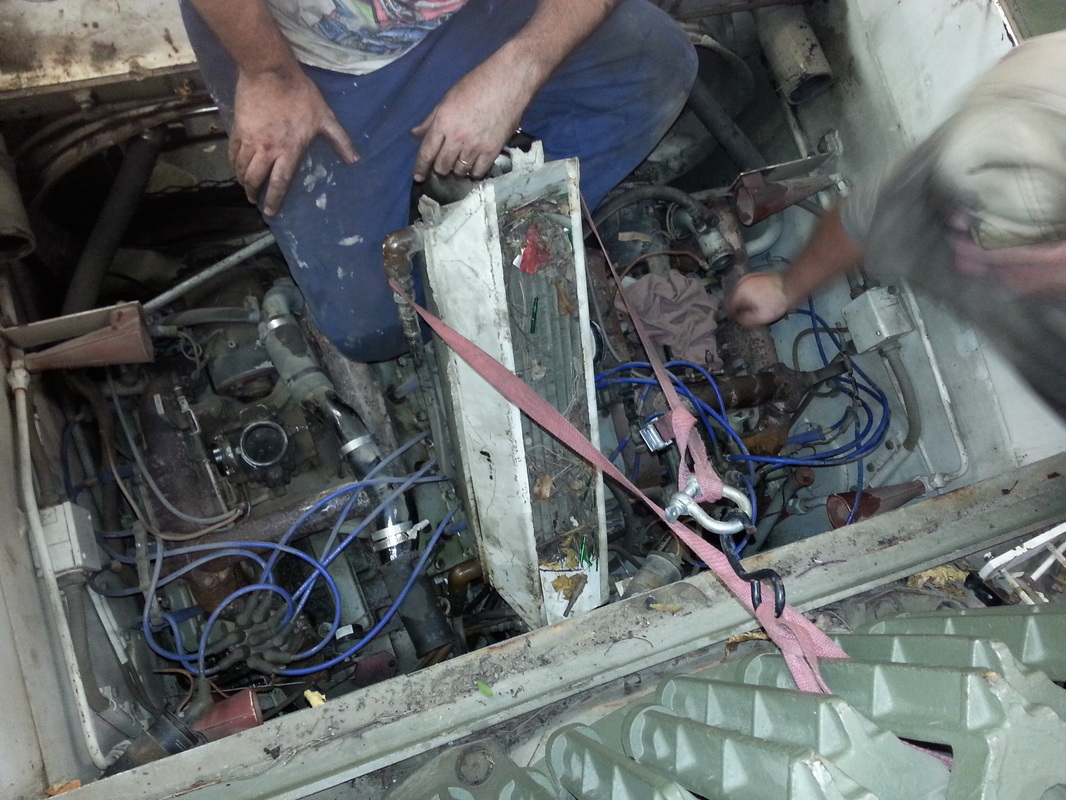
After years of use B5 developed an exhaust leak on the left engine, so here you can see the teardown process start as the back deck comes off. |
|
Note that the rear deck is a 3 piece deal. Some of the Stuarts had a single piece that covered the entire back, some had seperate plates for the gas tanks. |
|
|
In this action shot you can see the oil cooler strapped up and out of the way, the radiators are also removed. The two cadillac engines really fill up the engine bay! The turret is turned to the side, note how close the clearance is for the deck to be removed. No wasted space... |
|
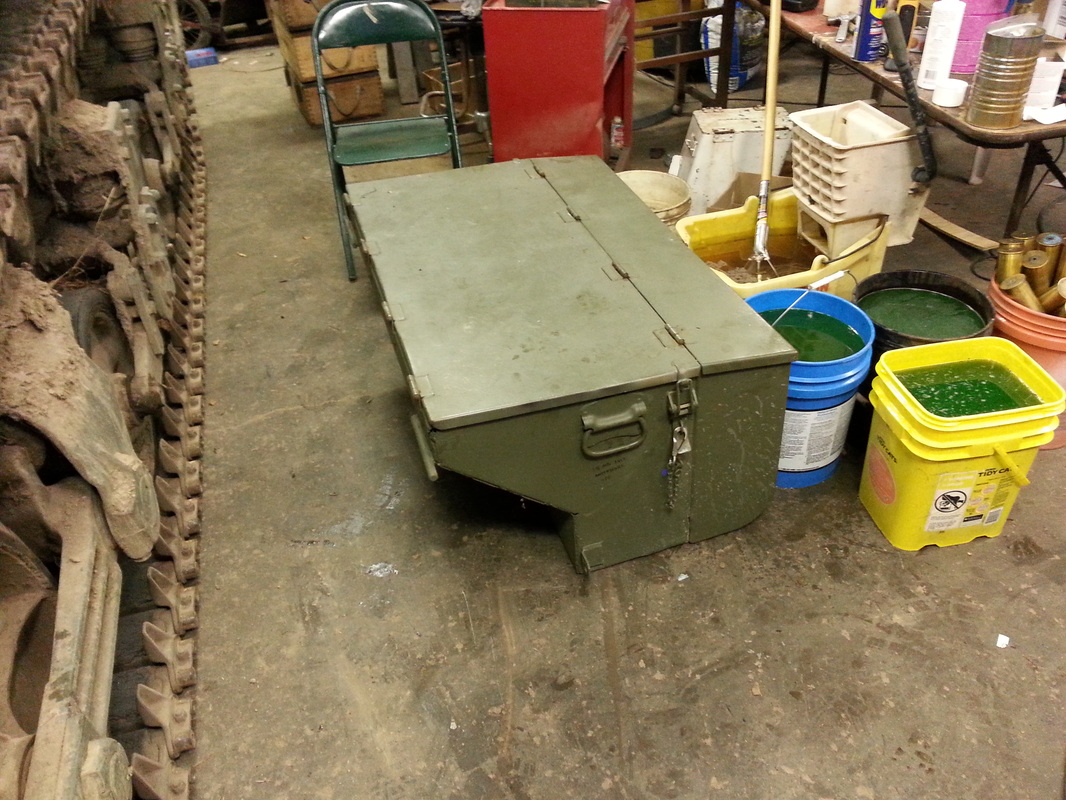
Here is the bussel box removed from the tank as well. This is the "trunk" for a Stuart. Lots of spares can be stashed in there! Also take a look at all that antifreeze that had to be drained out. |
|
|
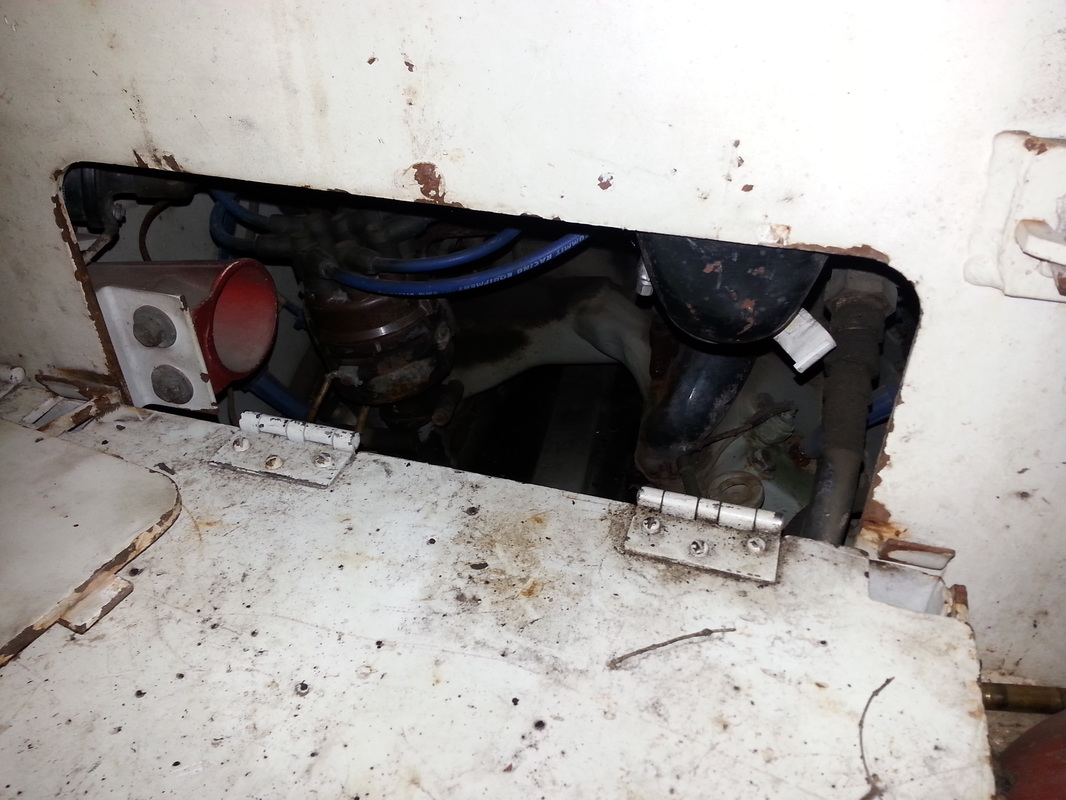
This small opening is the access panel to the engine bay from the crew compartment. Here it is open to remove the forward mounting bolts for the radiators. |
|
The iginition components are well worn. Many people would take the easy way out and retrofit an electronic ignition... It just wouldn't be an honest representation of how things were. |
|
|
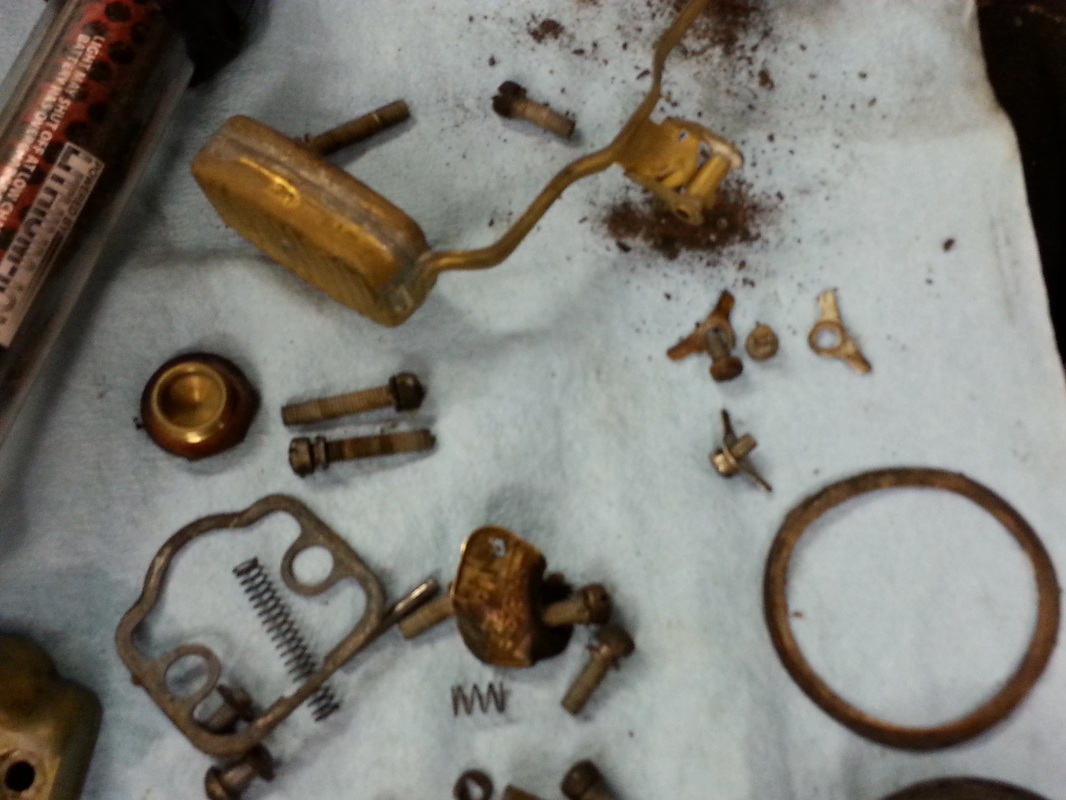
The carburator had some gunk in it, not too bad though. A 70 year old carb. could always use a good cleaning! |
|
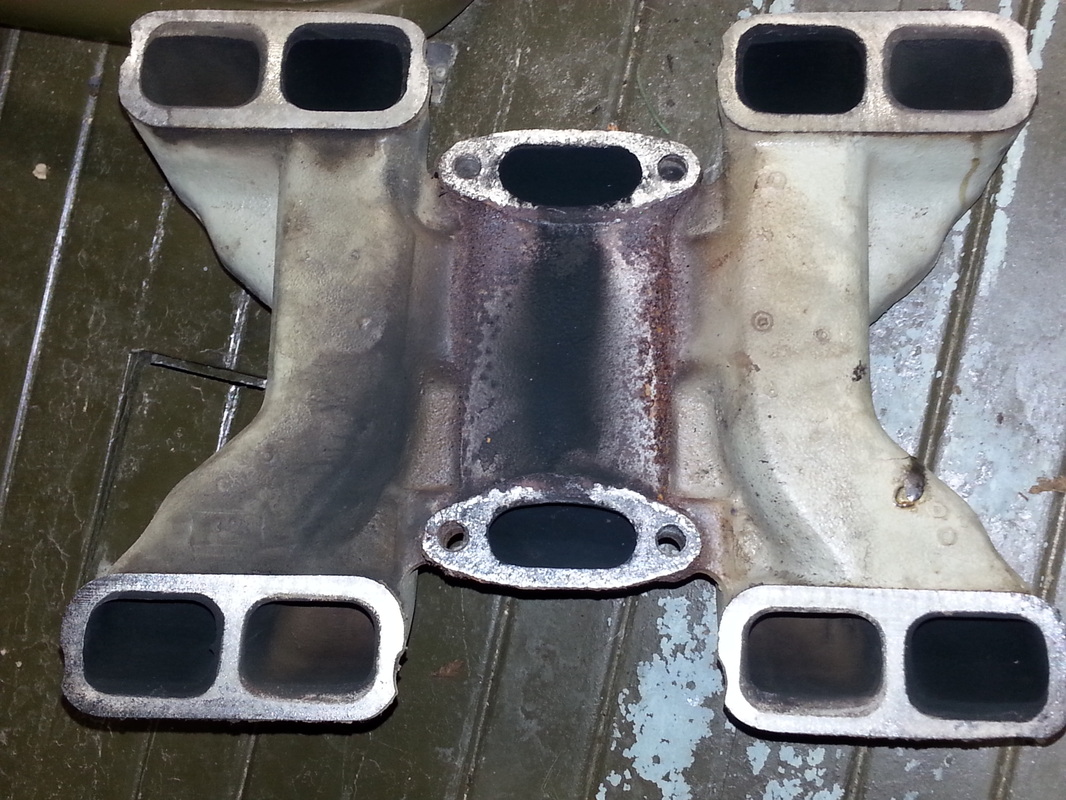
Here is the reason that all of this work took place. The exhaust crossover gaskets blew out. This picture is the bottom of the intake manifold. The manifold was resurfaced to make a good smooth sealing surface when reassembled. The hot exhaust gases actually ate away some of the metal! |
|
|
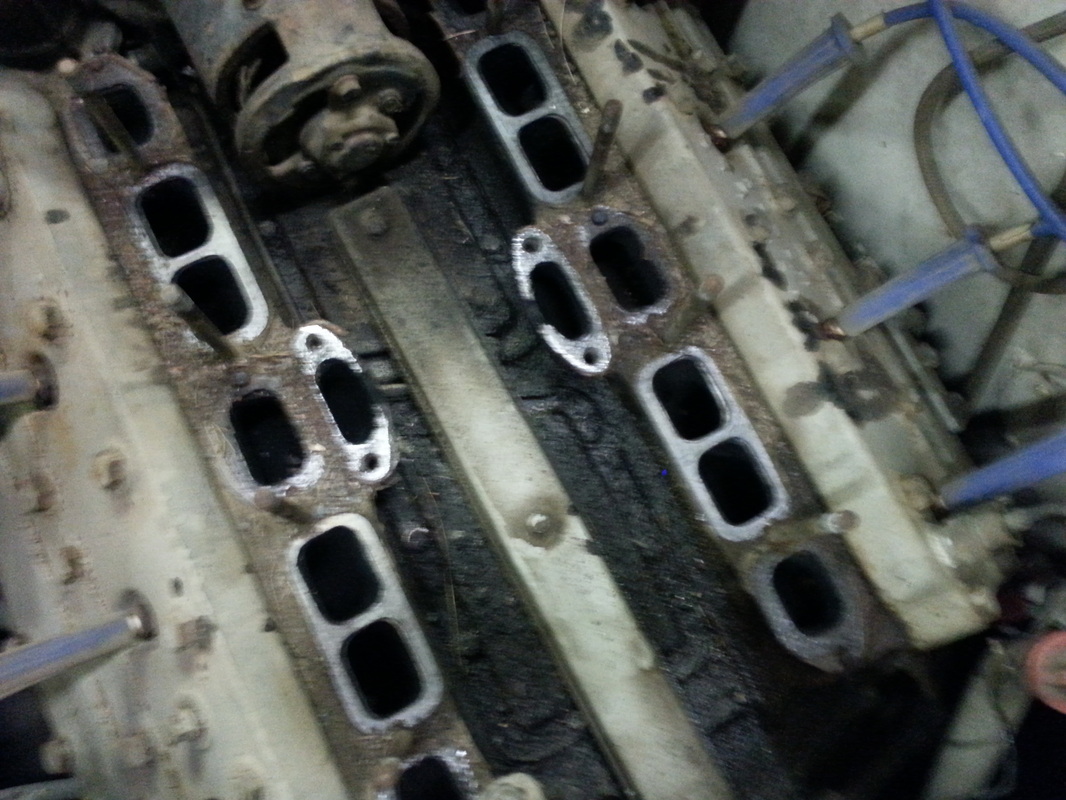
Take a look at the intake valley of this flathead engine. The burned area is clearly evident in this shot. |
|
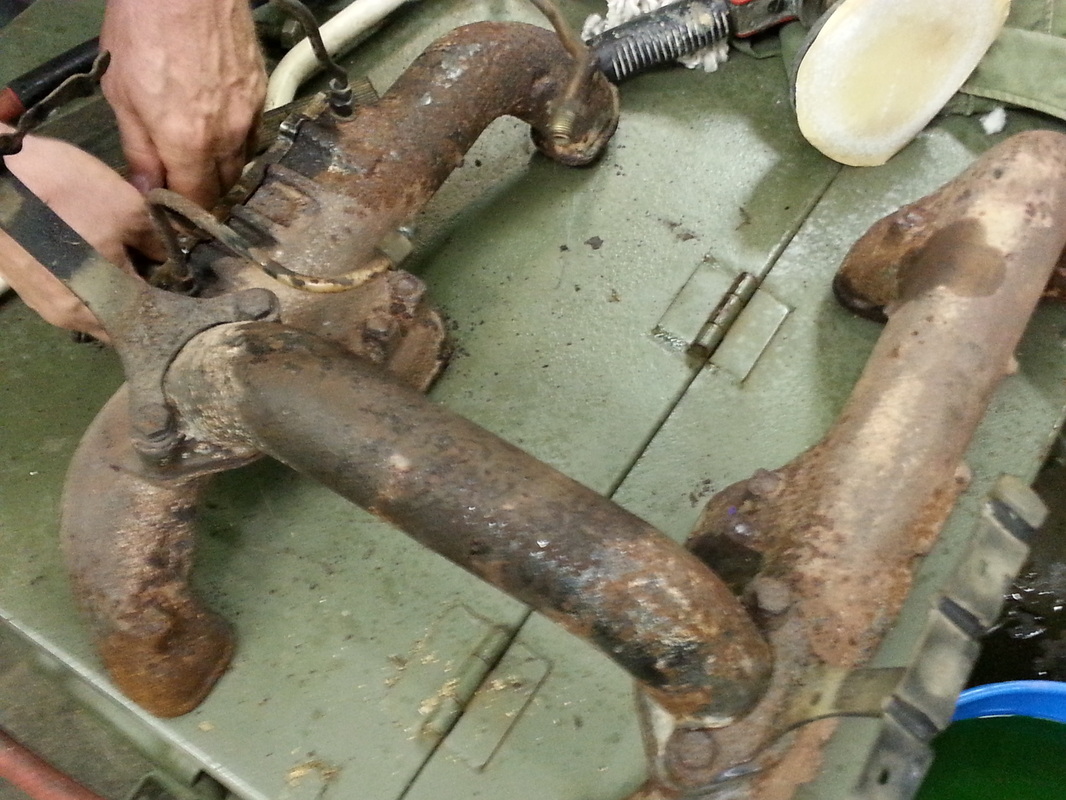
Here is the exhaust manifold. It is a three piece assembly, but we like to leave it together once everything is lined up properly. All of the exhaust dumps out of a single pipe. |
|
|
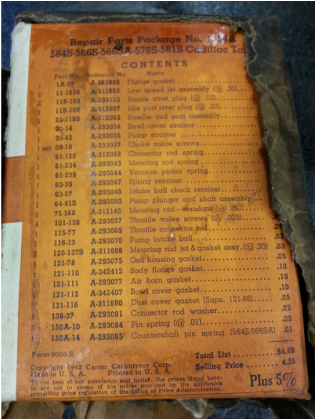
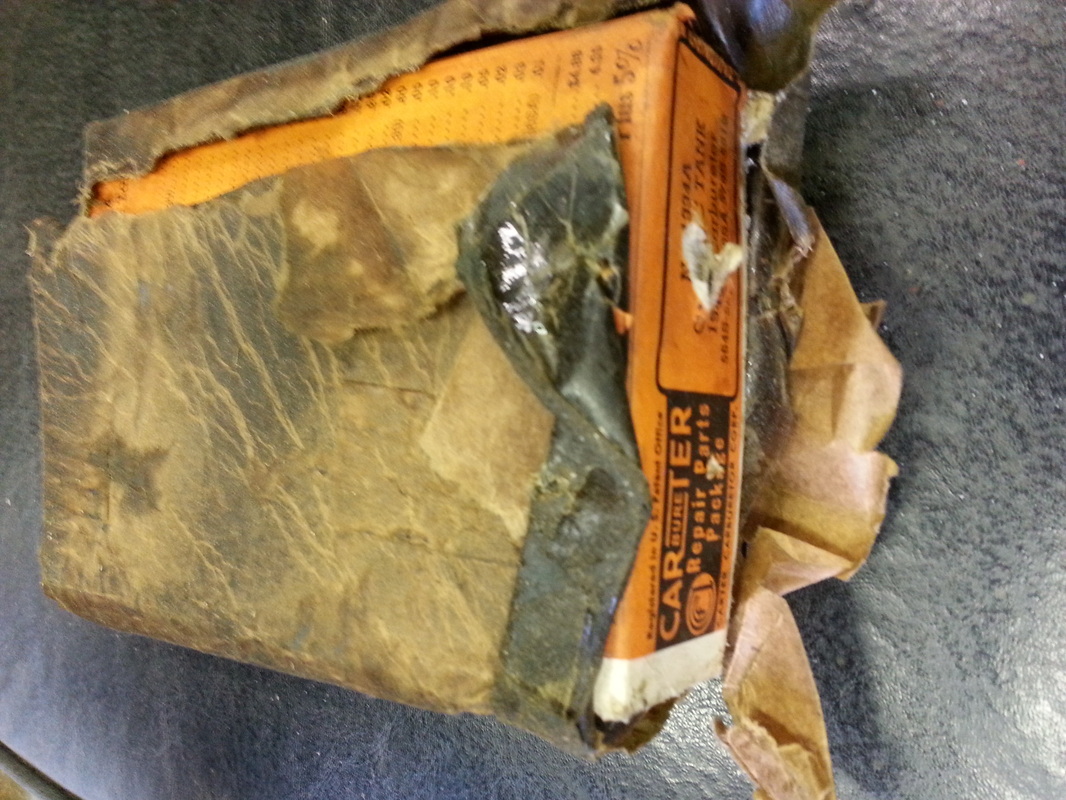
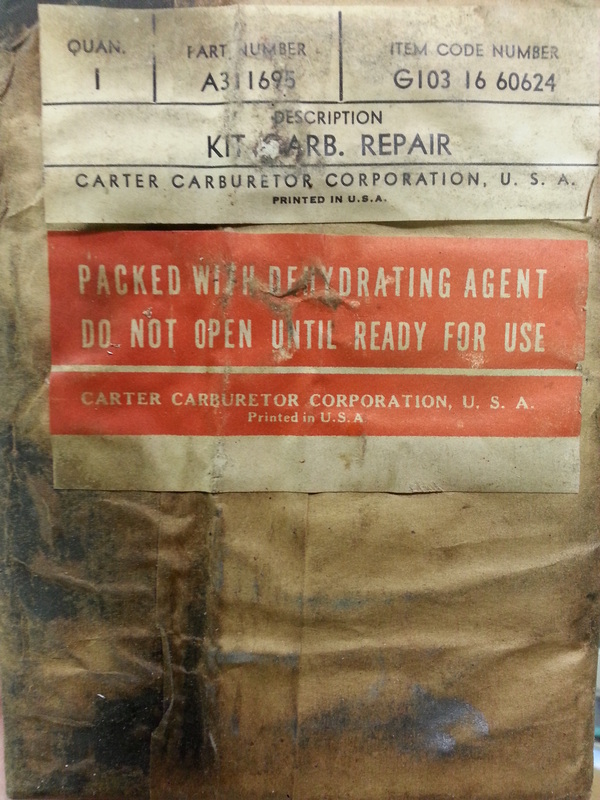
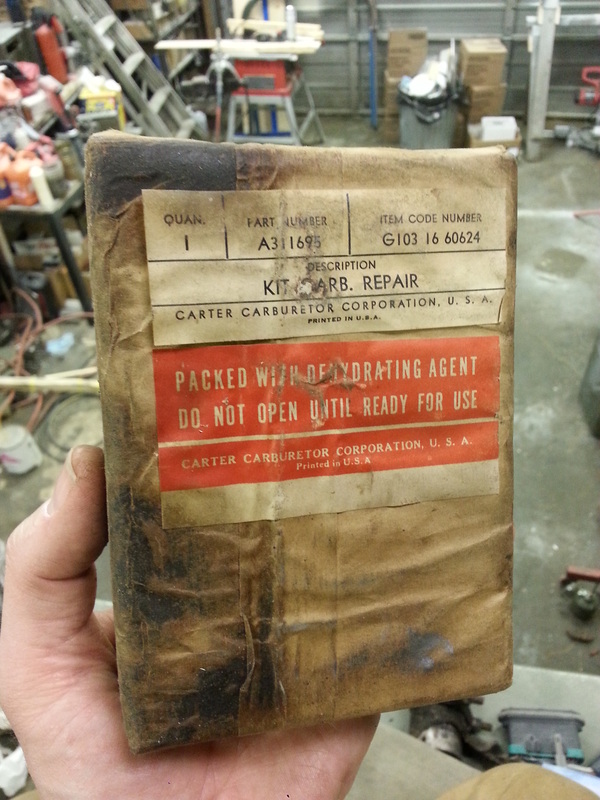
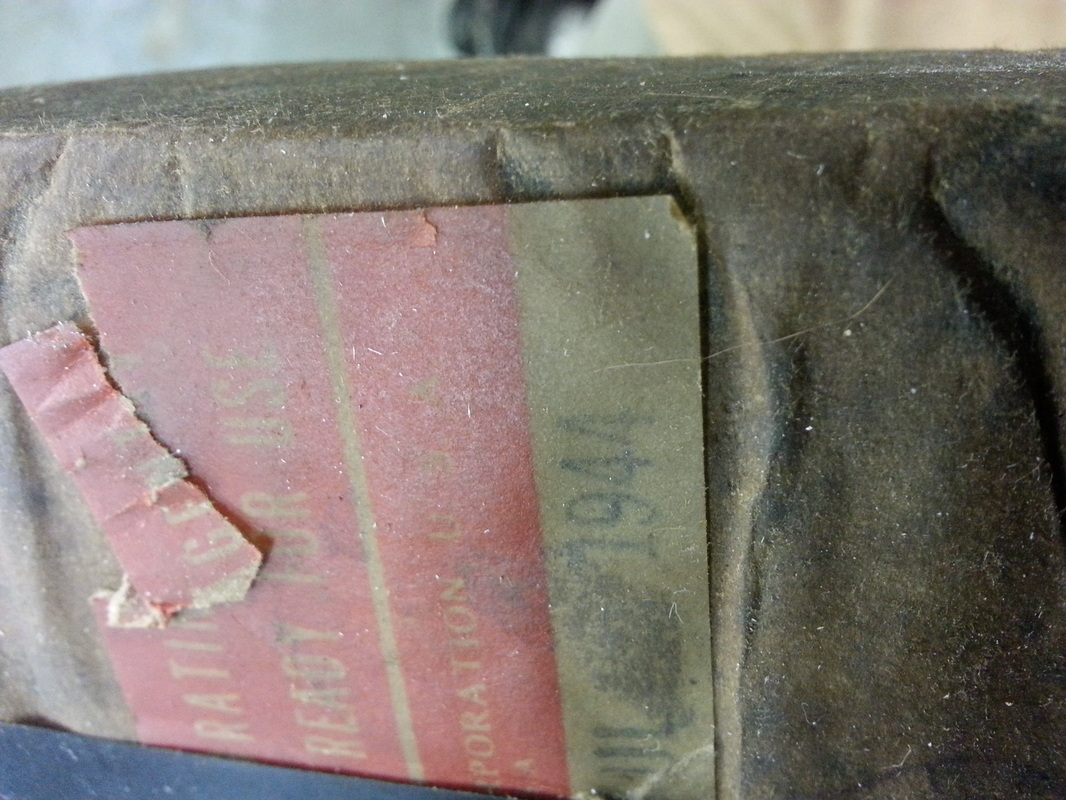
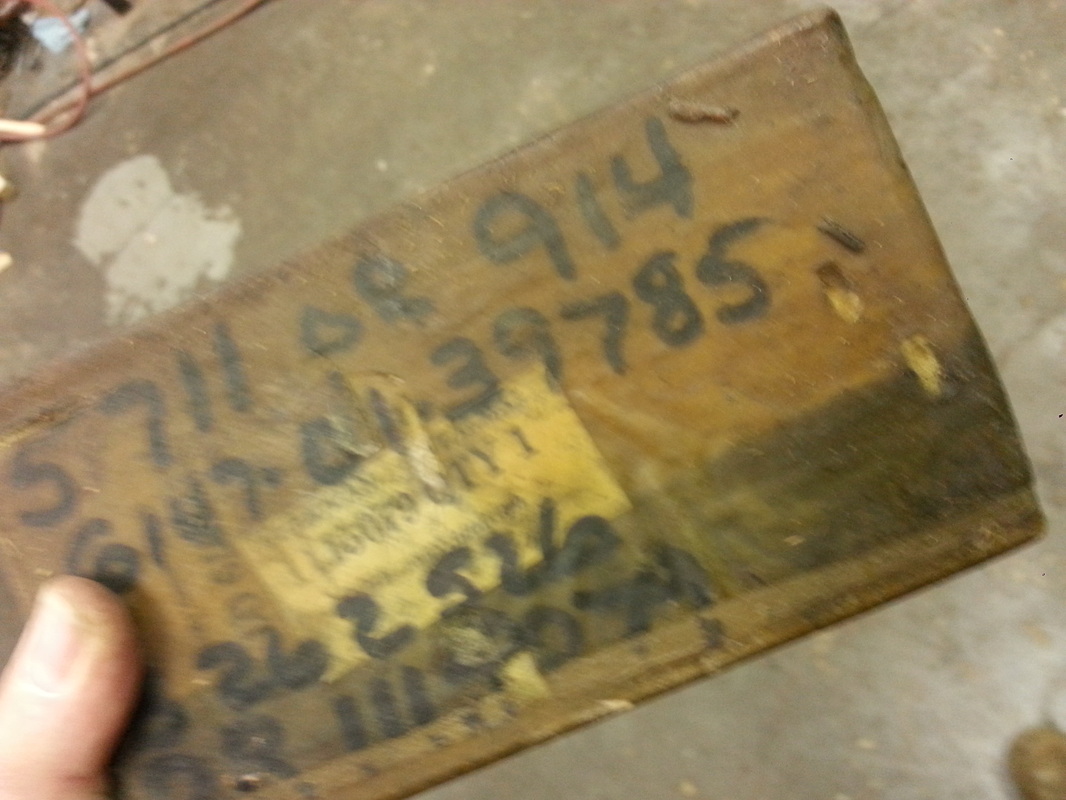
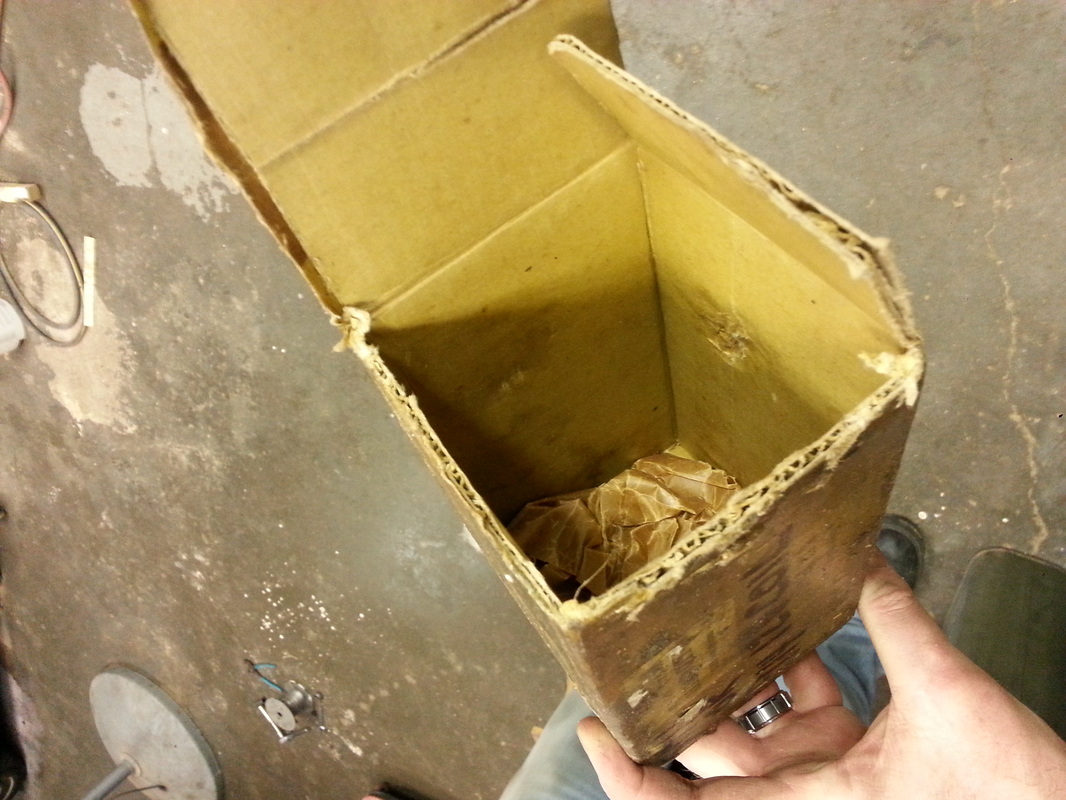
Take a look at this vintage carb kit. Packaged in waxed paper back in 1942 all of the parts enclosed were in perfect condition! |
|
Here is another look at the original package. |
|
|
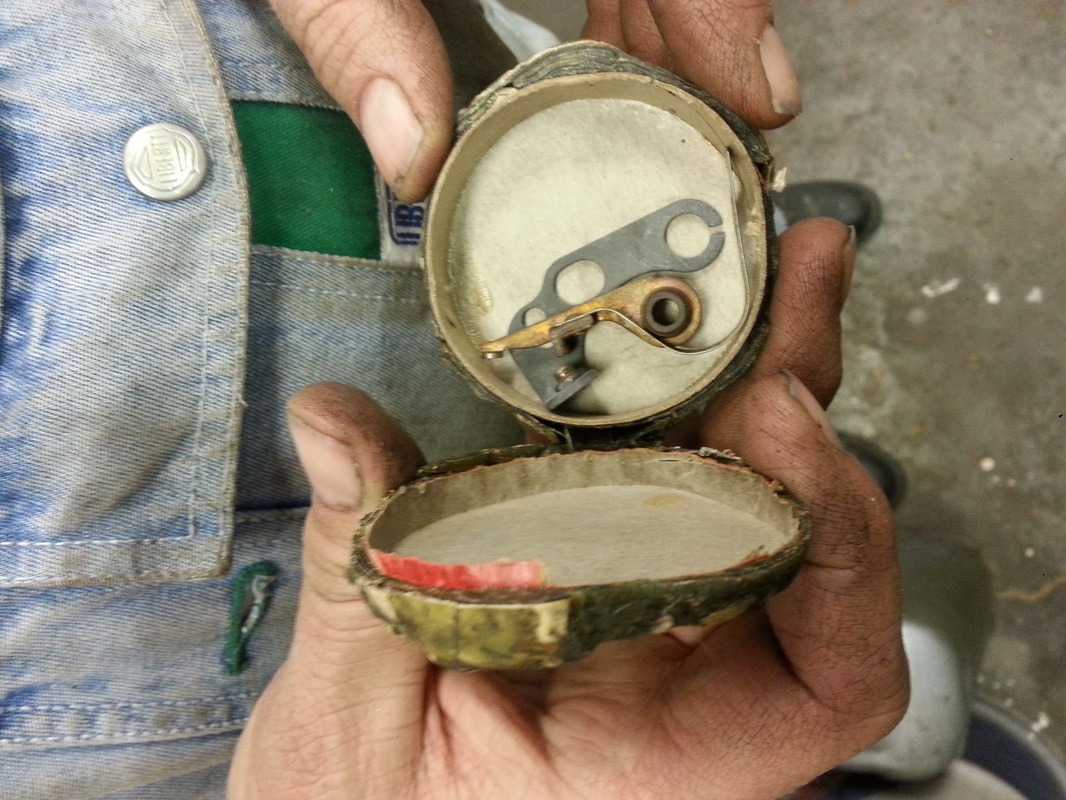
While we are looking at vintage parts used on the tank take a look at this distributor cap and wire set. I have not opened one of these before, but opening any package that was put together 70+ years ago is quite an experience. One day the available spares will all be gone, but until then count on the 14th keeping WWII armor rolling! |
|
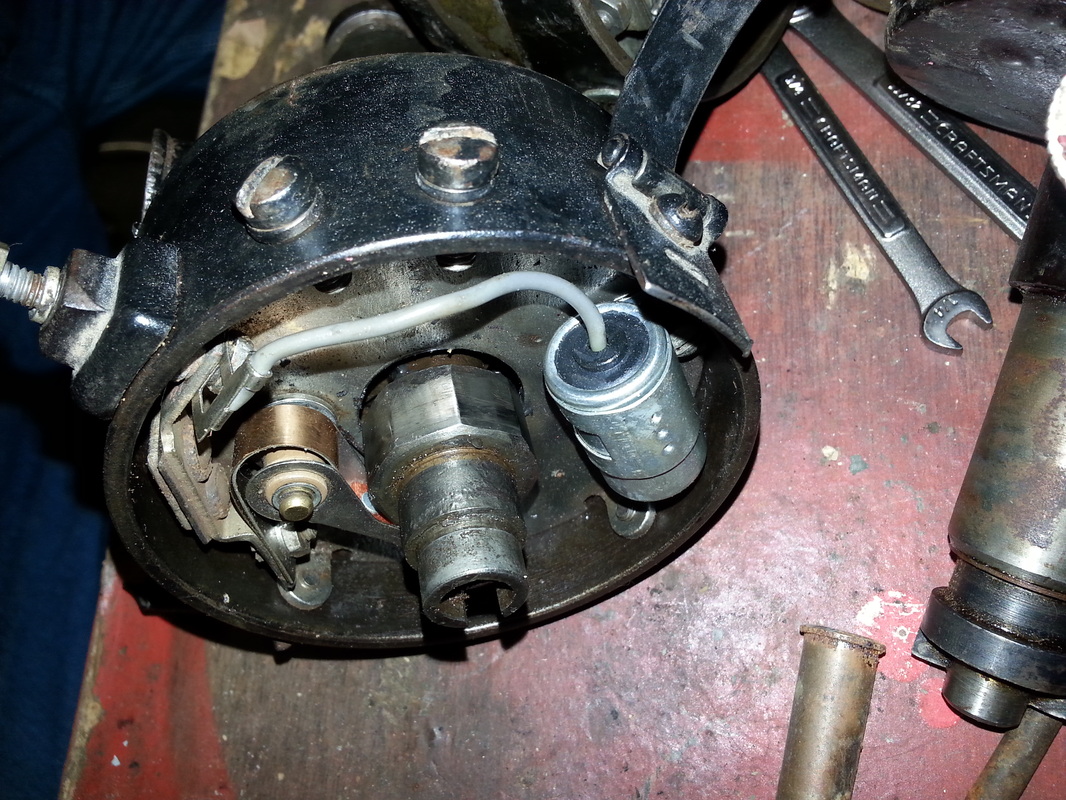
Here is a distributor from the tank. Testing vintage parts for proper operation both in and out of the tank assures things work as they would have back in the 40s. |
|
Points style ignition have served for years. The simple to maintain, diagnose, and repair design is impressive for the time period. Today these are obsolete. Originals are becoming scarce... Do you have one in your garage or shop?! |
|
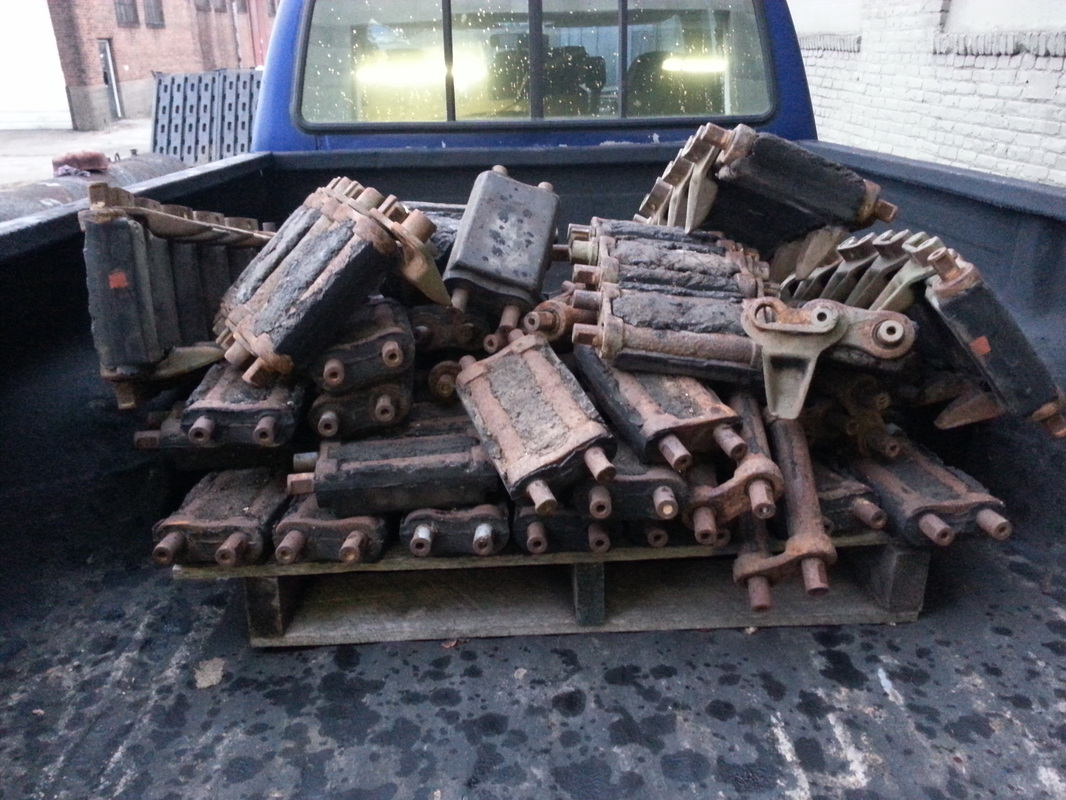
Time to put new track on B5! Here are some track sections that have been worn down as much as possible. |
|
|
To put fresh rubber on the track, first one has to remove all of the old rubber. These links have been partially stripped down and are undergoing a final cleanup. |
|
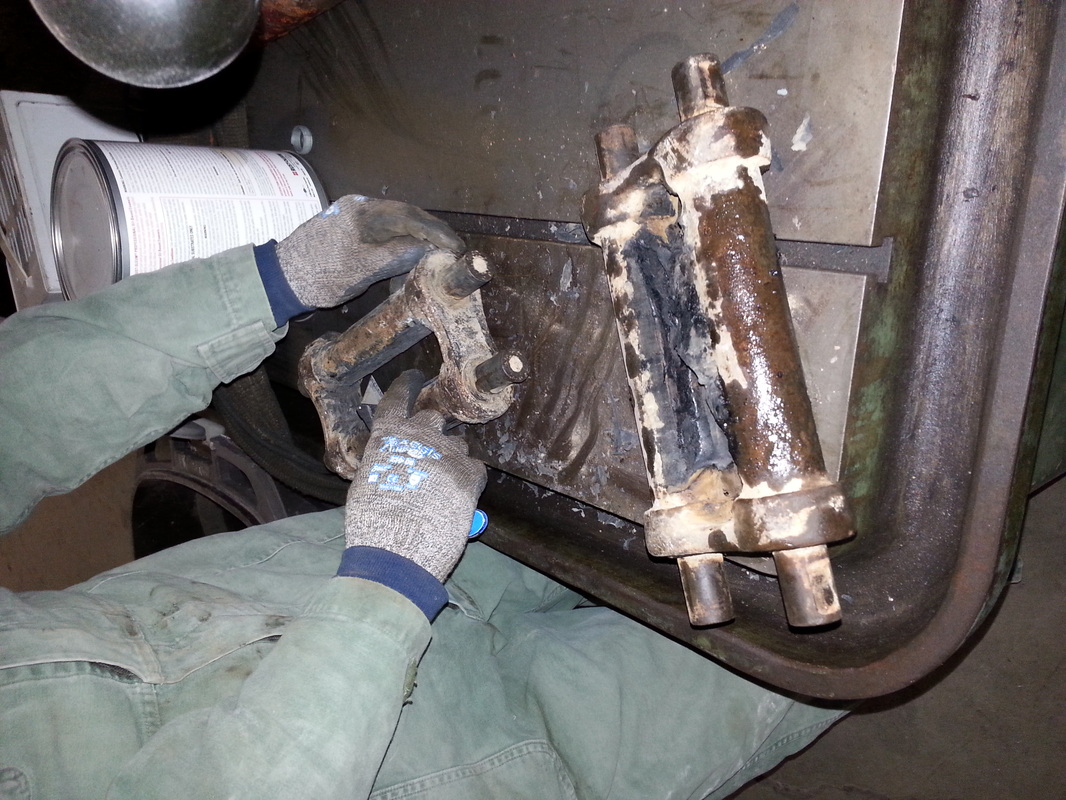
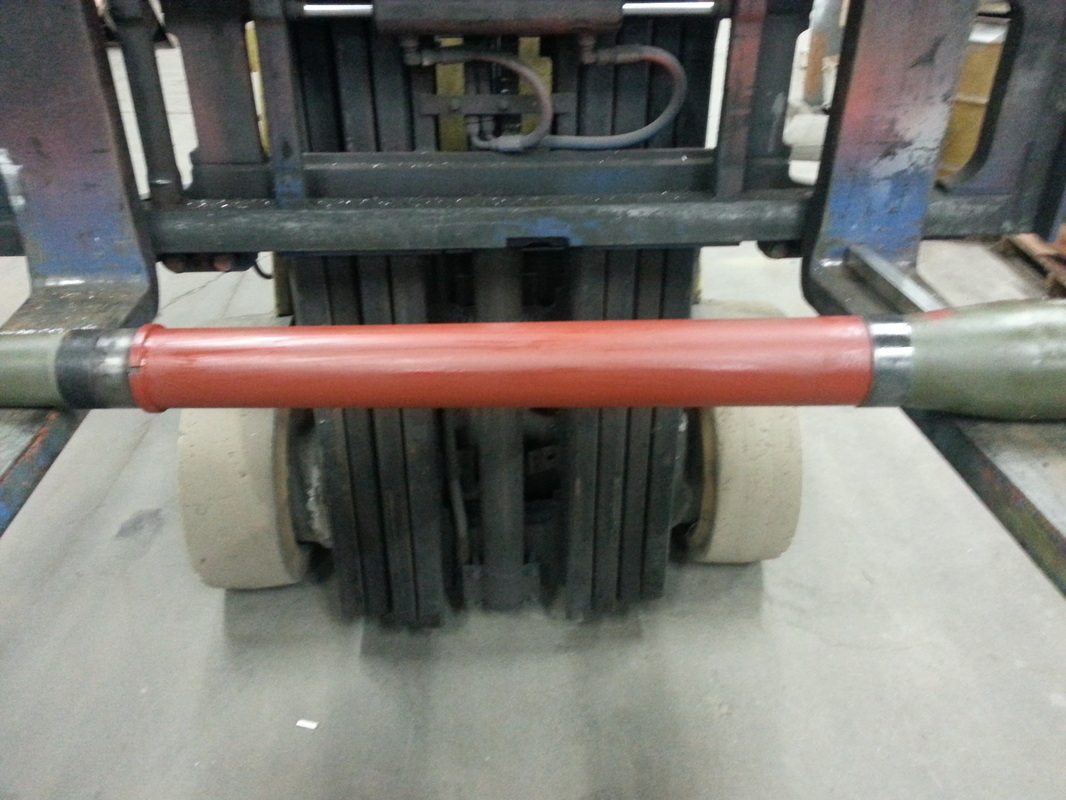
The barrel in B5 was not moving smoothly anymore. We pulled the barrel assembly out, removed the cradle and found rust! As an added bonus the cradle was warped some so we straightened it too. Here is the barrel with the cradle off and some fresh primer drying. |
|
|
|
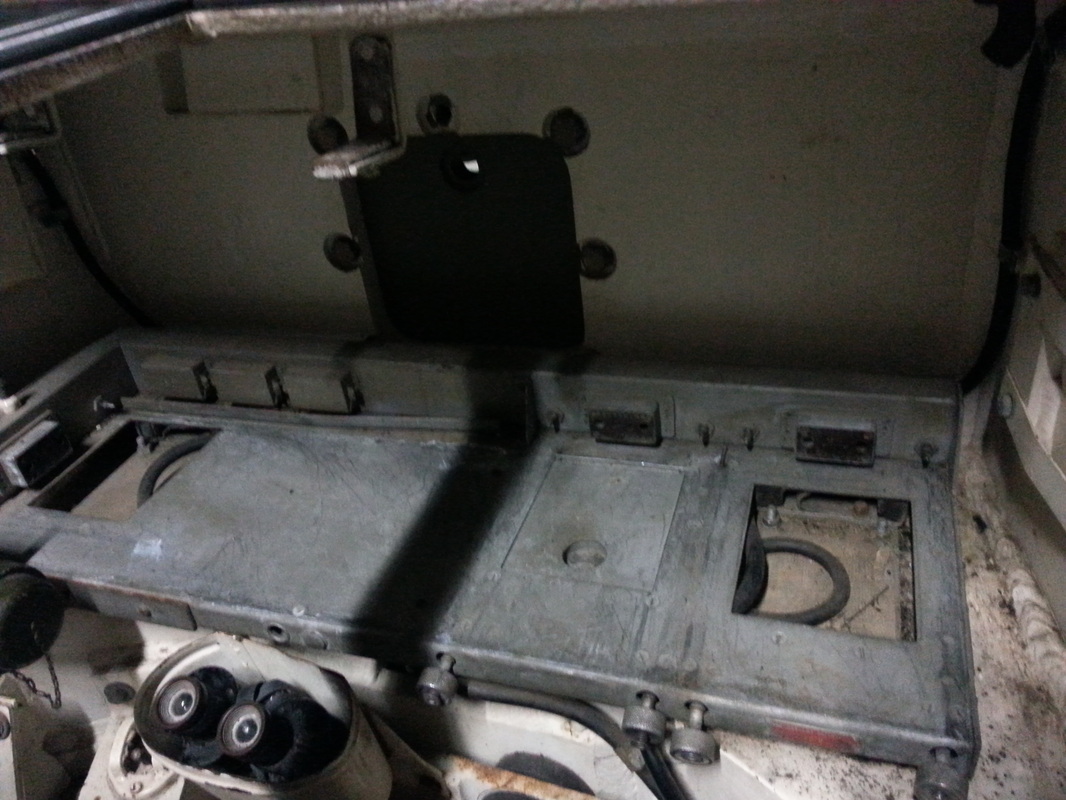
To remove the barrel the radio set must be pulled out. The tank looks strange with no main gun! This little part is a machine gun mount spacer for the co-ax .30. |

|
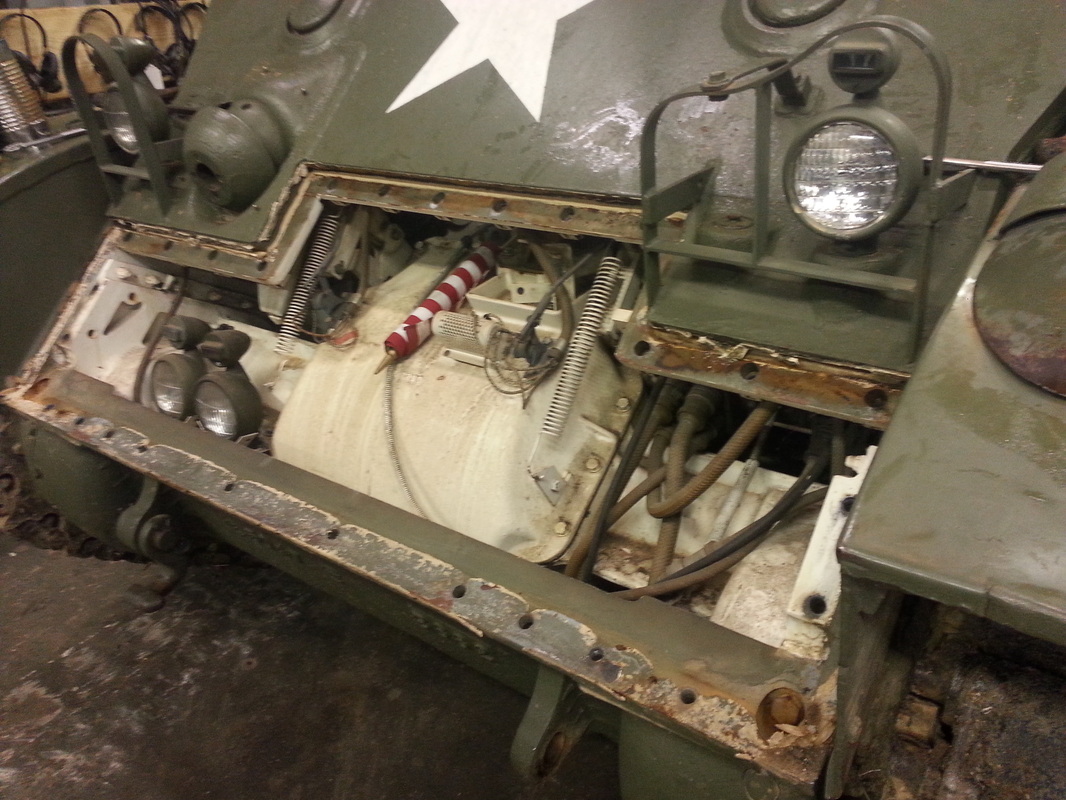
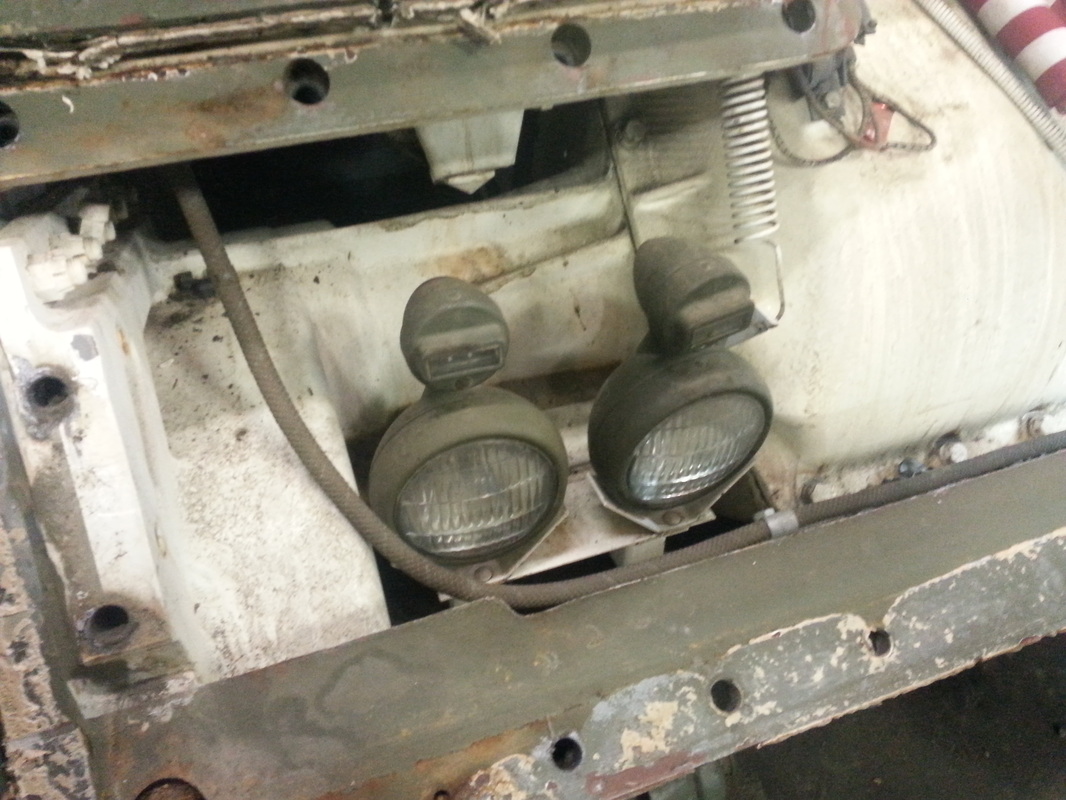
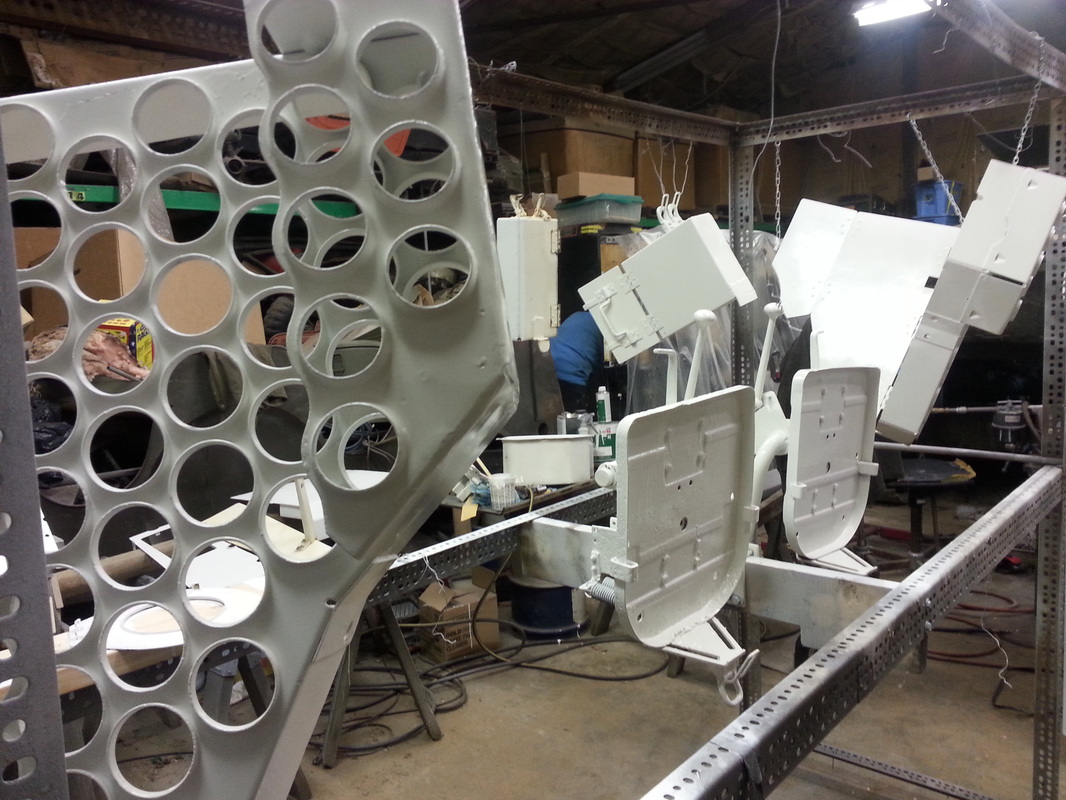
Time for a major clean up on B5. It had a minor oil leak going on for a while and the whole deal was getting a bit run down. But we use it hard, so wear and tear is expected! In this series of pictures the front armor is removed. A forklift is a must during this operation. |
|
Here is a selection of the parts that were removed from inside the tank. Everything must be cleaned, repaired and painted before installing back into the tank hull. |
|
|
|
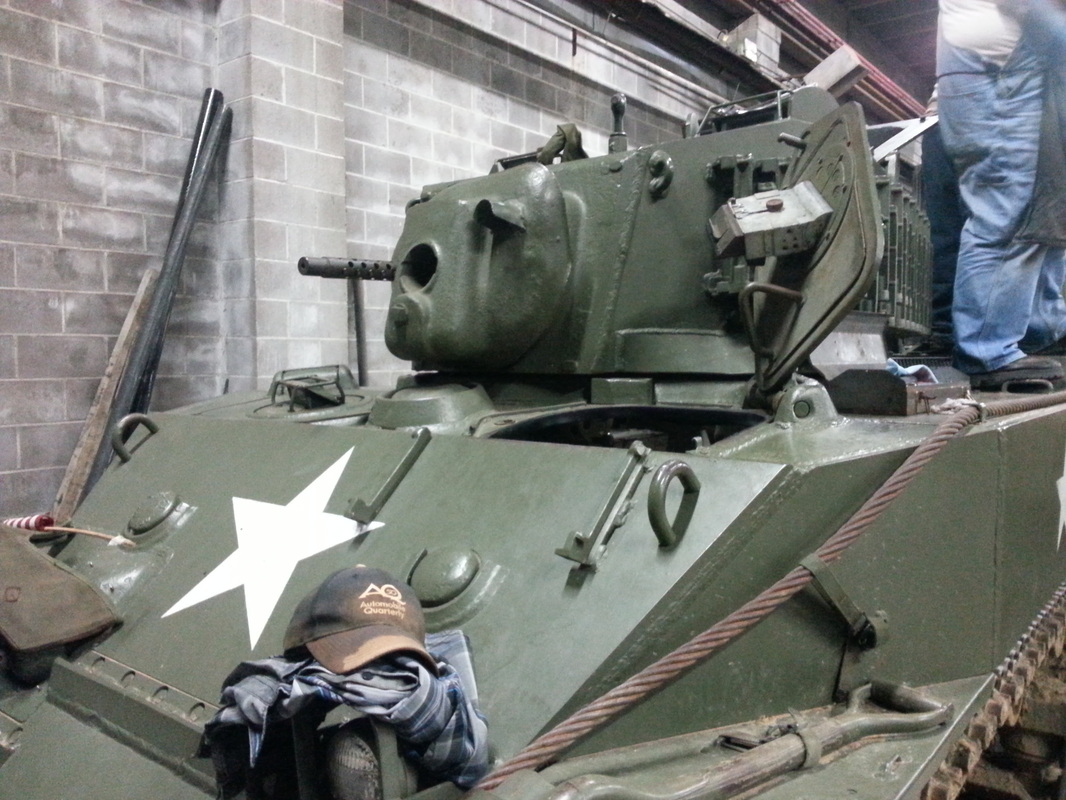
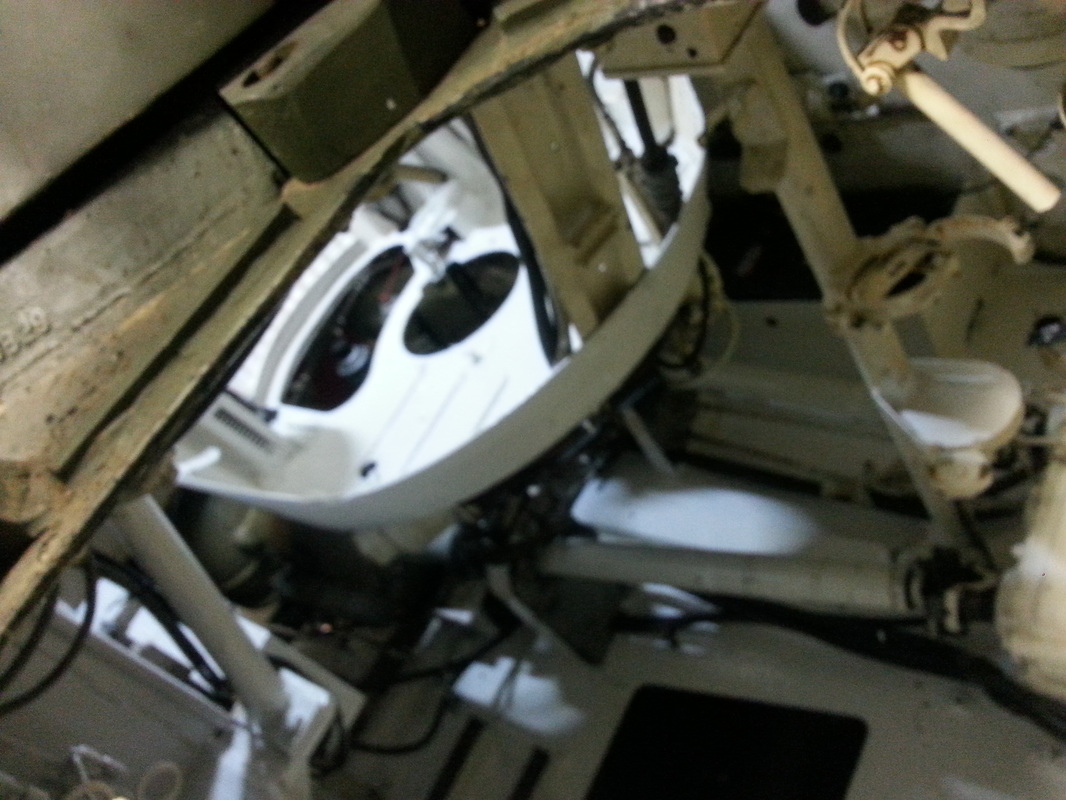
The tank looks really different with so many parts removed. This gives the chance to see some unique angles of the tank that are not normally seen. |
|
Fresh paint! |
|
|
Getting cleaned up inside too. The interior is really cleaning up now. |
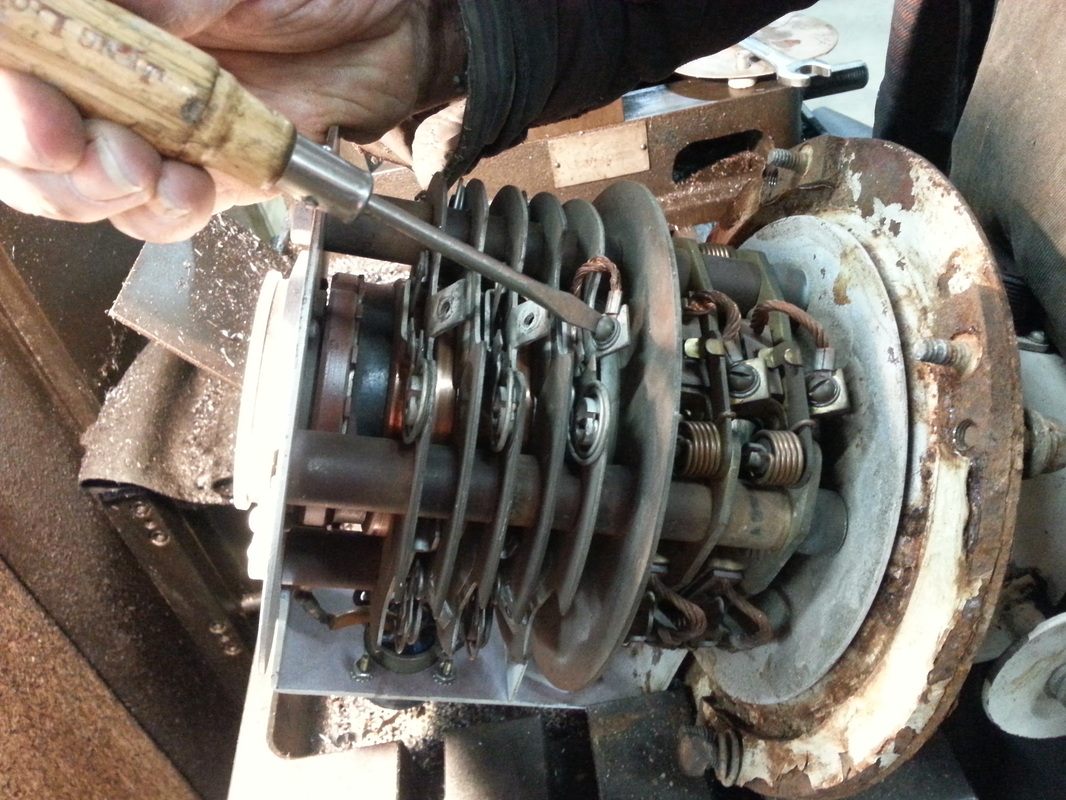
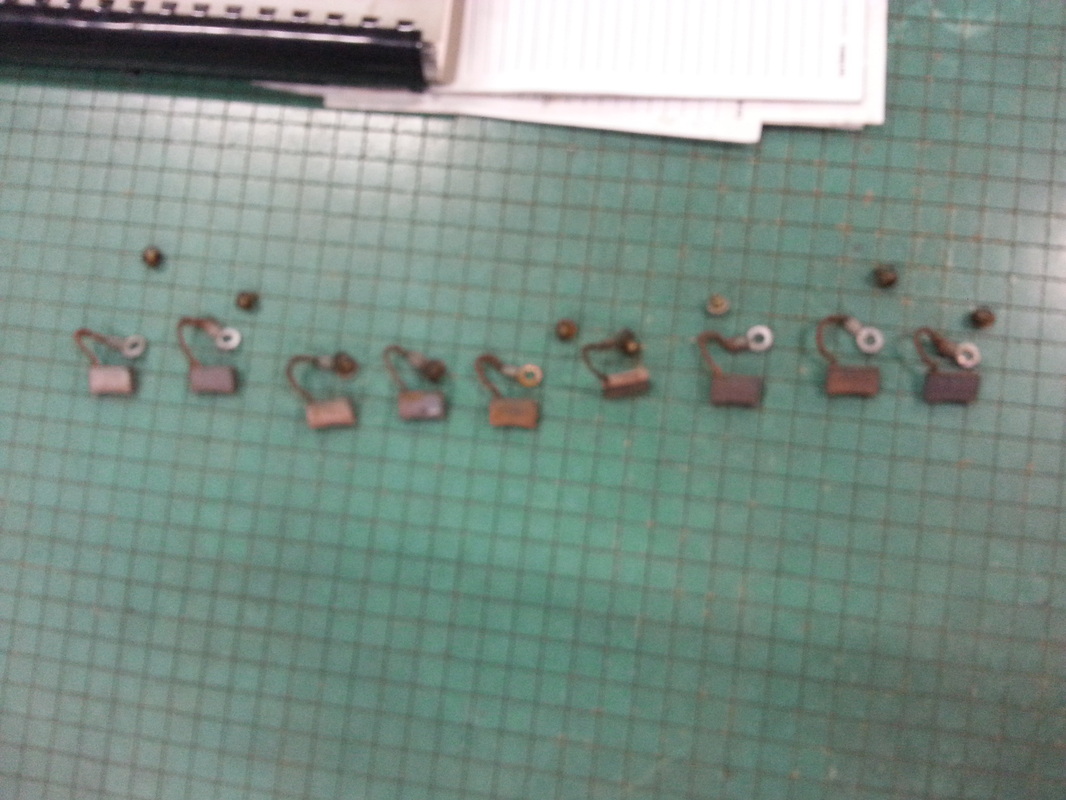
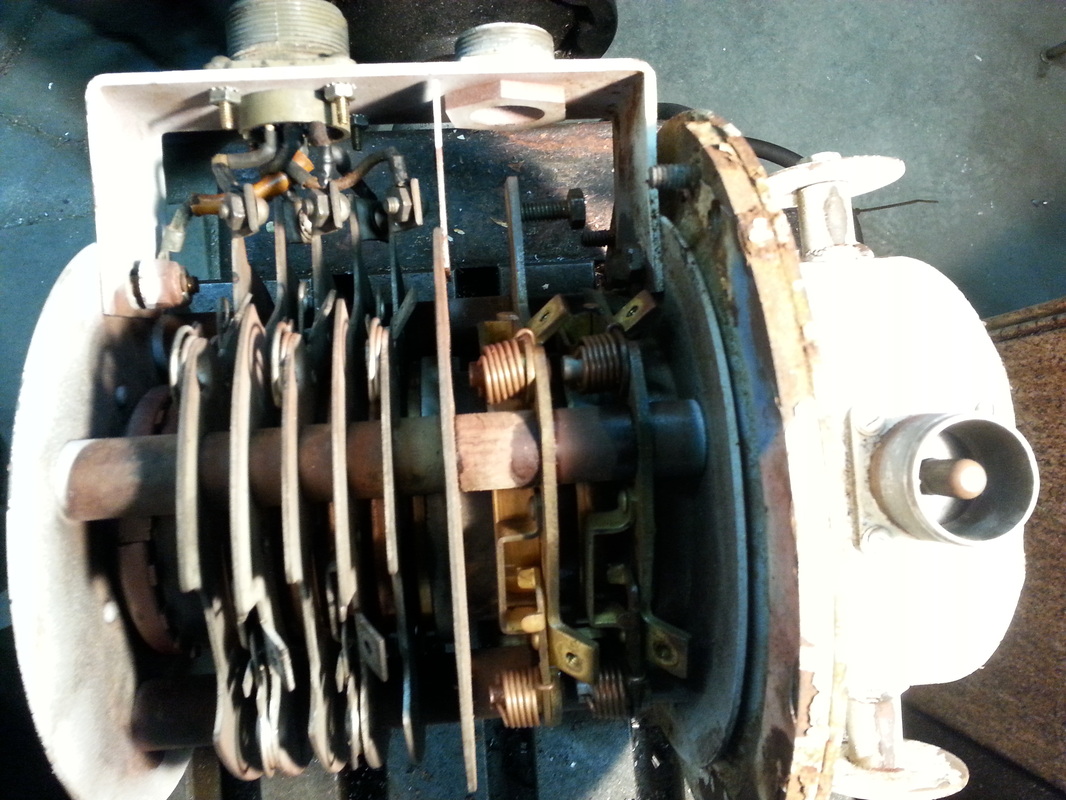
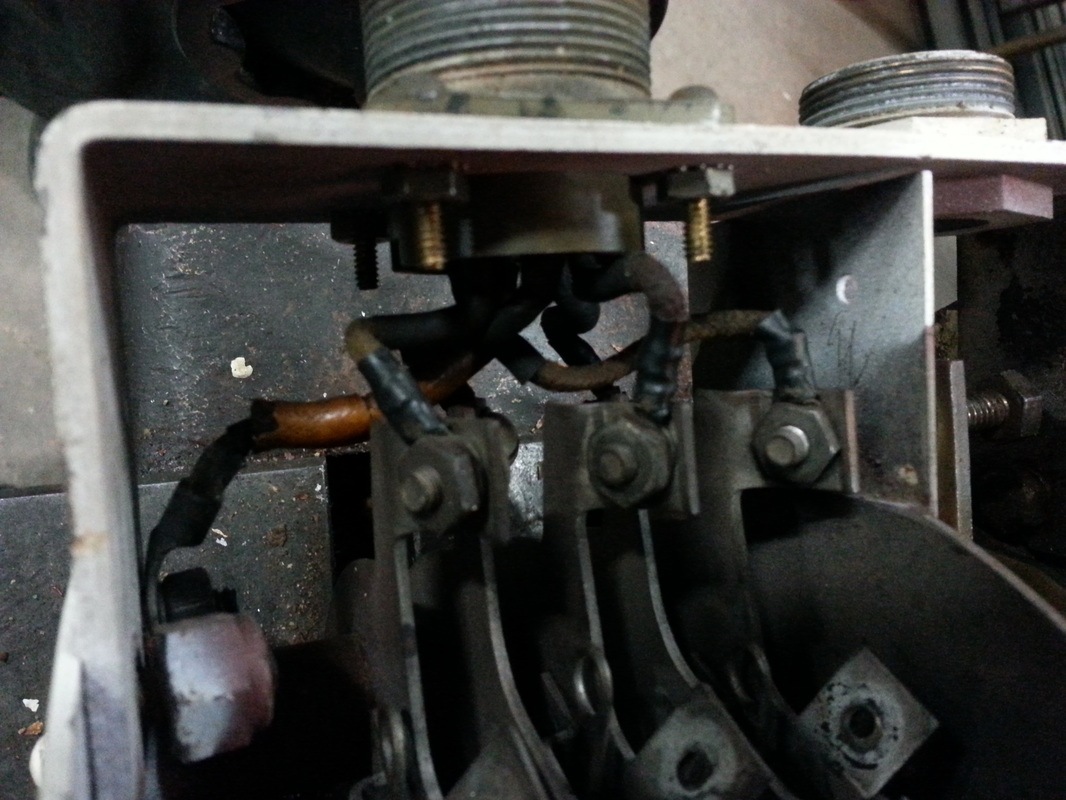
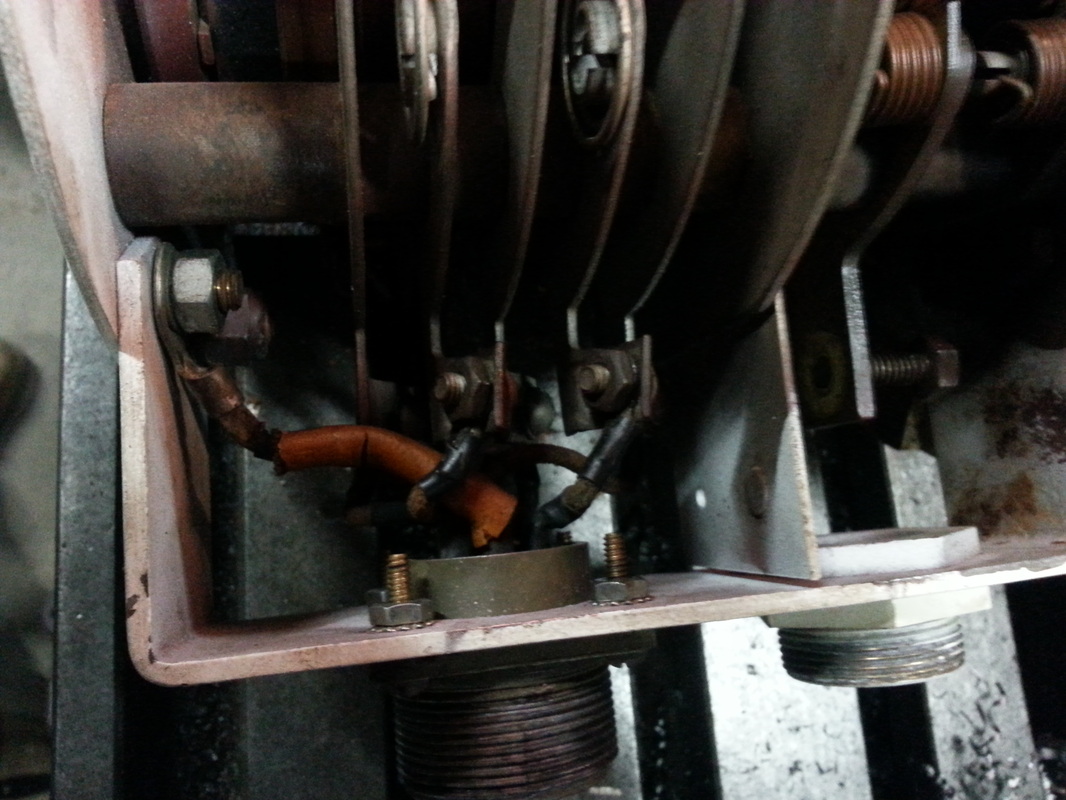
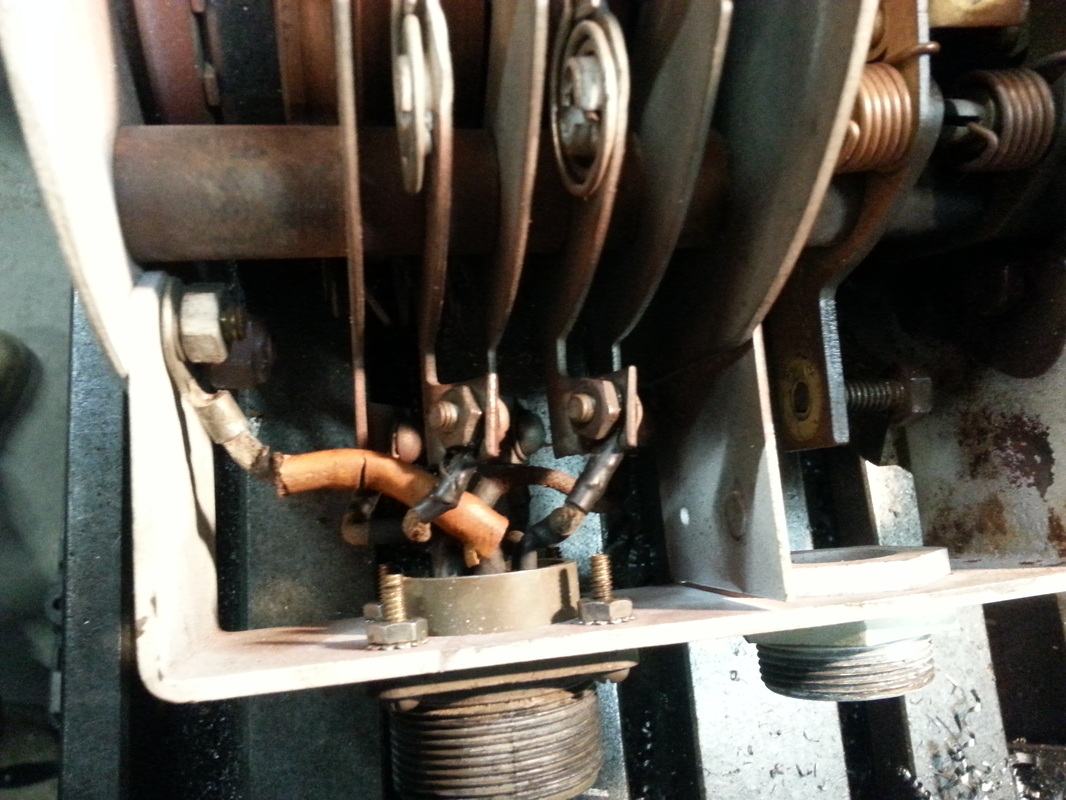
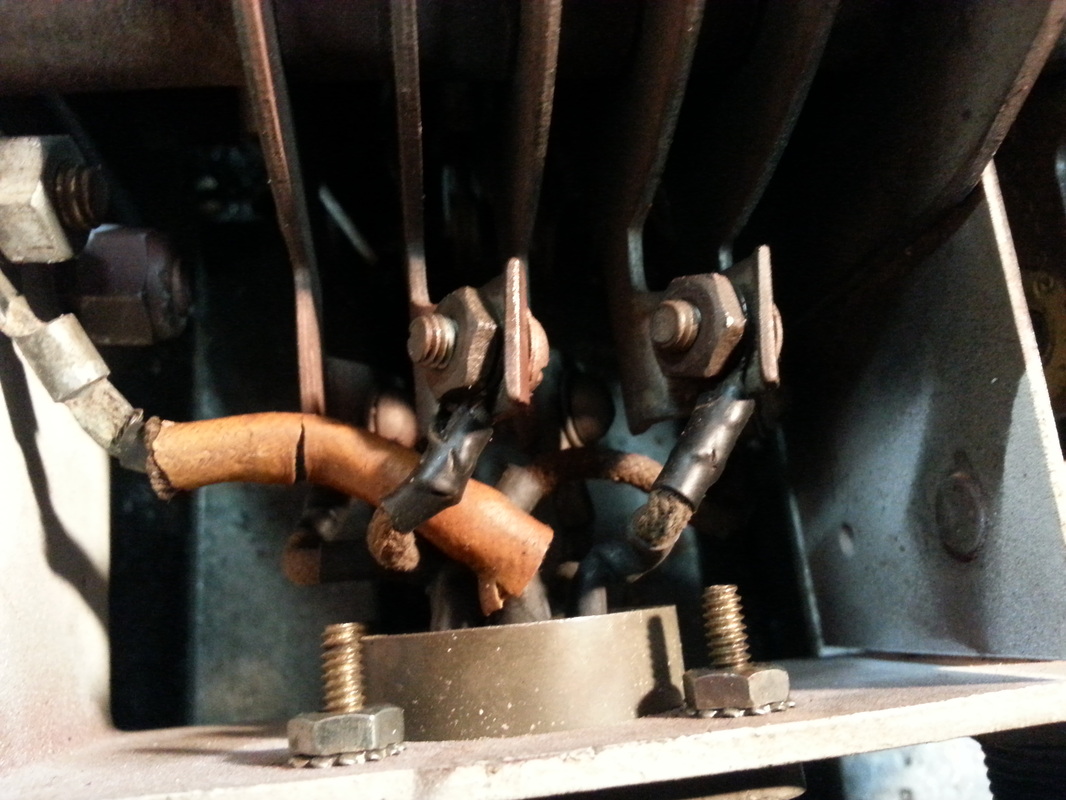
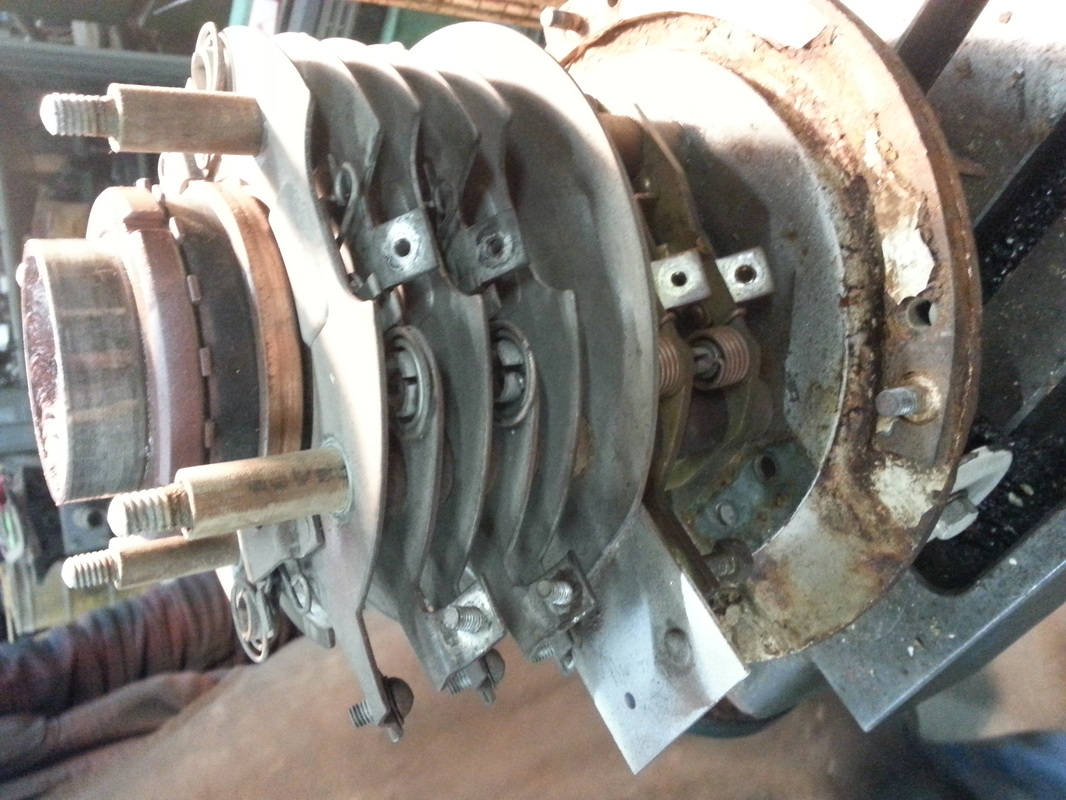
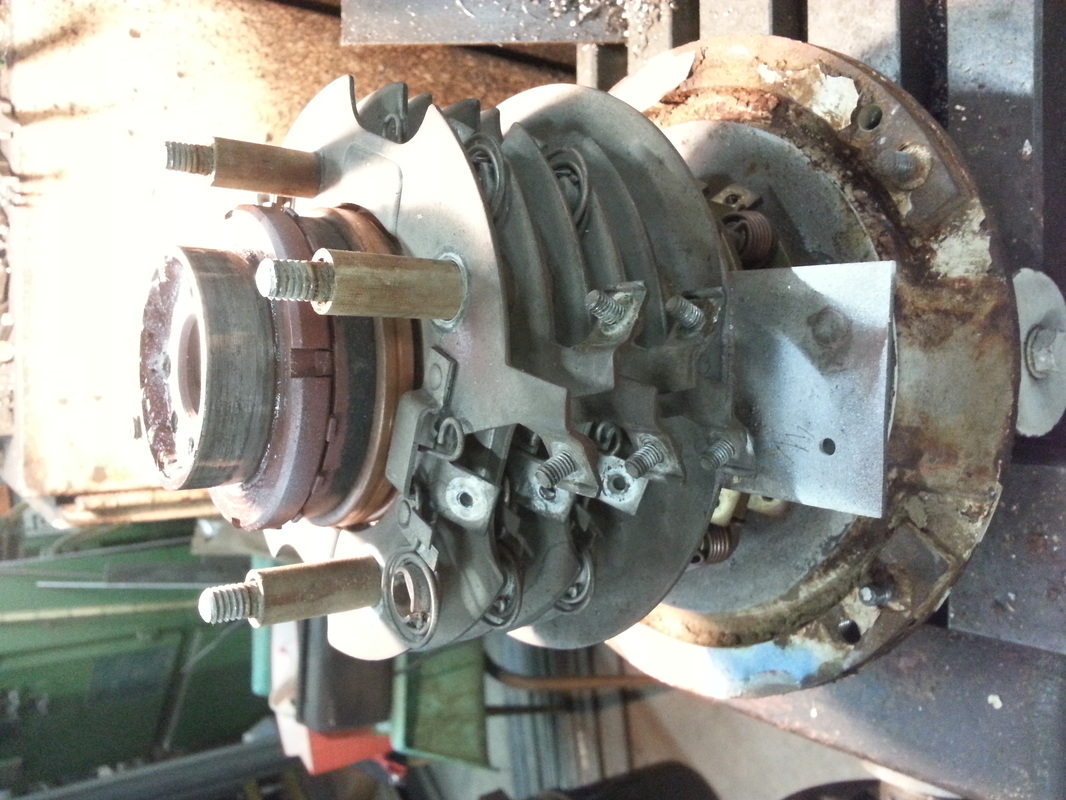
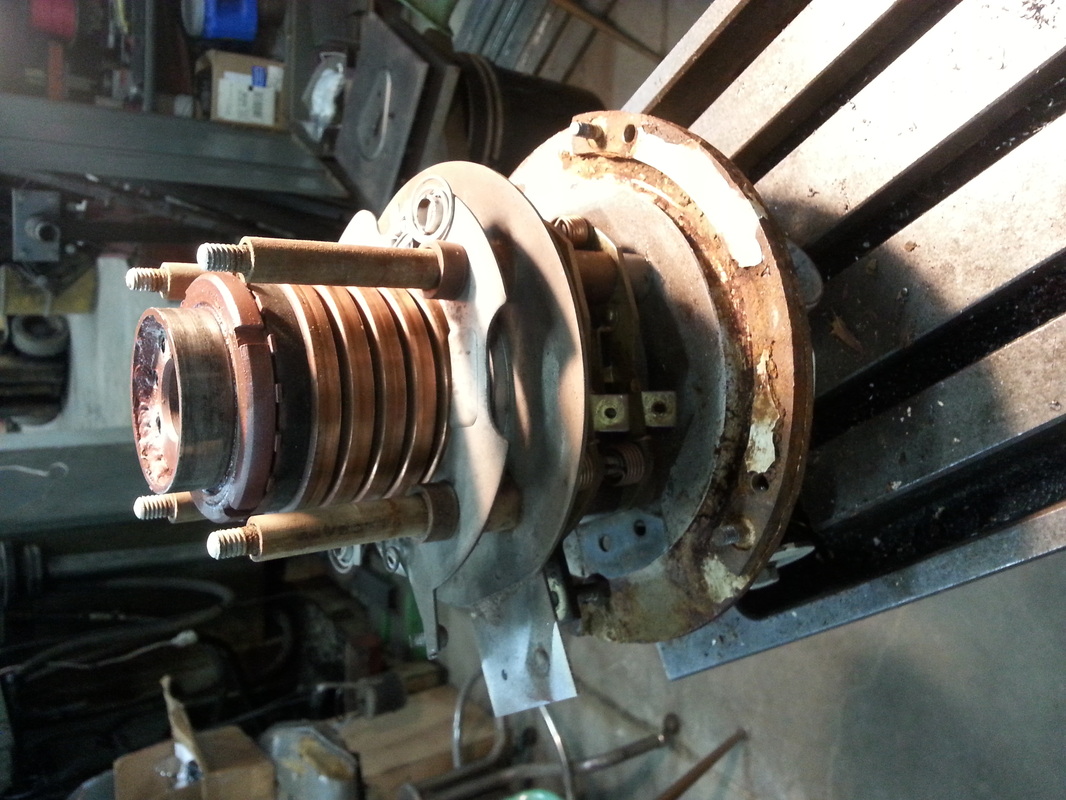
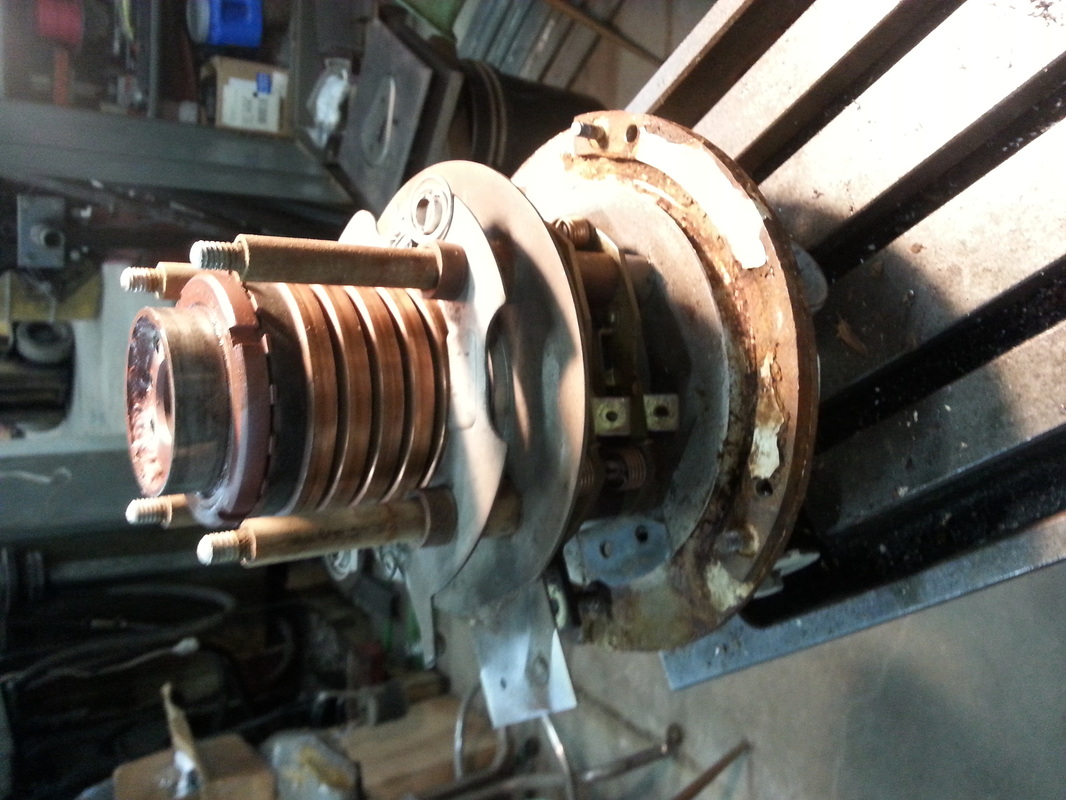
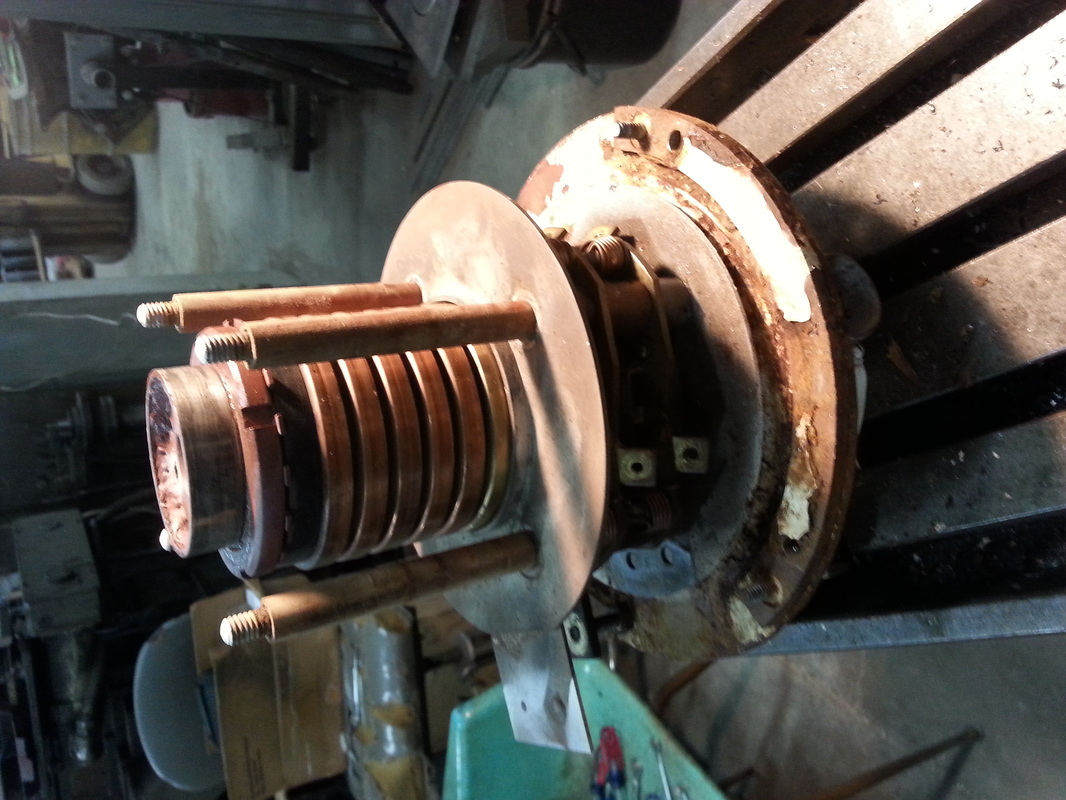
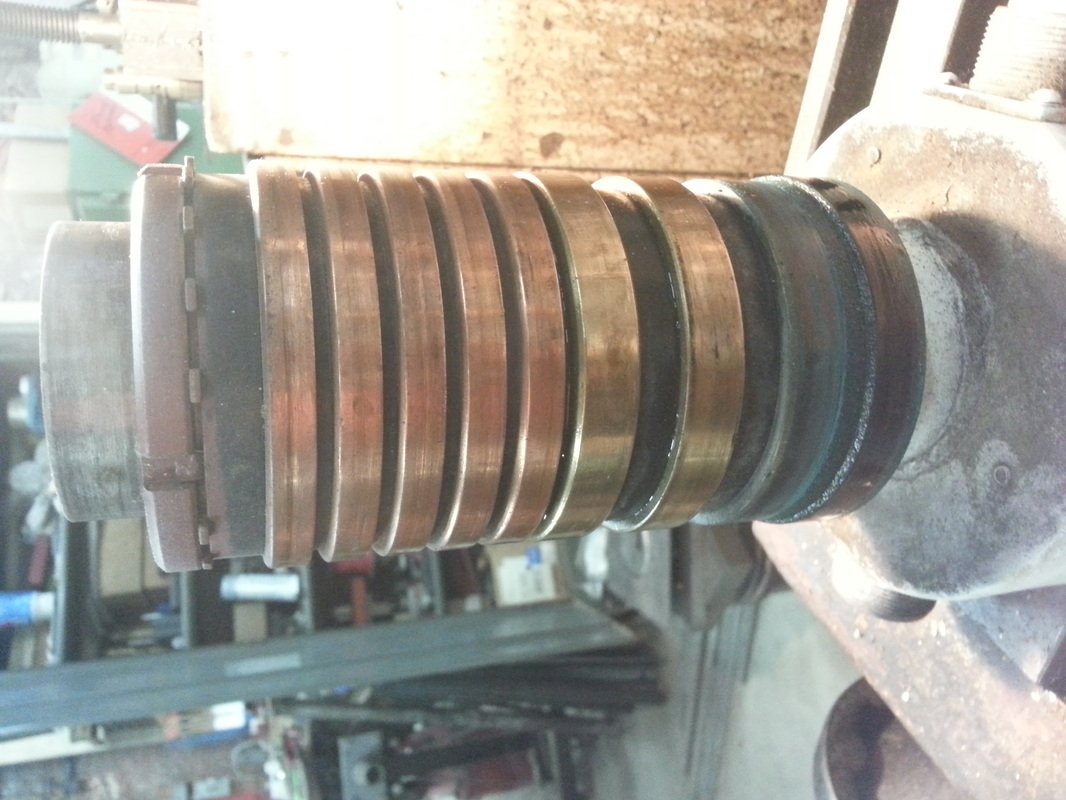
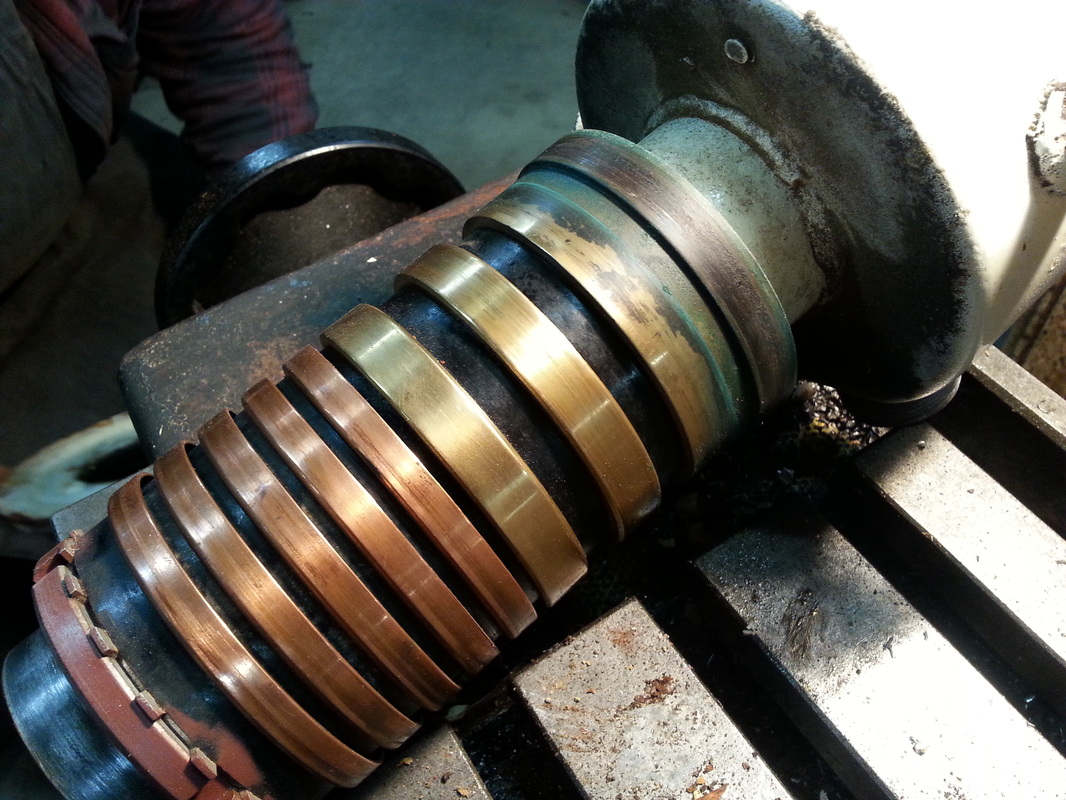
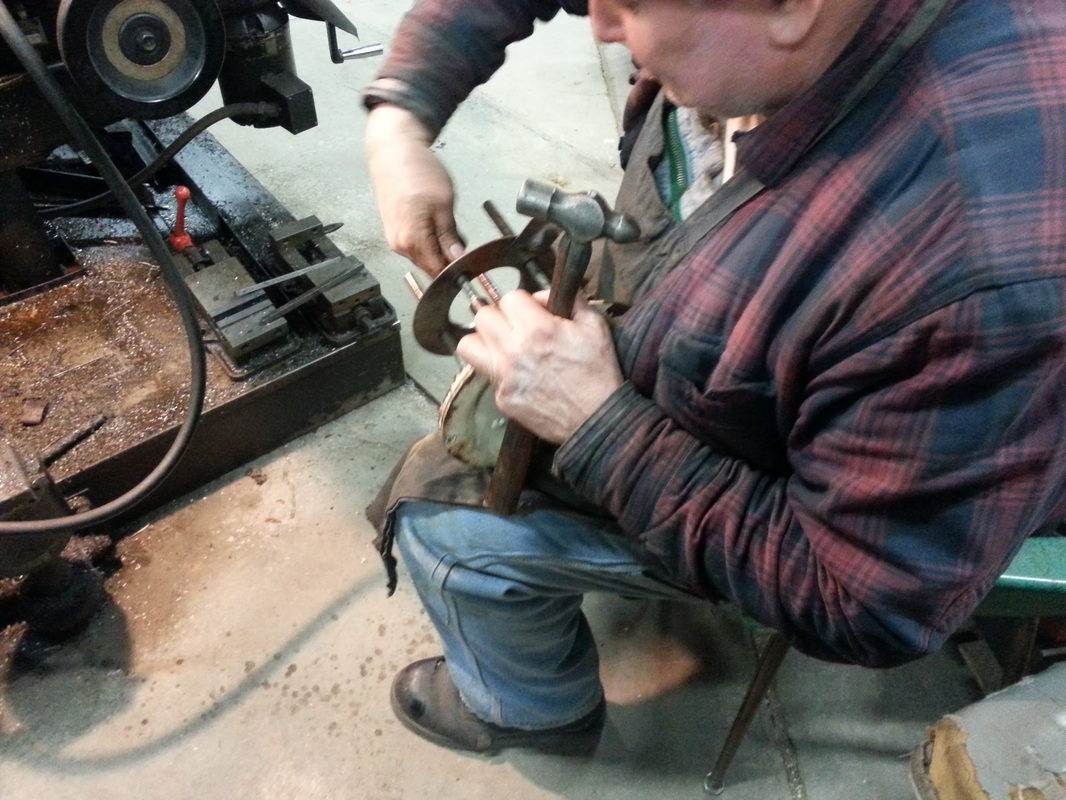
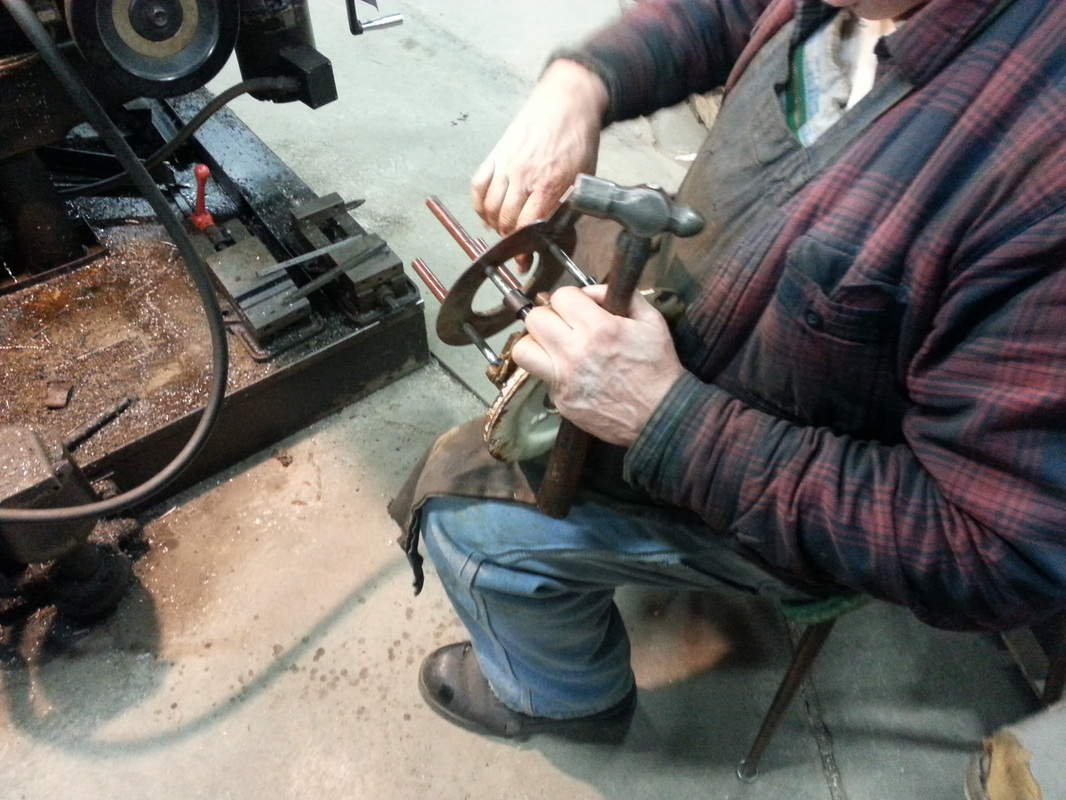
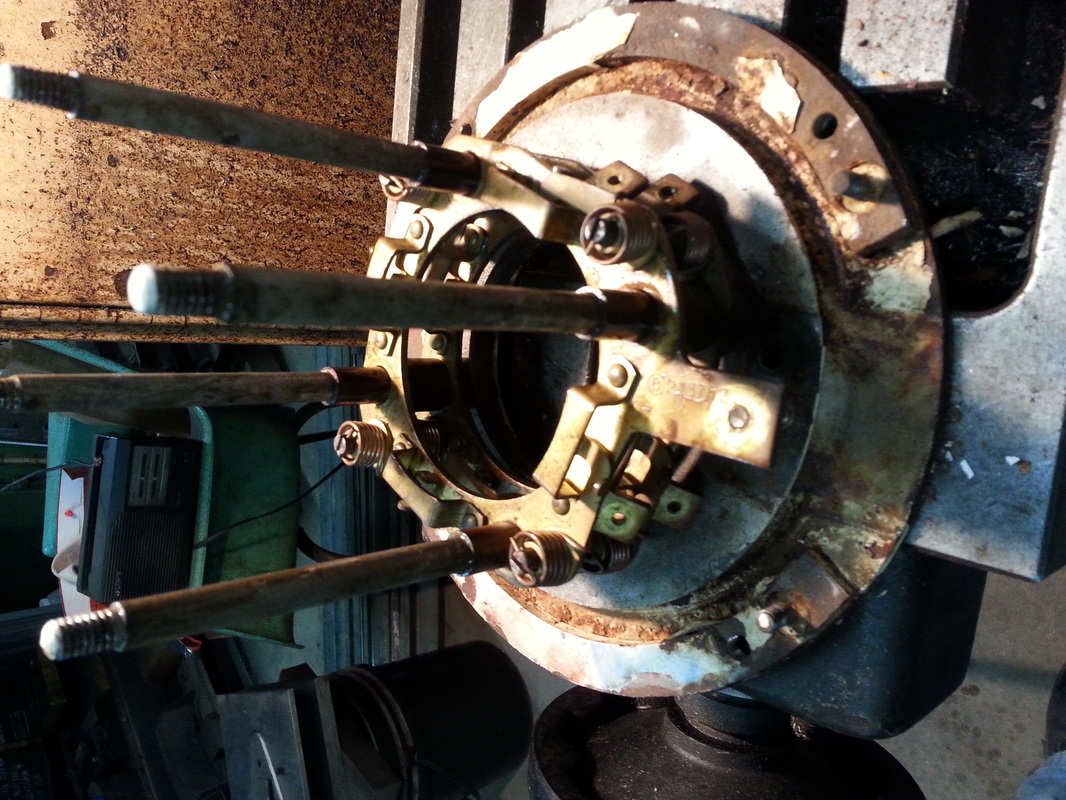
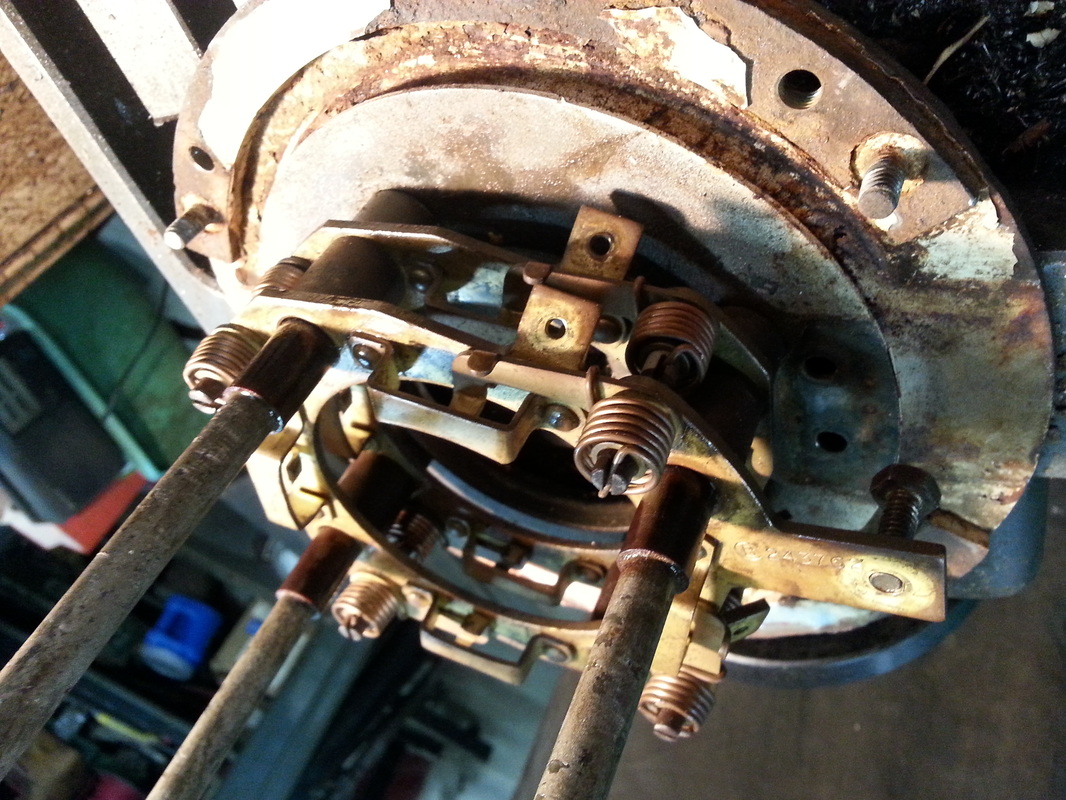
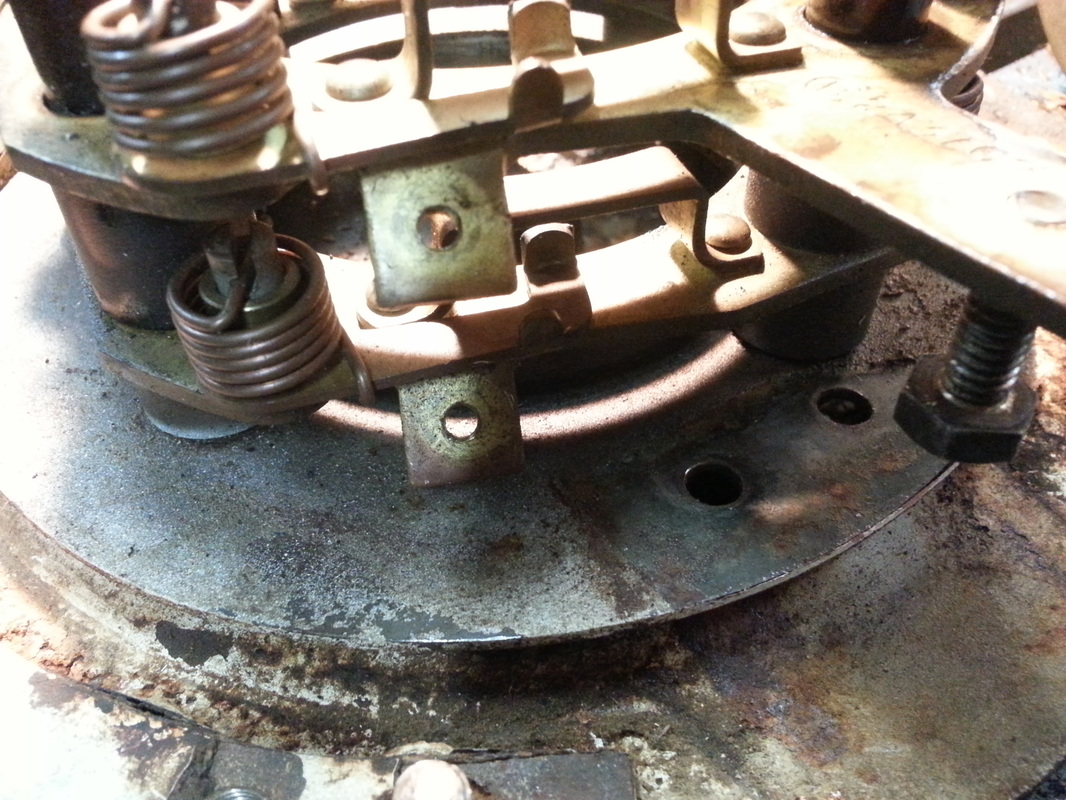
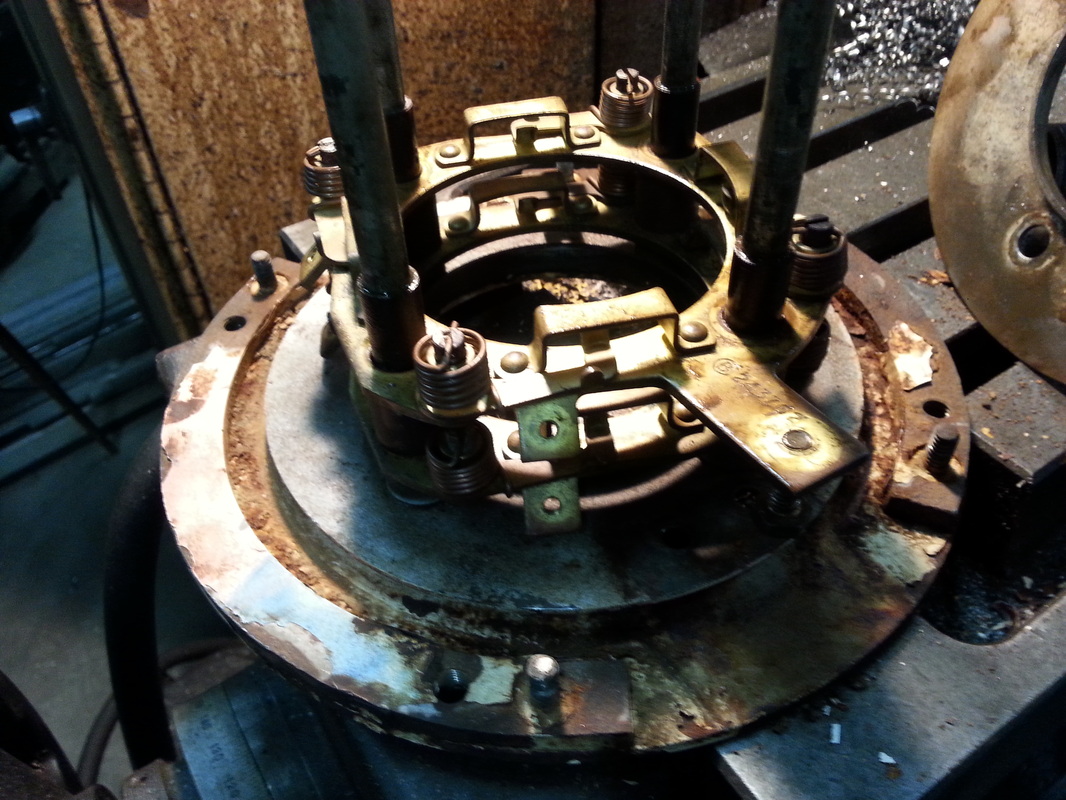
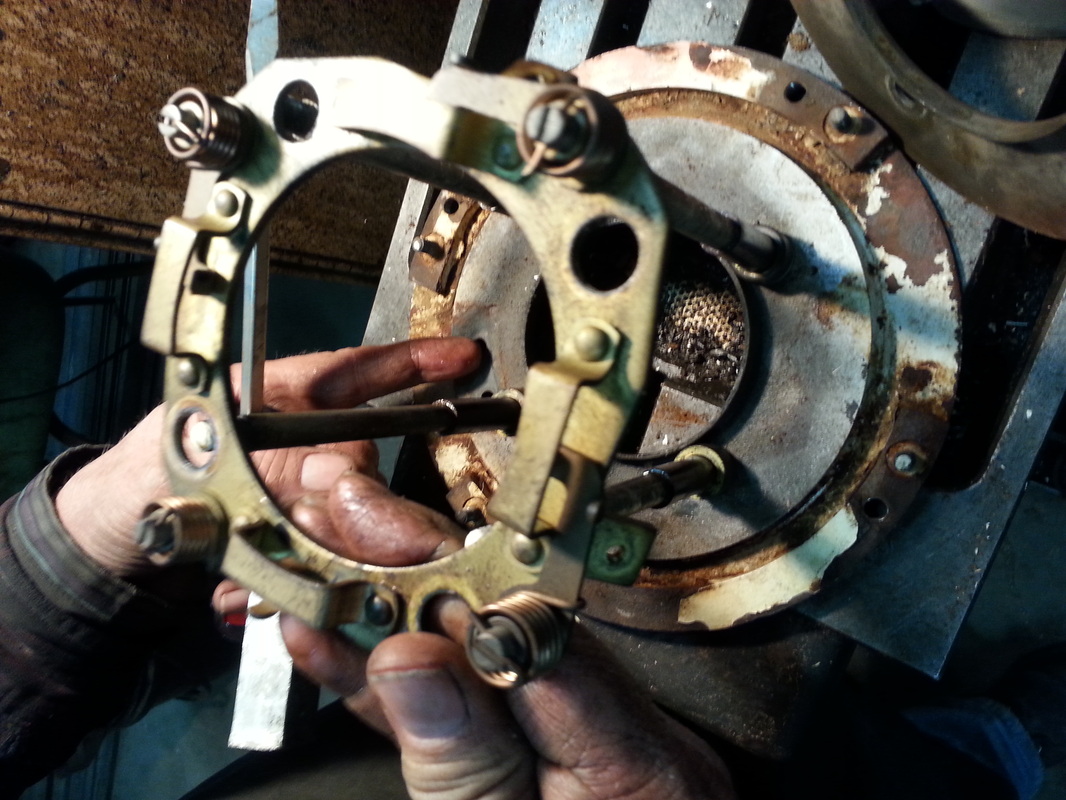
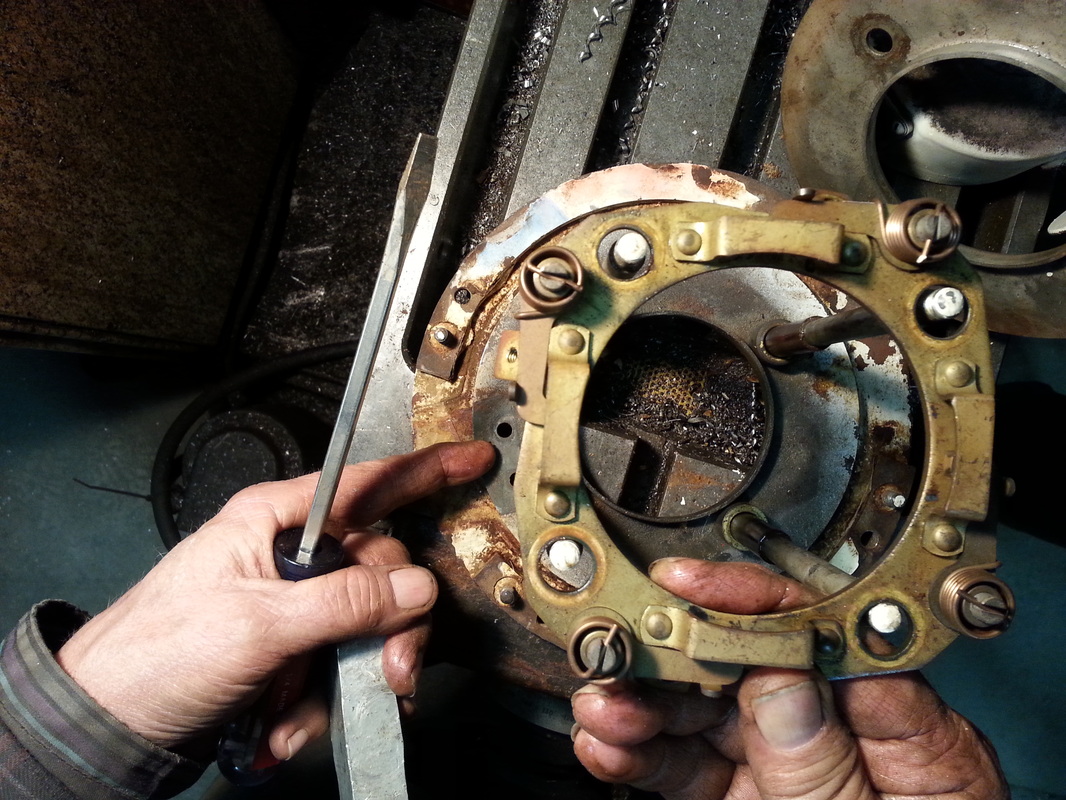
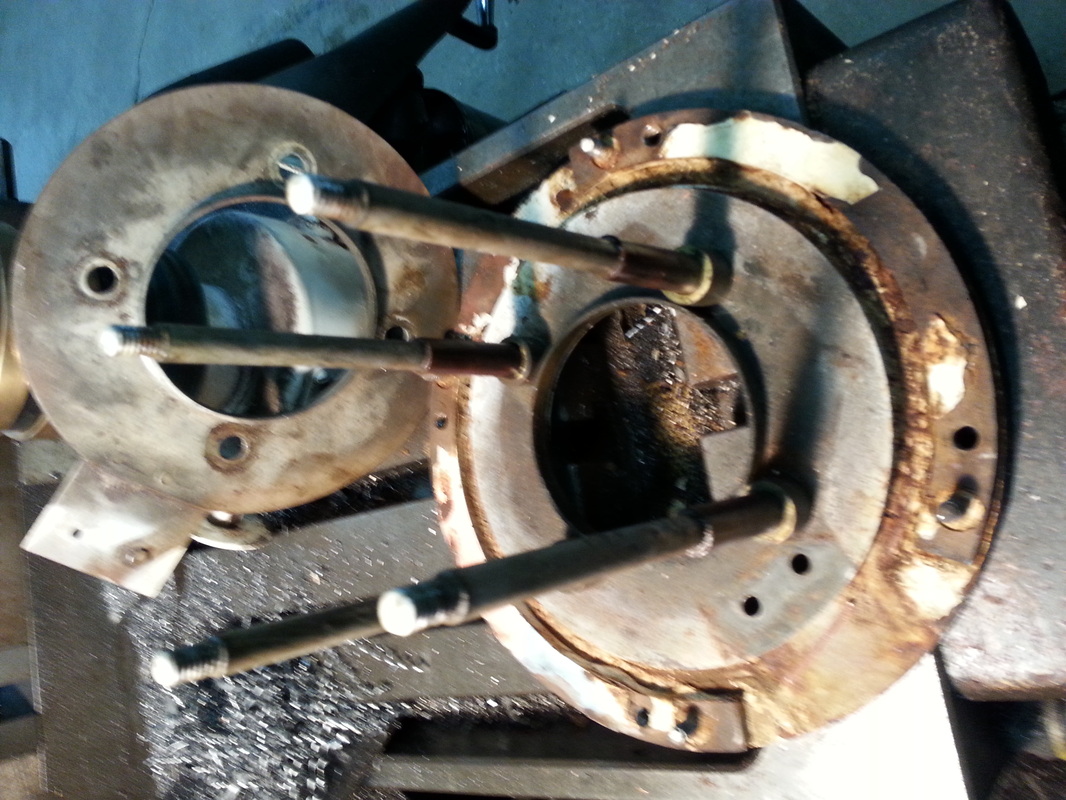
The commutator is an impressive part of the tank. It is the link for all of the communication and voltage from the turret and the hull. Without this part the turret could not spin 360 degrees around. Take a look at B5's unit being broken down.


|
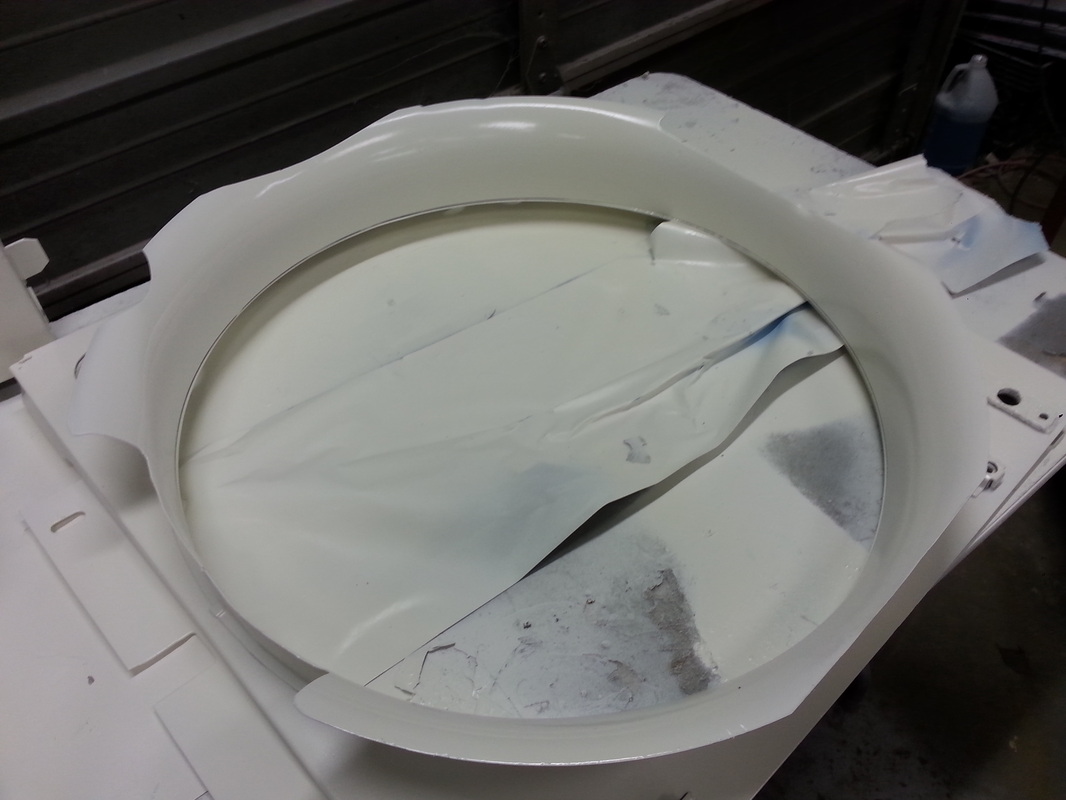
One of the fan shrouds. Looks great! Ready for installation. |
|
Take a look at the difference on the cleaned and painted parts. |
|
|
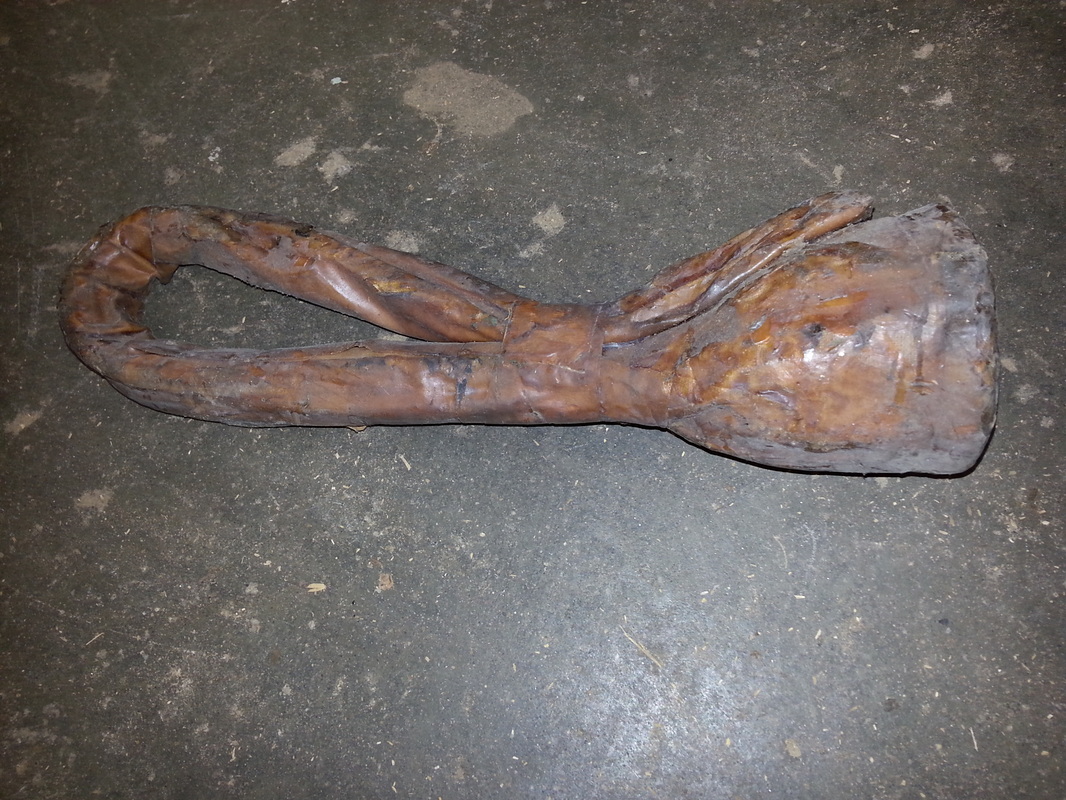
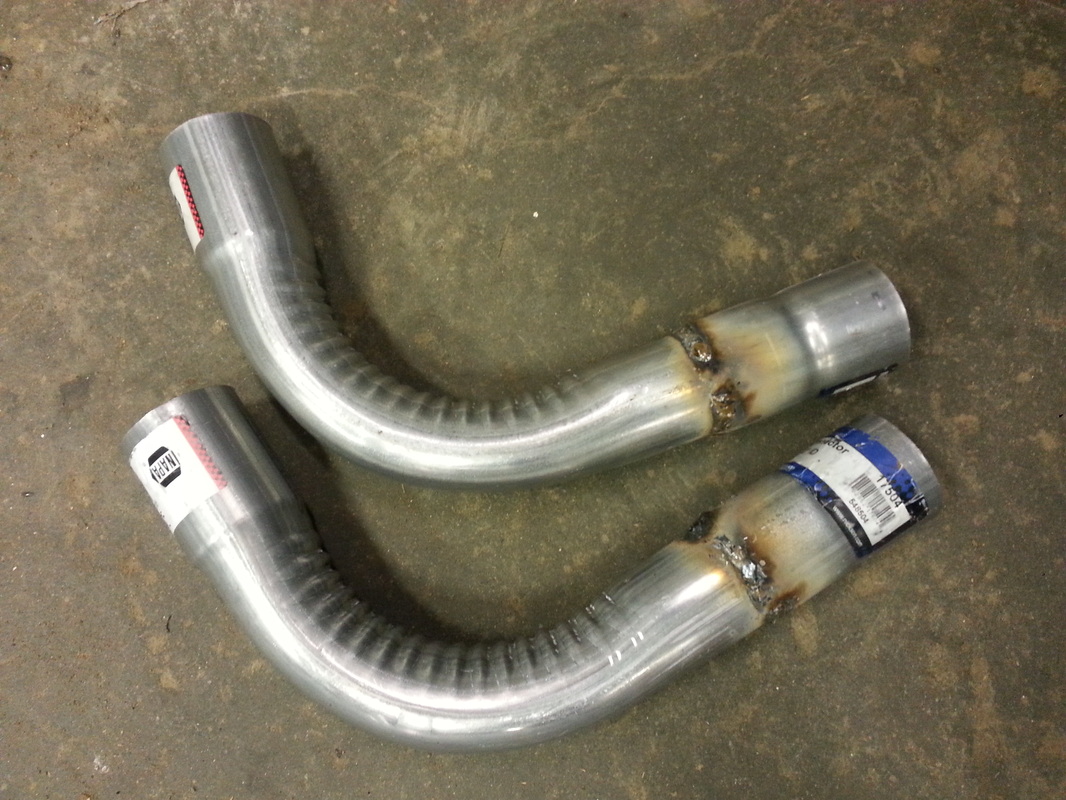
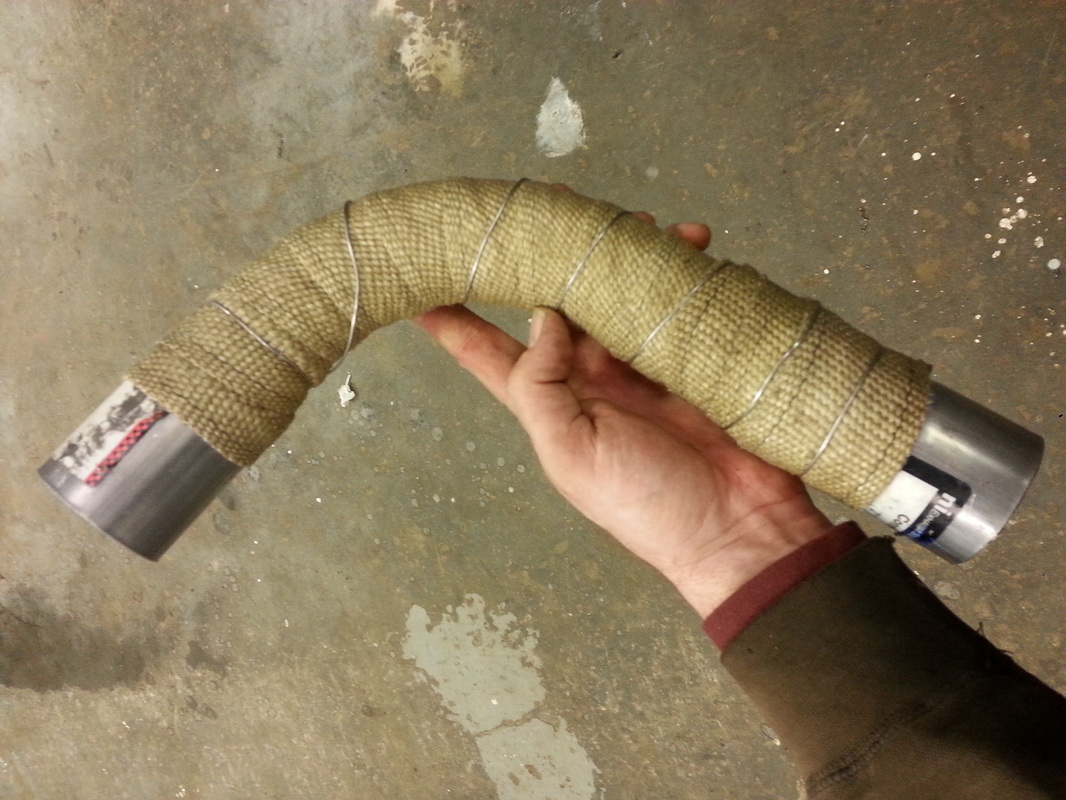
Here are the tailpipes for the Stuart. This is after the muffler and routing out the fan shroud. There is an additional piece that turns the hot exhaust gases into the deflector. The old ones had rusted out after many years of service.
|
|
Wintertime
During the winter a rush of hot moist air came into the area. Everything was covered in condensation! The tank, having a great deal of thermal mass, was dripping water all over even though it was in the barn.
|
|
New parts! Well, really old parts that are in like new condition. We have addressed the opening of NOS parts before but it never gets old seeing parts this perfect.
|
Take a look at all the soot on the right engine. The choke on the carb was adjusted way too rich. The adjustment is on the side of the carb on top of the engine with little room. Rotating forward will lean it out (less choke) and turning it back towards the back of the tank will richen (more choke) the mix. We adjusted it leaner and had the caddy running so smooth! |

|
