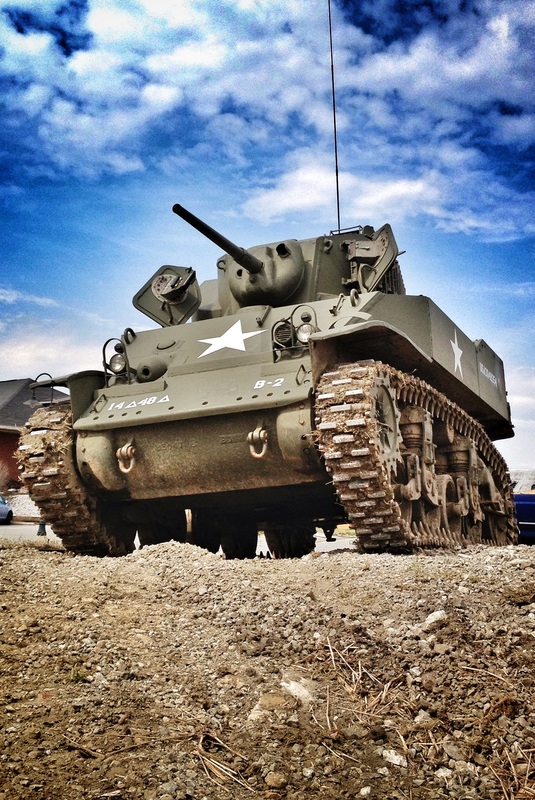
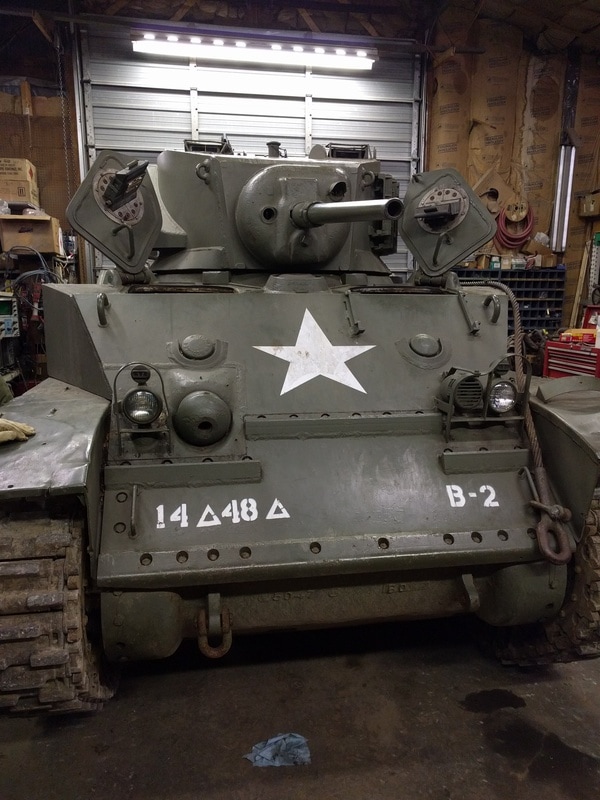
M5A1, The Texan, B2
The texan is a M5A1 that came from Texas (of all places...). The poor thing was a basket case. It has not received a full restoration, or even a partial restoration. What we did was get the mechanical operation of the tank to a usable level. This tank is currently our only piece with steel track. No parades for this guy!!!
In the Texan's first outing to a tactical battle at Camp Atturbury it performed brilliantly. In a battle that was slightly overmatched we shined! From a high vantage point we dropped 5 rounds into the turret of the Tiger. Be your own judge of its condition after that. We also flanked and took out the German held town. After this heroic action the tank that was once called the Texas Turd was rechristened the TEXAN!
In the Texan's first outing to a tactical battle at Camp Atturbury it performed brilliantly. In a battle that was slightly overmatched we shined! From a high vantage point we dropped 5 rounds into the turret of the Tiger. Be your own judge of its condition after that. We also flanked and took out the German held town. After this heroic action the tank that was once called the Texas Turd was rechristened the TEXAN!
|
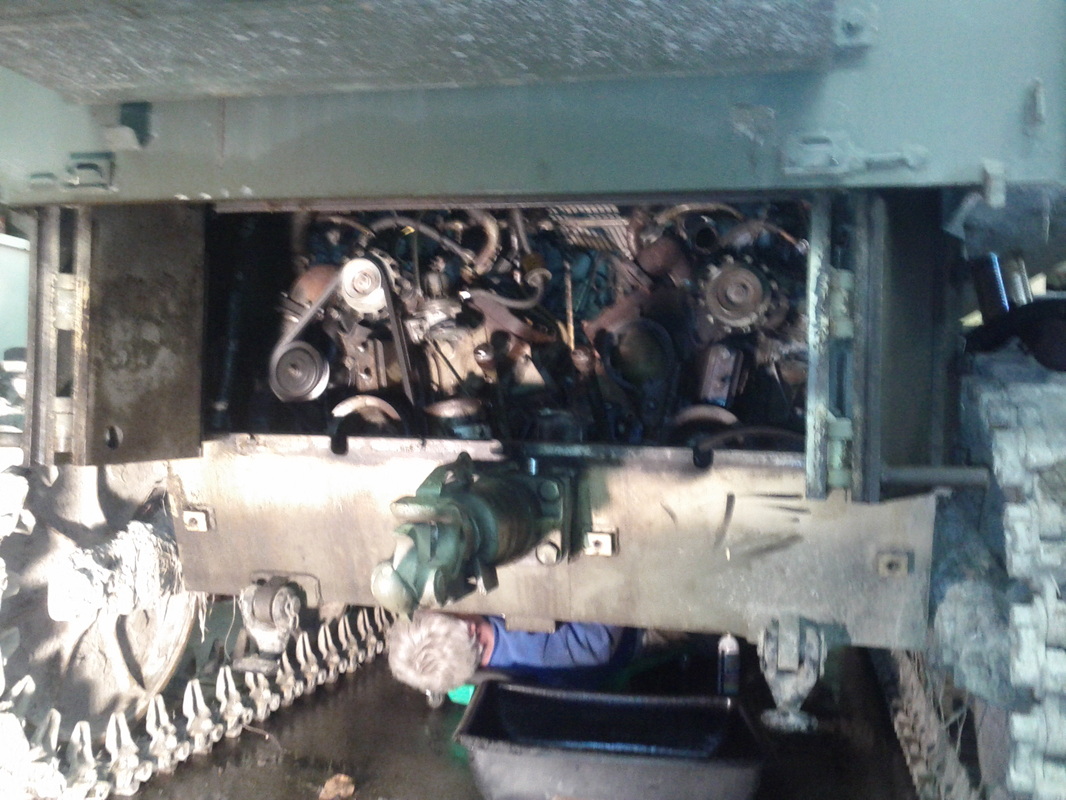
Here is a shot of the engine bay. Note the use of two Cadillac engines. |
|
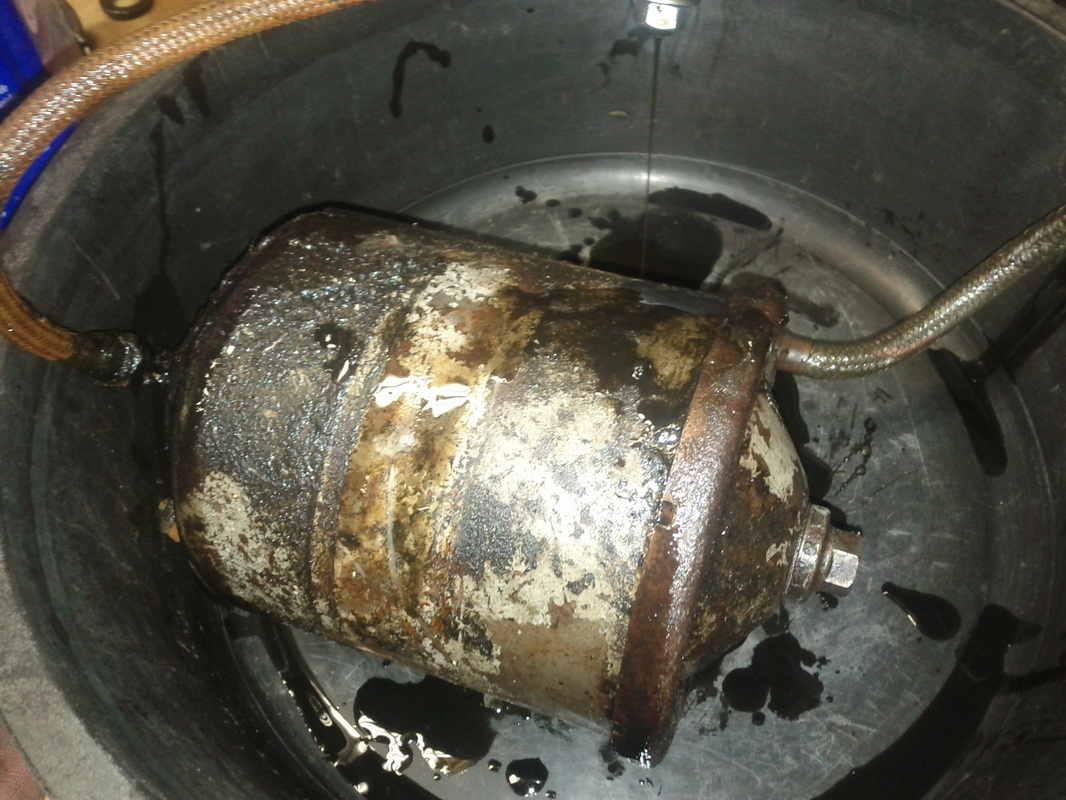
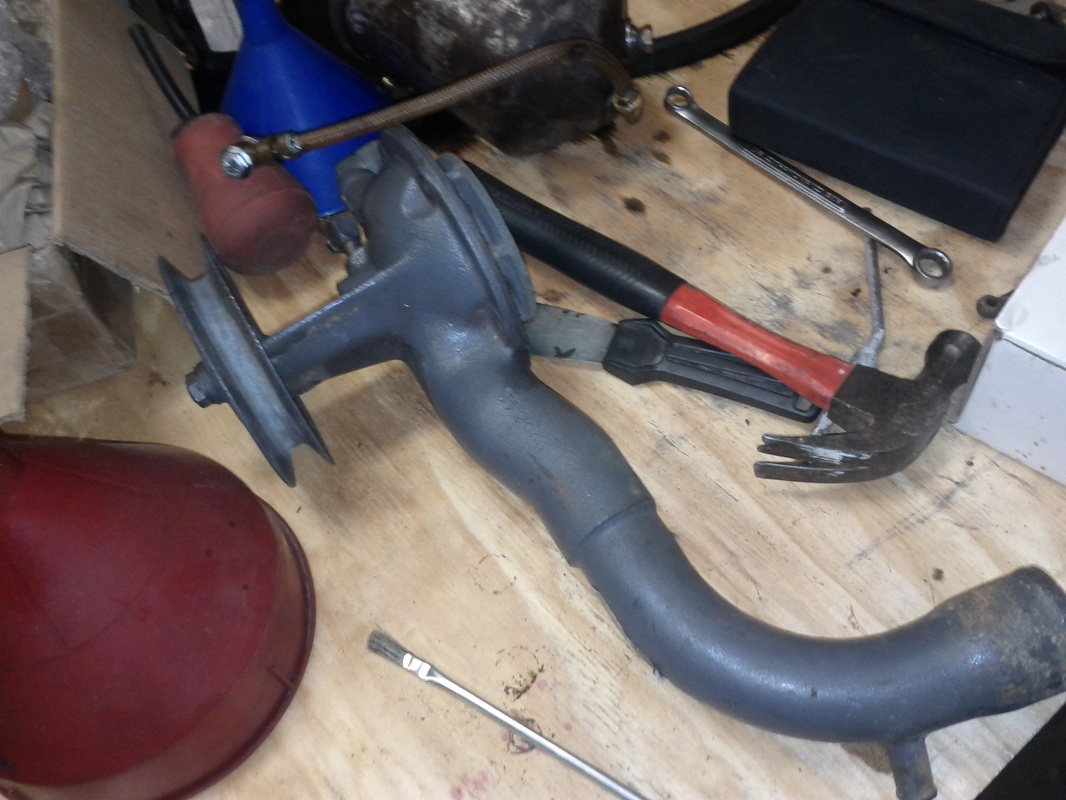
This is an oil filter assembly from the right engine. It was leaking at the lid and one of the hoses. Metal braid hoses are tough, but it can be hard to find leaks in then as the damage is often hidden under the braid. I applied some air pressure to the assembly and found the telltale oil coming out. When in the engine bay the fans blow oil droplets everywhere, making it difficult to know where to even start looking for leaks. |
|
|
A close up of the engine bay. A view like this is only possible by removing all of the fan shroud assembly. Clearly the fans have already been removed. This allows for safely starting the engine while troubleshooting. |
|
The water pump on the right engine was leaking. We took a different one and put a new shaft and bushings in it. Here is the old one. It will be repaired and used when the next one goes bad. |
|
|
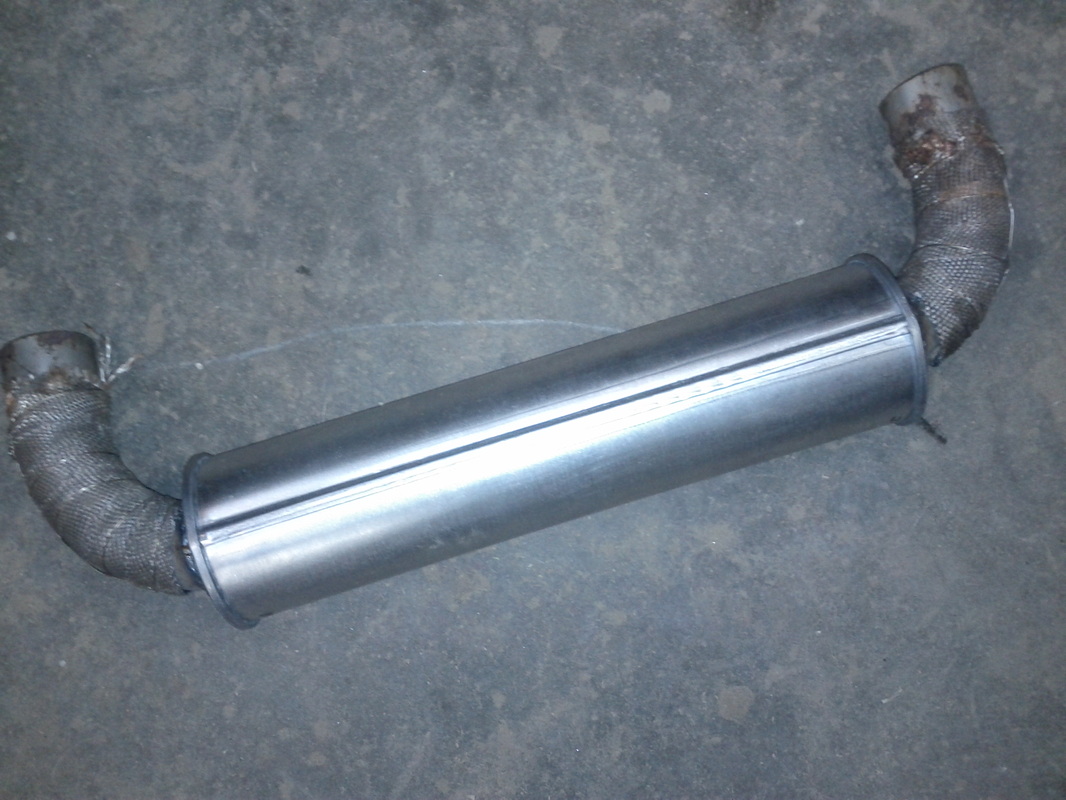
The muffler on the right engine was blown out. It gave the smooth running caddy a foul sound. In the close confines of the engine bay there is no room to improvise. An exact replacement was sourced and installed. |
|
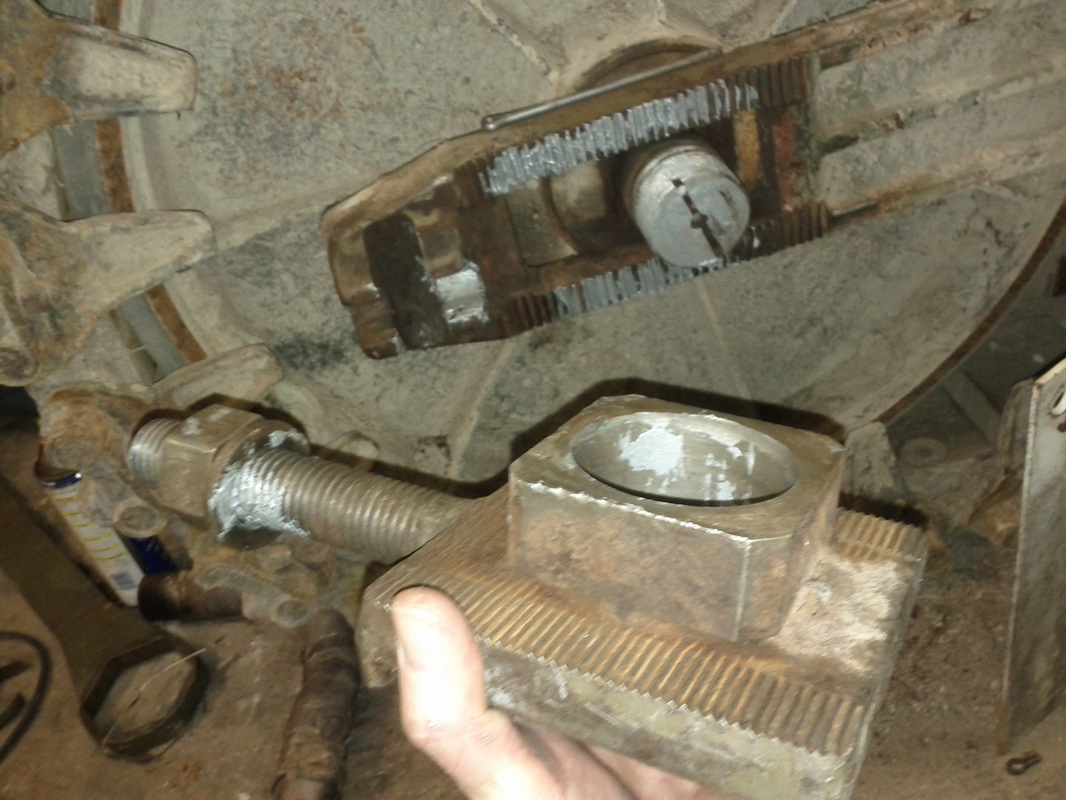
Here is a track adjusting assembly. It needed lots of cleaning, lube, and muscle to get these things off. A good coating of anti-seize will make it easier to adjust the track in the future, especially in the field |
|
|
The track adjusters are on the inside and outside. Of course these had never been cleaned. Just getting to them was quite a job. Then the limited space to work made things even more fun. |
|
Here is how the road wheel manages to support the great weight of the tank. A solid axle riding on a sliding adjuster. When it is bolted together none of the external components move, except the wheel of course! The bearing is inside the wheel. Don't forget to grease it. |
|
|
As noted earlier the Texan has steel track. This is a problem when it comes to getting around. Sure, the traction is great. But nobody wants tank tracks imprinted in their driveway or parking lot! I guess this tank is better suited for battle... |
|
This is the gas tank cap cover. It was seized up and required a pry bar to open. We drove the pins out and cleaned them up. Take a look at all that rust that came out of the hinge! |
|
|
Now thats better! Reassembly included new cotter pins and lots of anti-seize. Now the only hard part of filling the gas tank will be paying for it... |
|
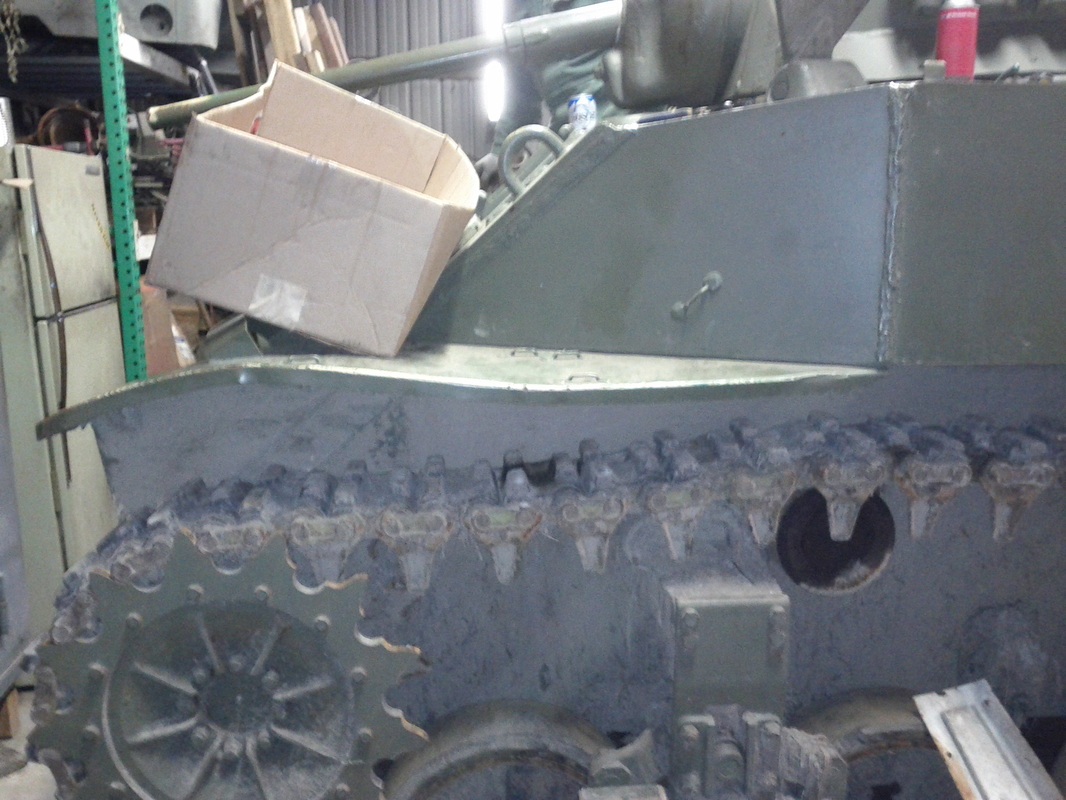
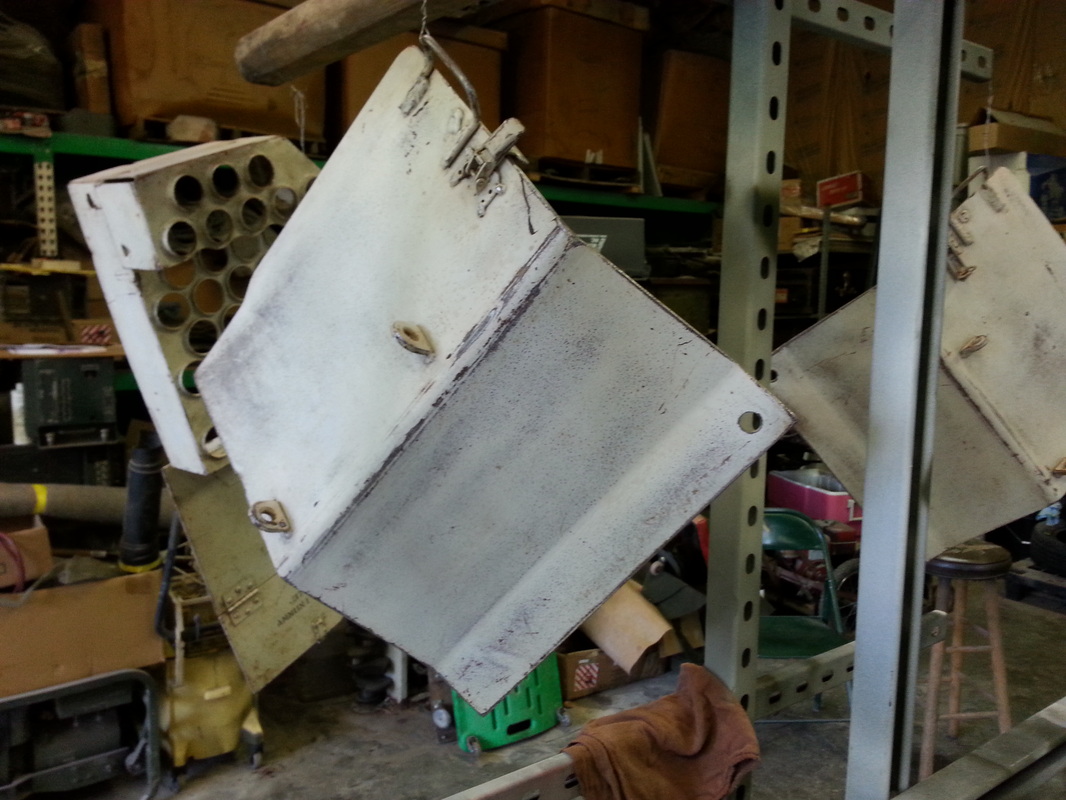
The fenders on both side were terribly bent up. This one is too high in the front and too low in the back. The box was being used for garbage and rust being cleaned out of the tank. We filled it. |
|
|
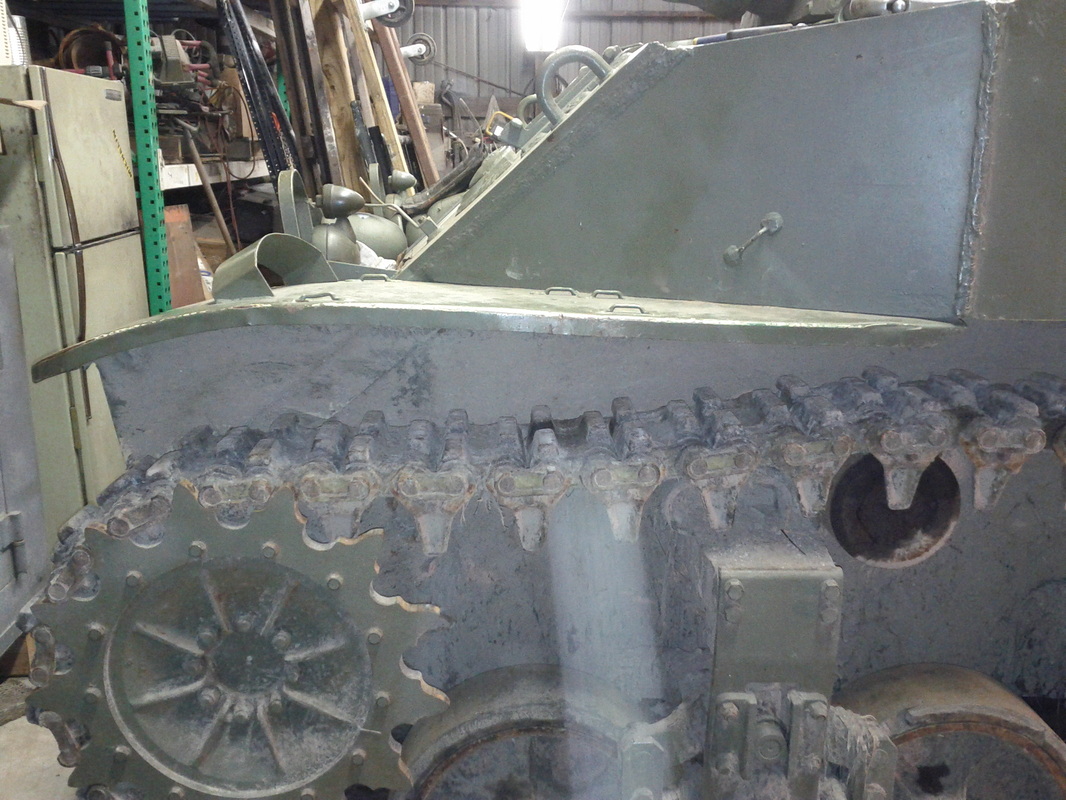
Here is the fender looking a bit better. The front is still too high, but the back is just right. As it turned out the front bracket had been broken and rewelded at some point, but it was repaired at the wrong angle. In the future it will be cut, adjusted, and welded again. |
|
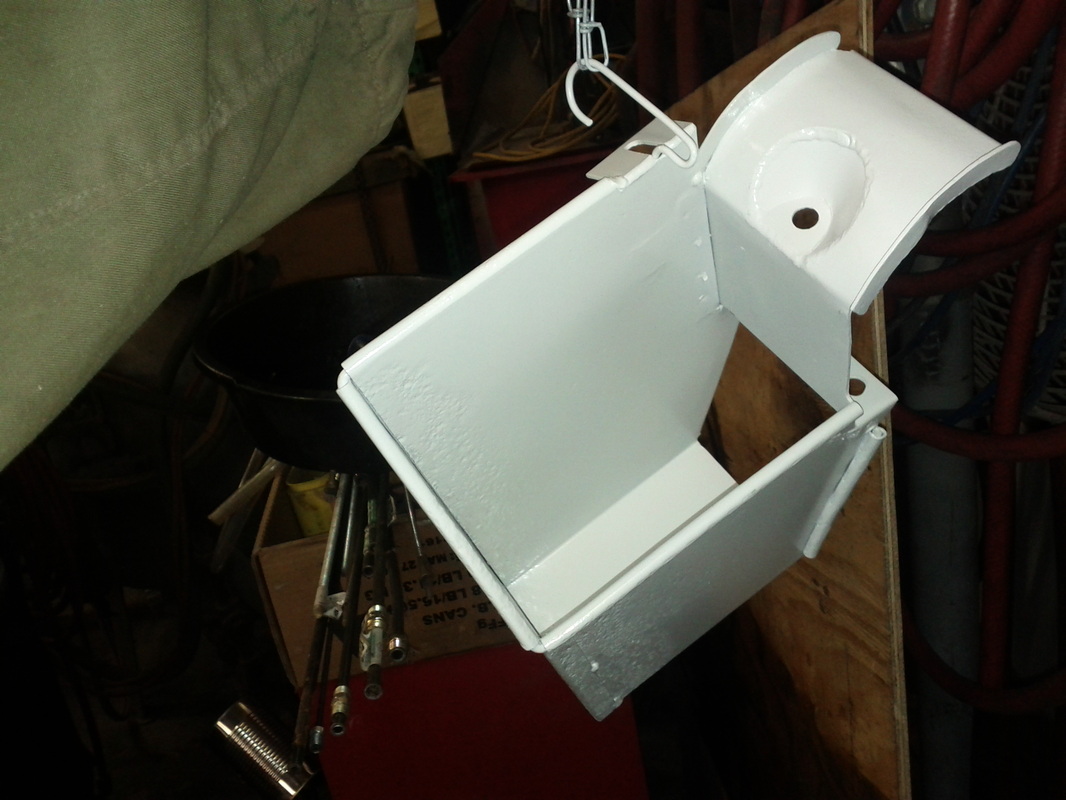
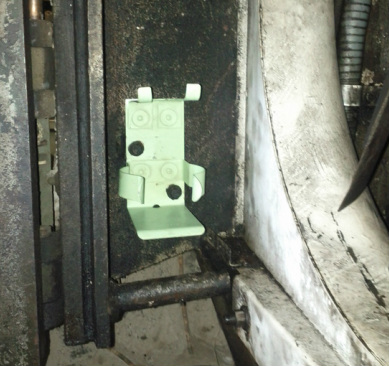
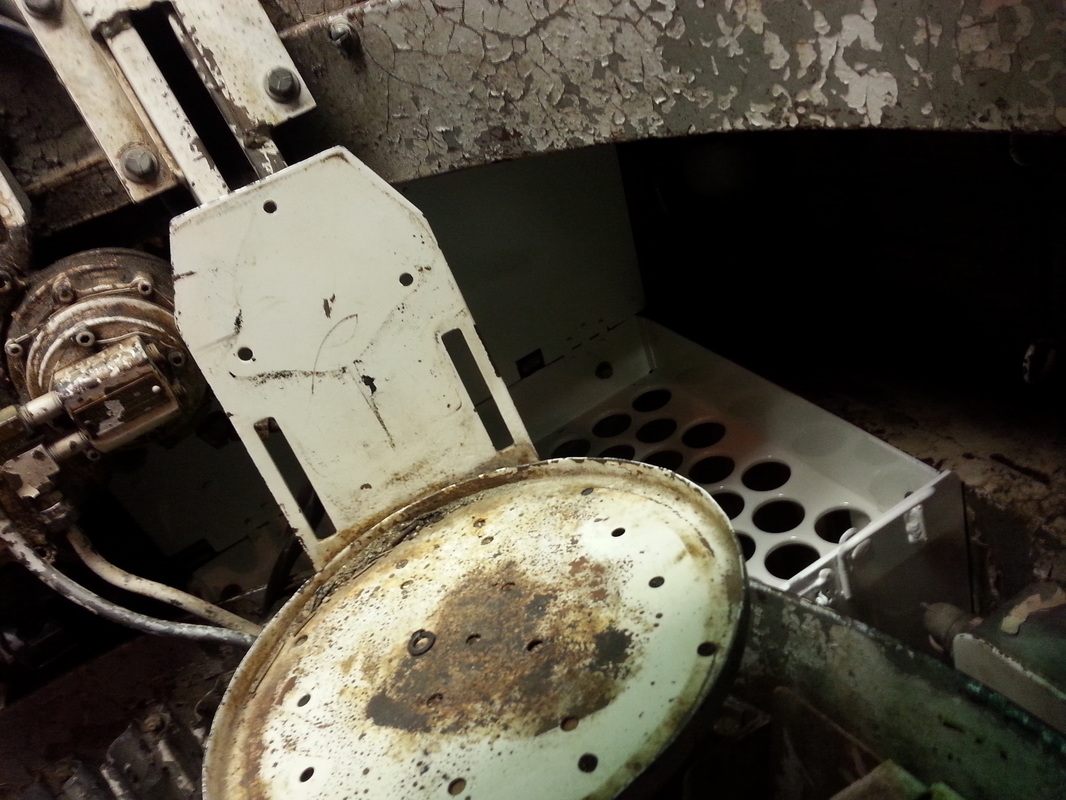
This part is the .30 cal. ammo can holder for the bow machine gun. Looks good now, but it had issues. |
|
|
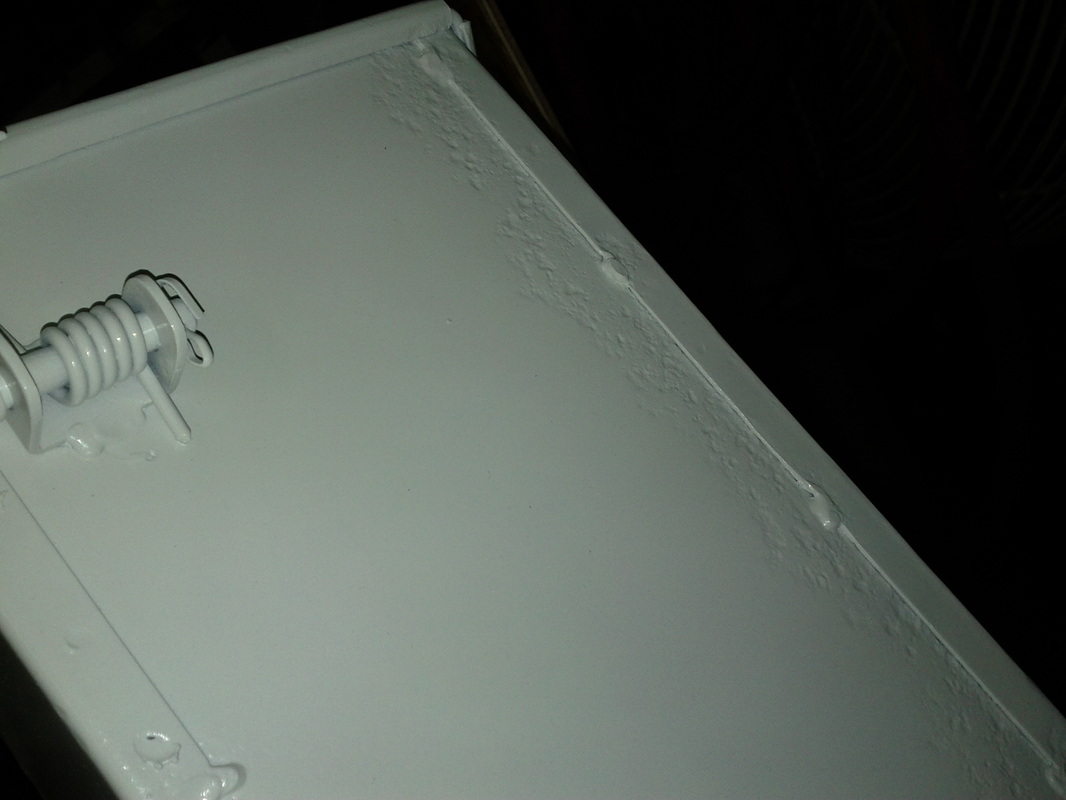
Note the light pitting across the right side of the bracket. Where the two pieces were welded together rust had invaded. The rust was in between the two pieces and caused it to swell out which made the ammo can not fit! Imagine the bow gunner without a fresh supply of ammo... This is the repaired item. Mike was so fast to fix it I couldn't get a before picture. |
|
This picture is looking into the engine compartment. You can see the fan shroud has been reinstalled and the fan is in place. Something is missing. |

|
|
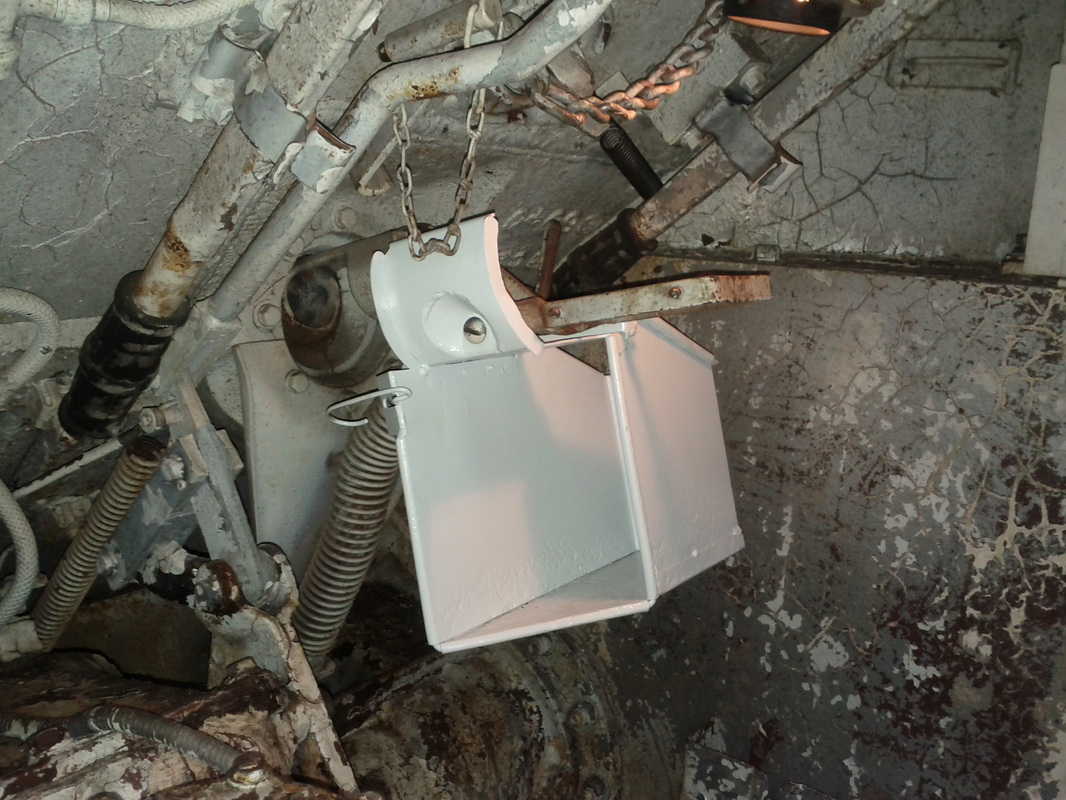
Its the oil can holder! We sourced one of these rare items and got it installed. A period correct oil can will be put in place (and used often) soon. |
|
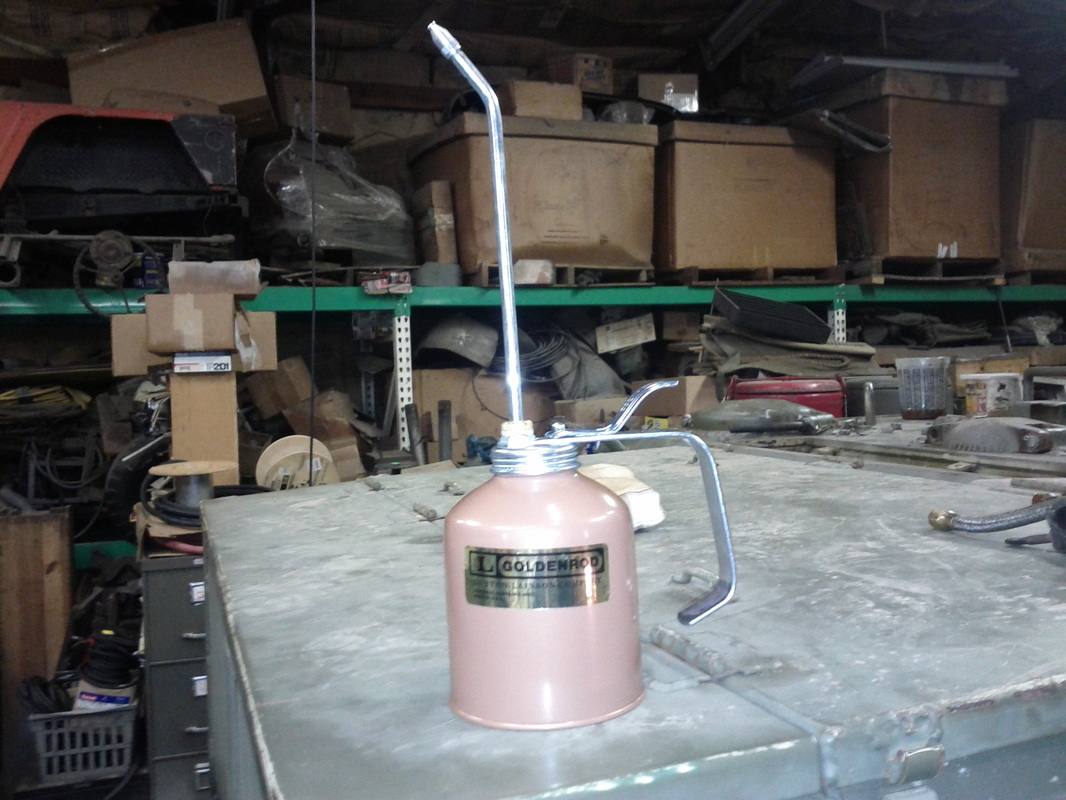
Here is the correct type oil can. Would you believe that it is still available brand new!? |
|
|
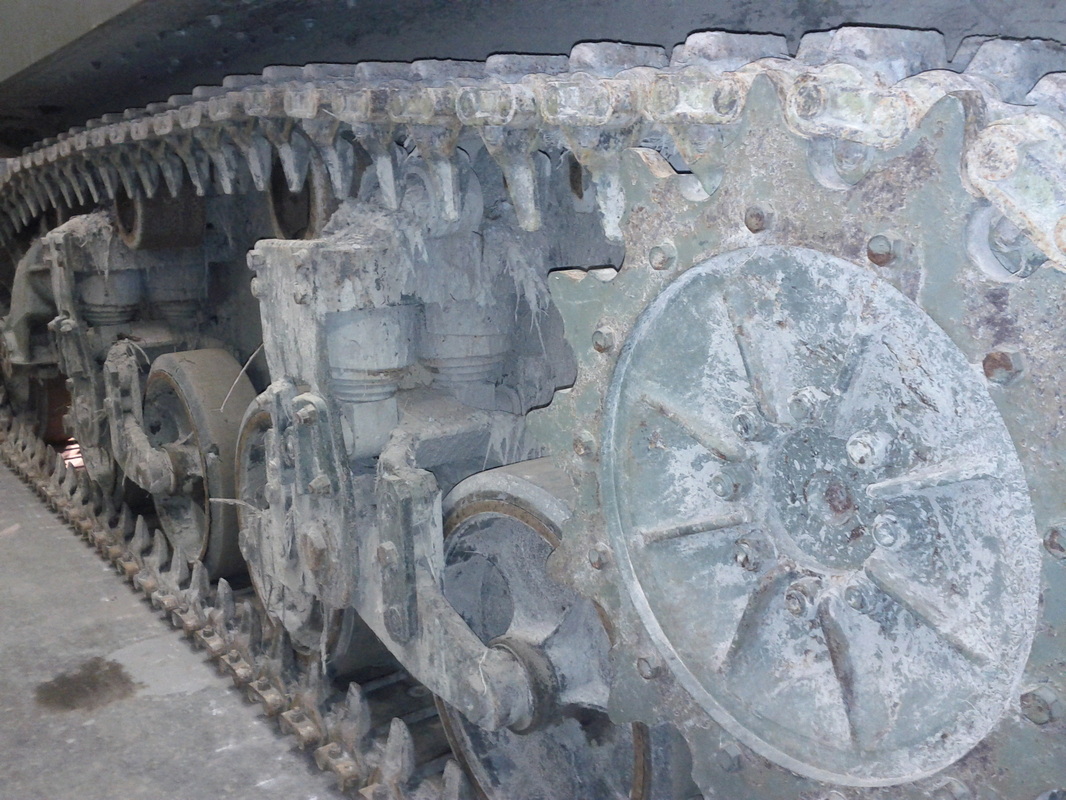
Note the steel track, still installed on B2 in the spring of 2013. While it is unmatched for traction, some rubber would be nice. That would give the tank more flexibility in where it can be used. |
|
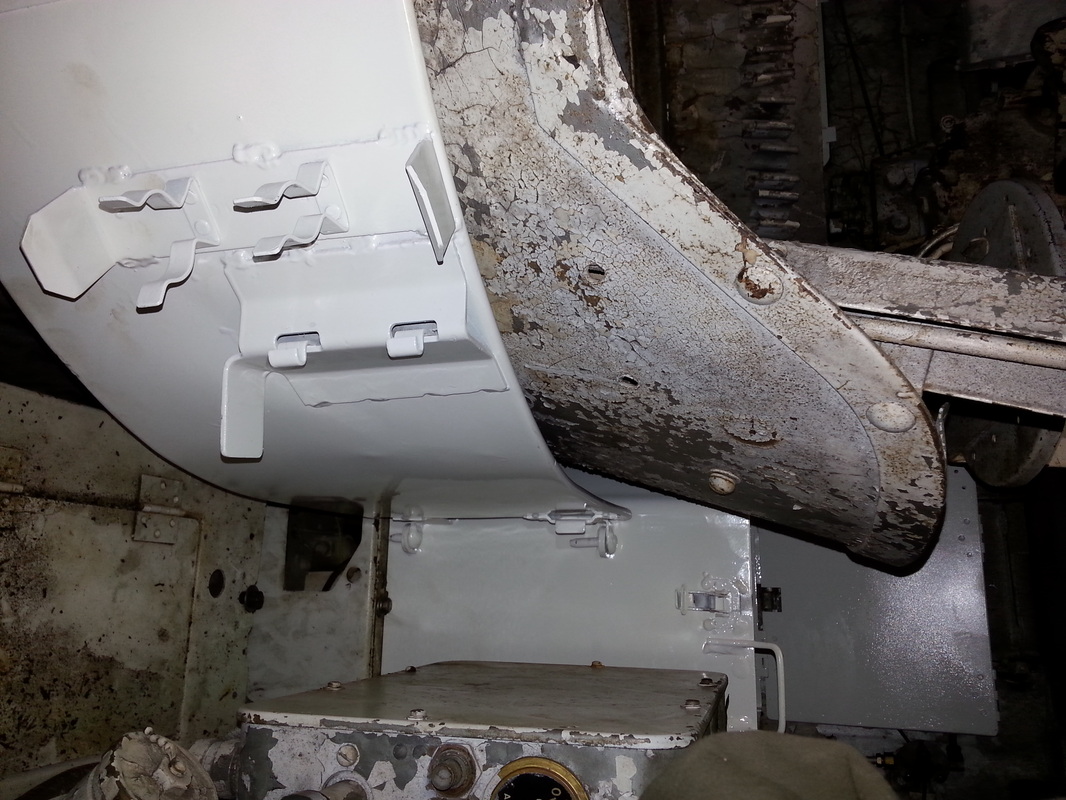
The Texan has received some cosmetic upgrades! Note the tan color of the open hatches... Not appropriate... We cleaned up the surfaces and turned them green. |

|
|
The hull was cleaned and prepped for paint. The lights and markings were taped up. The turret received some rust removal, cleaning and fresh 319 as well. |
|
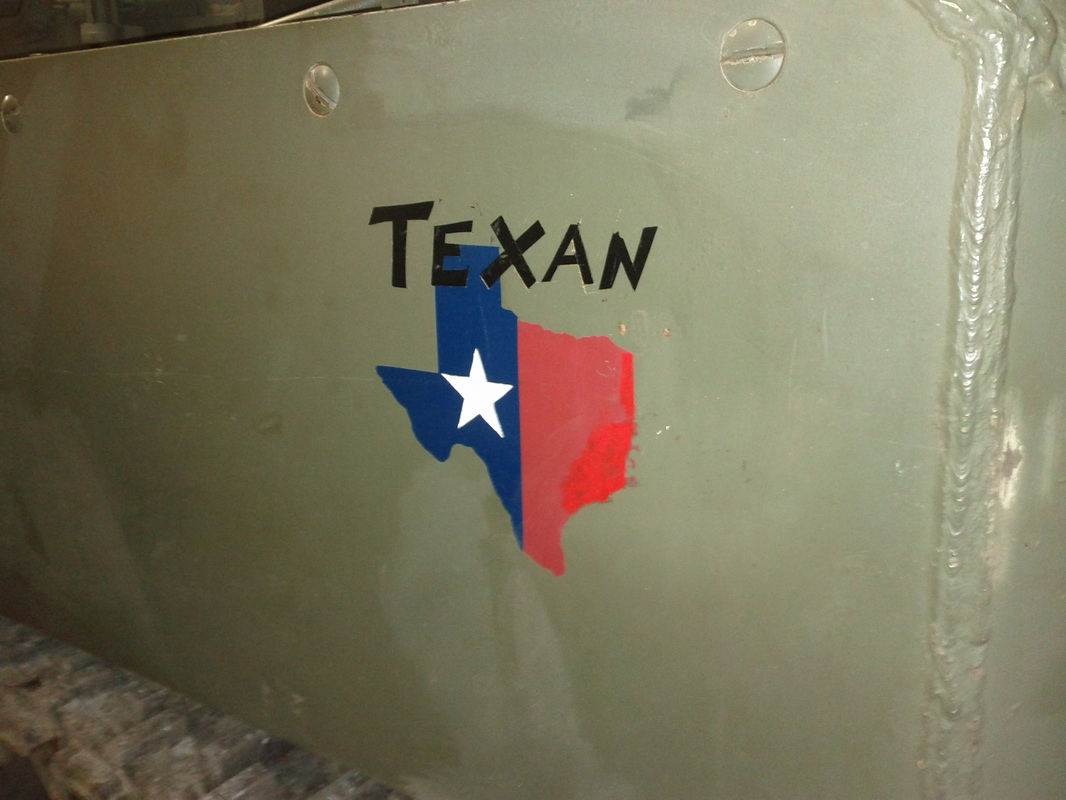
Here is the logo on B2. Previously it had a less proper image, after the tank's heroic action at 2012 Atterbury it was altered to this version. |
|
|
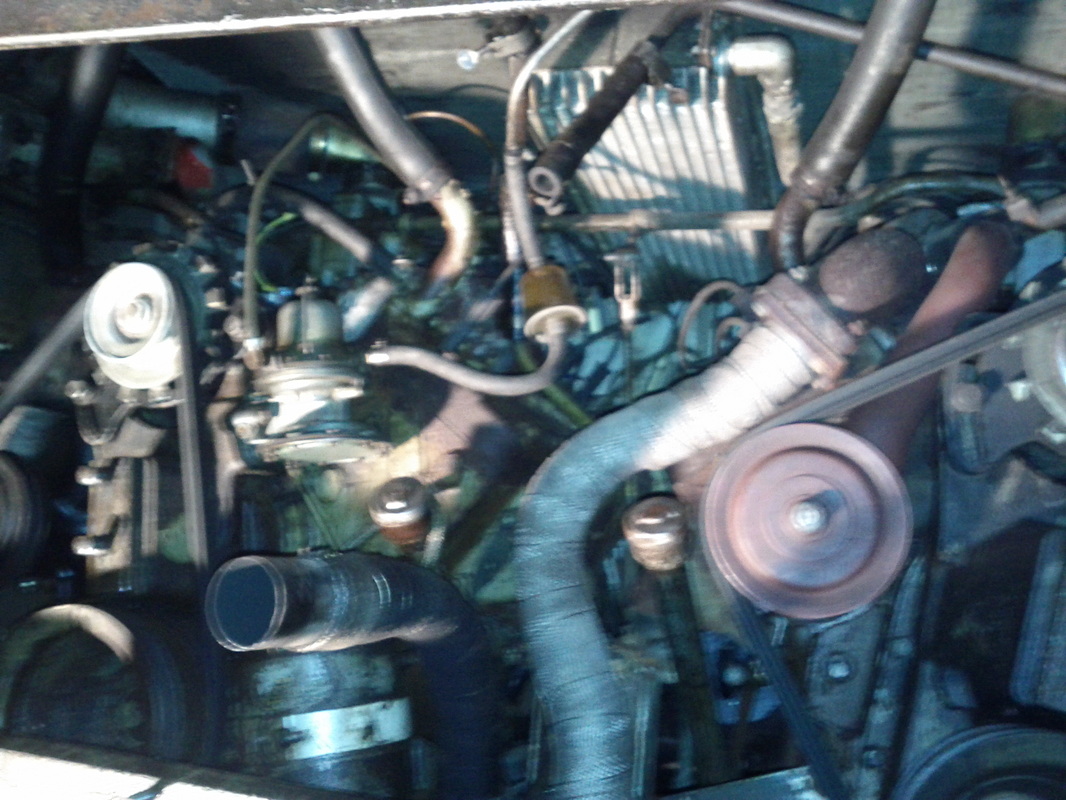
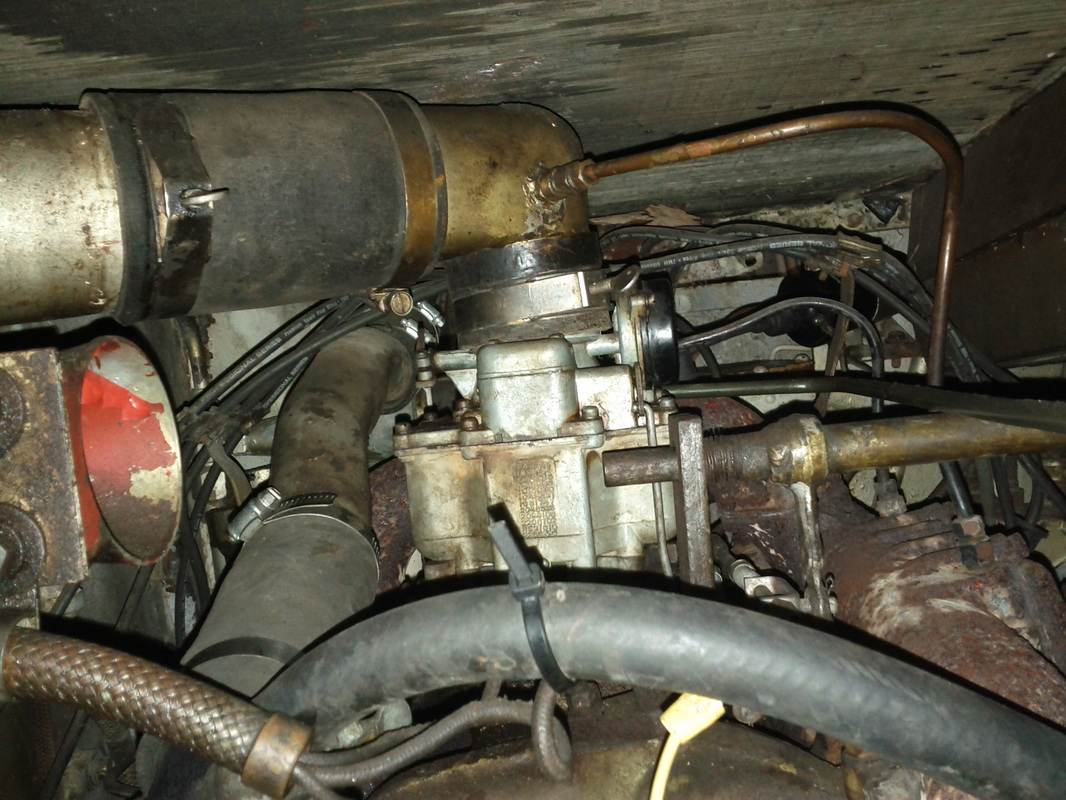
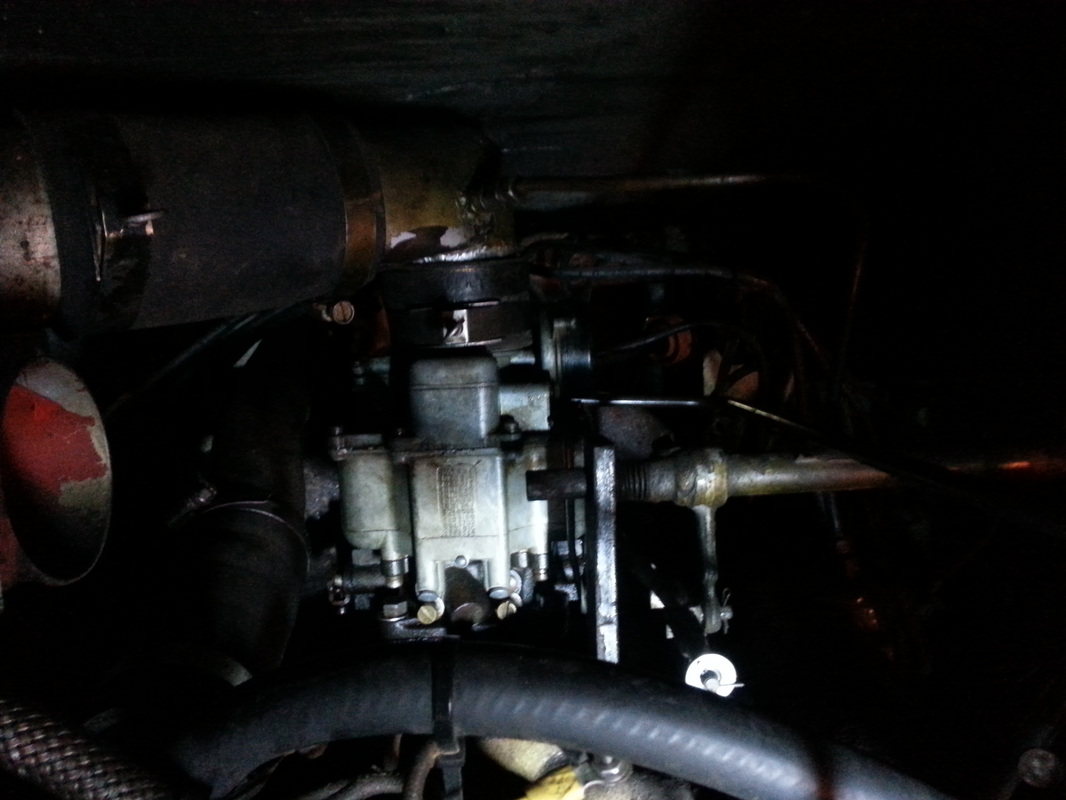
This picture shows the carburator on the left engine. The left engine wouldn't idle and lacked power. It ran fine when parked! Anyway, we went thru the ignition and replaced a leaking coil yet it still had problems. The carb. was removed and totally dissasembled, minor crud was removed, but nothing dramatic. The results were quickly evident, the tank started quickly and idles fine. The top of the photo is the bottom side of the radiator, its a tight fit! |
|
Remember that good looking ammo can holder for the bow gun we repaired earlier? Here it is installed in the tank! |
|
|
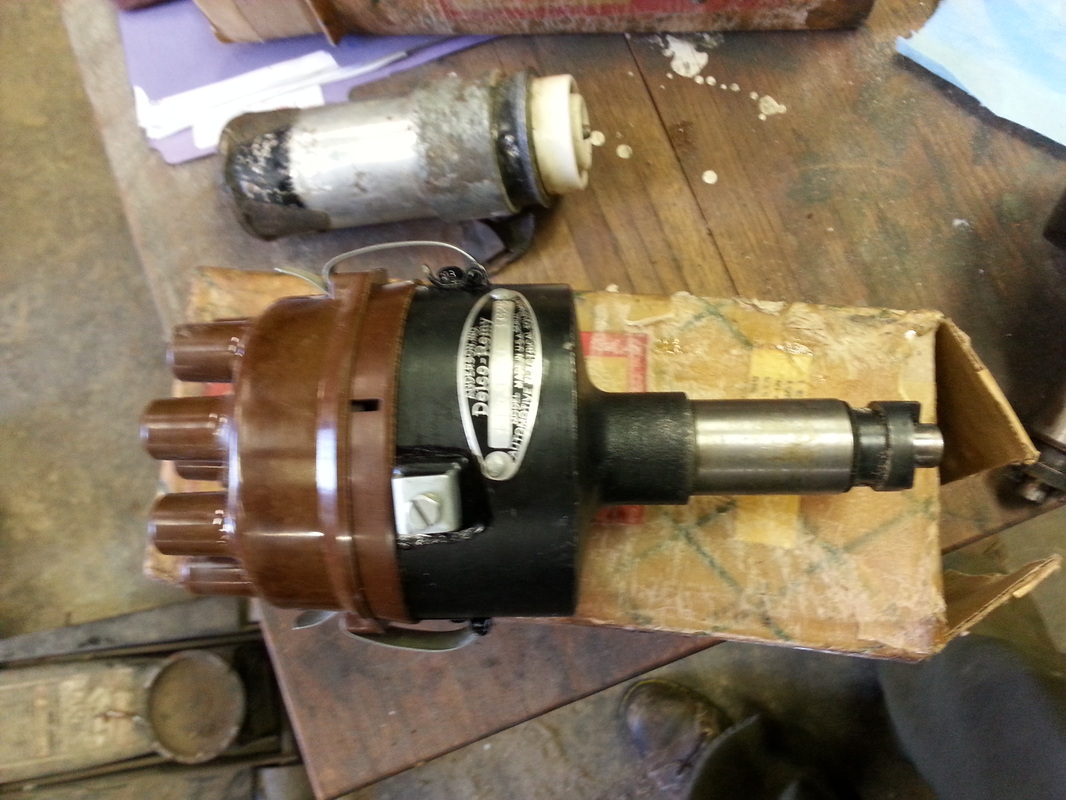
The Texan was not running properly. Despite cleaning and adjusting the distributors multiple times it was still not firing on all cylinders. We sourced some brand new NOS parts to bring the performance back to original specifications. |
|
These parts were packaged in the 1940's. Amazing how good this stuff looks after all these years. Opening a package that has not seen the light of day for 70 years is an incredible experience. The stock of these parts is drying up. Enjoy while you can! |
|
|
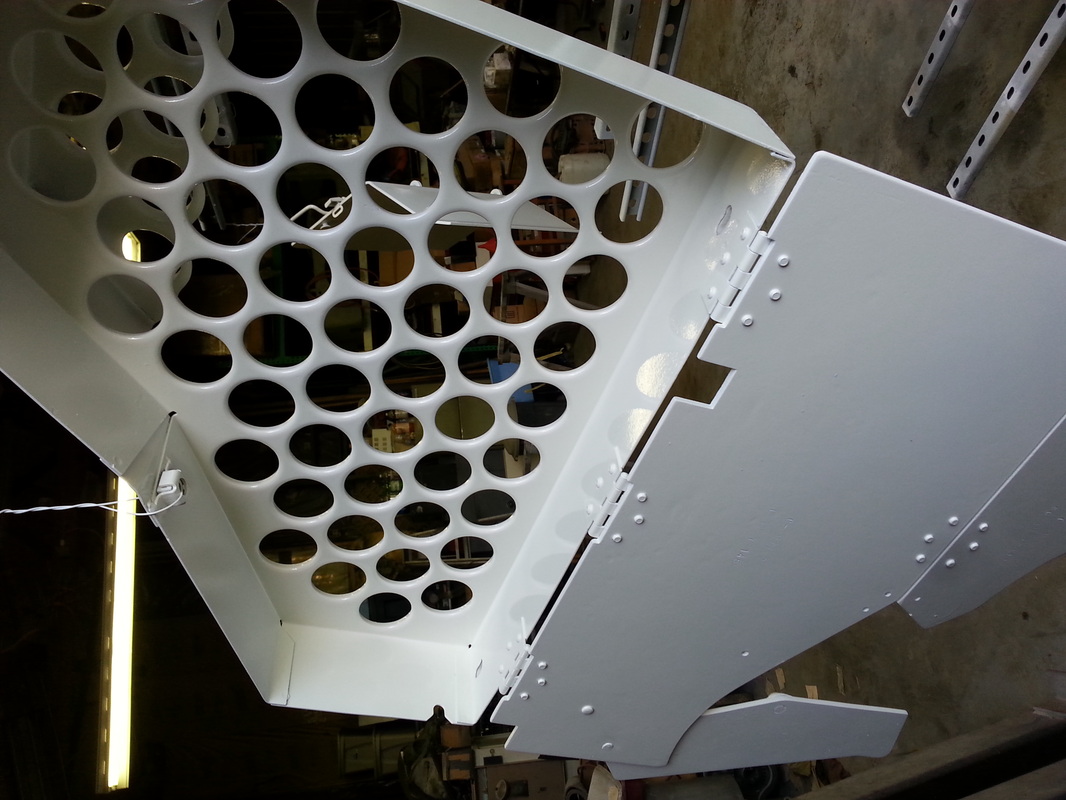
Lots of panels were removed from the tank during engine work. Might as well sand, scuff, and paint while we had all that metalwork out. |
|
A good rack makes for a good paint job! Primed and painted, these parts will really look good back inside the tank. |
|
|
Again?! Yes, the carb had to come off of the right engine again. Wouldn't run right and the accelerator pump appeared to have failed. In this picture it was just re-installed. As an added precaution we drained both gas tanks to get any crud out of the fuel system. |
|
MMM boy! Fresh paint! Here is one of the ammo racks after the paint was dry and ready for installation. |
|
|
|
Take a look at these parts installed in the tank. |


|
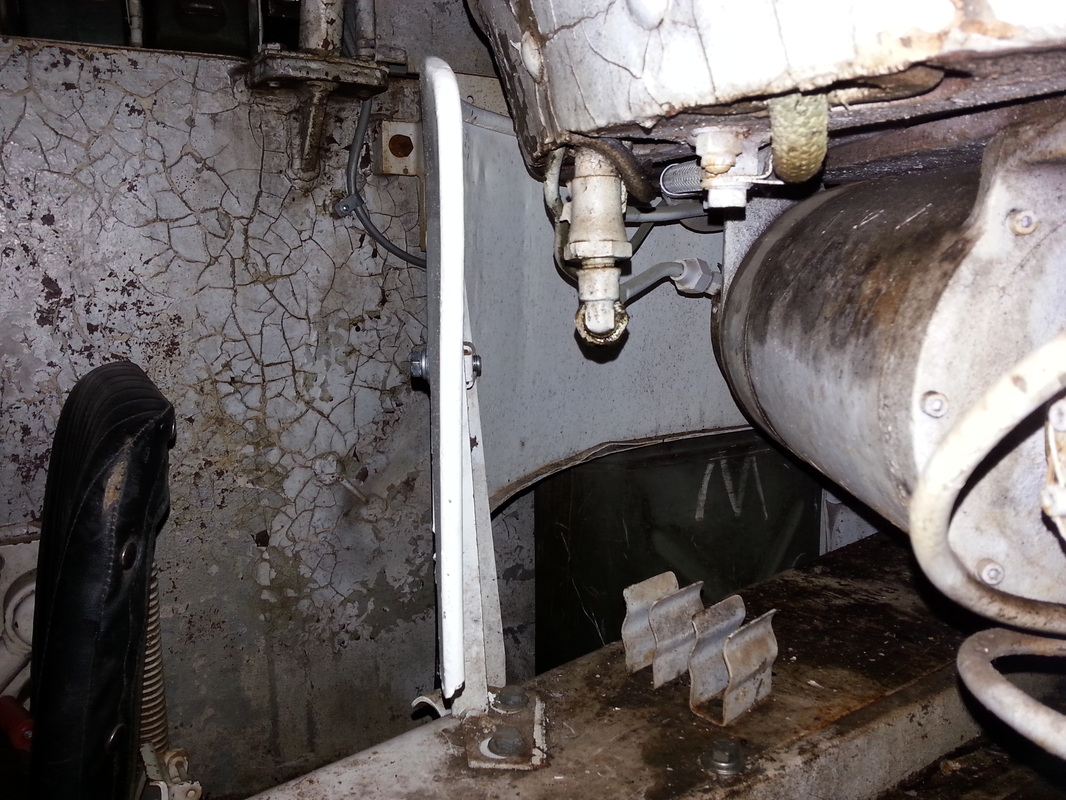
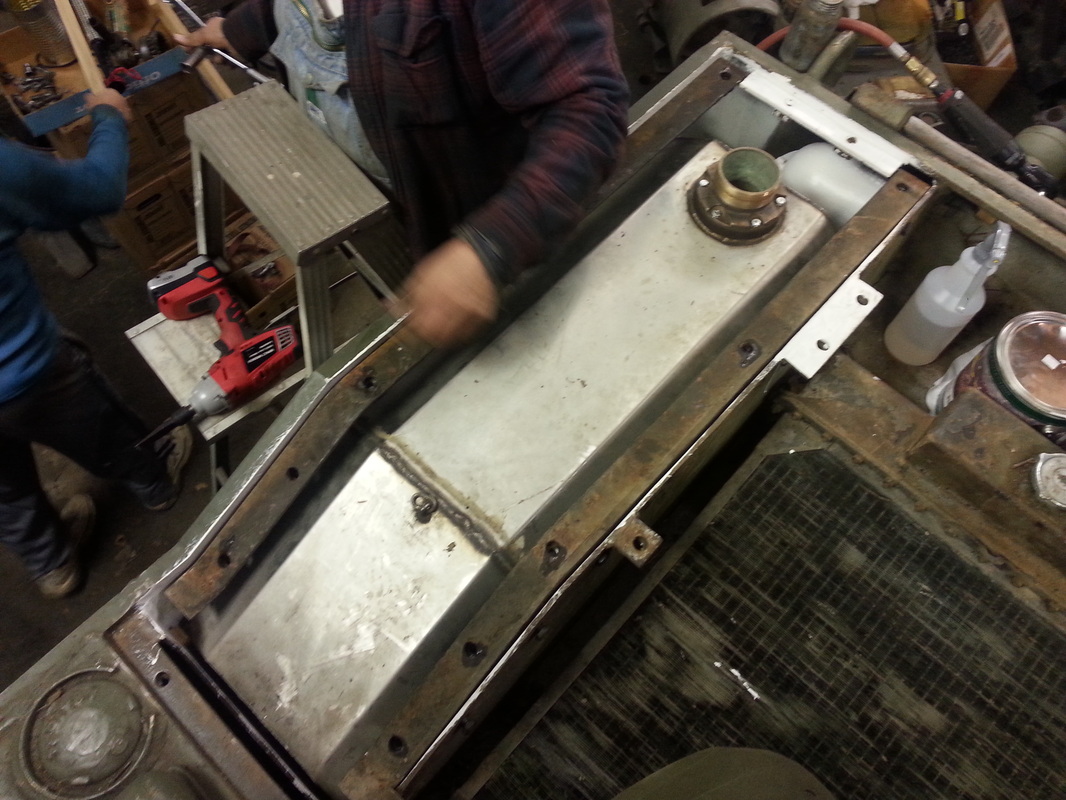
The Texan kept running poorly... So we pulled the gas tank and cleaned it out. Pretty serious job because it involves pulling the rear deck and lifting the tank out from the top. We did some clean up work while the rear deck was off too. |
|
|
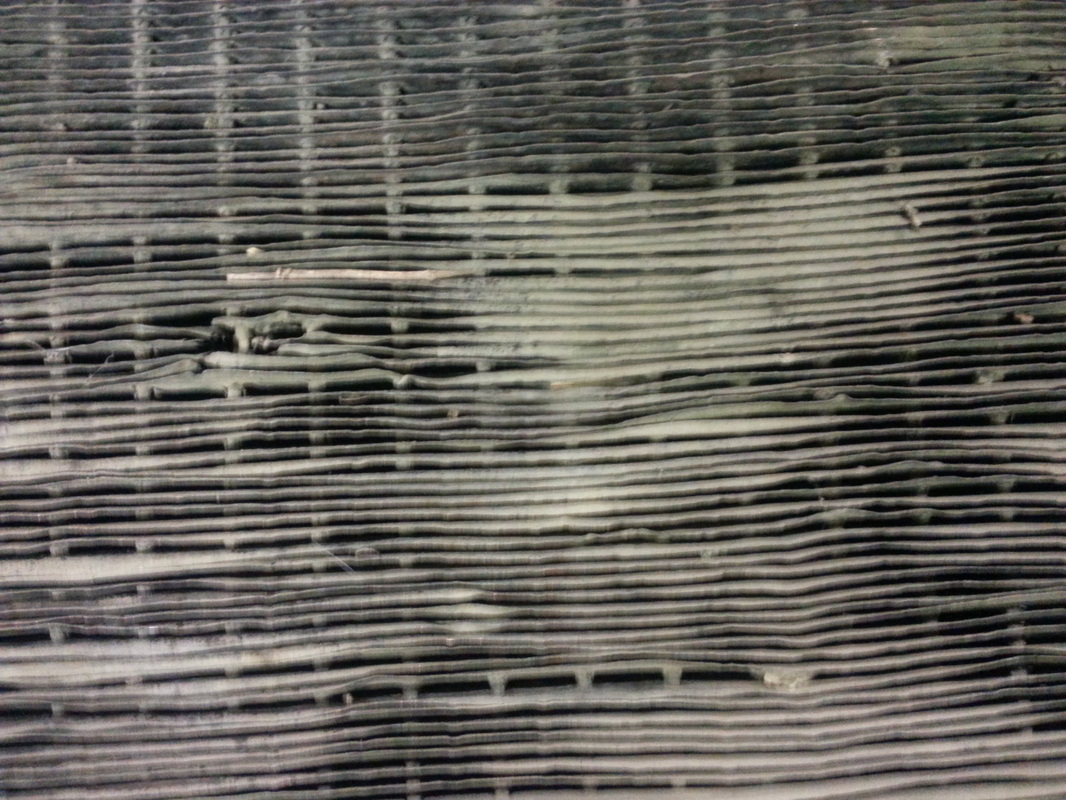
This is a close up shot of one of the radiators. The bent fins impede airflow and had to be straightened! |
|
Ahhhhh, so much better! |

|
|
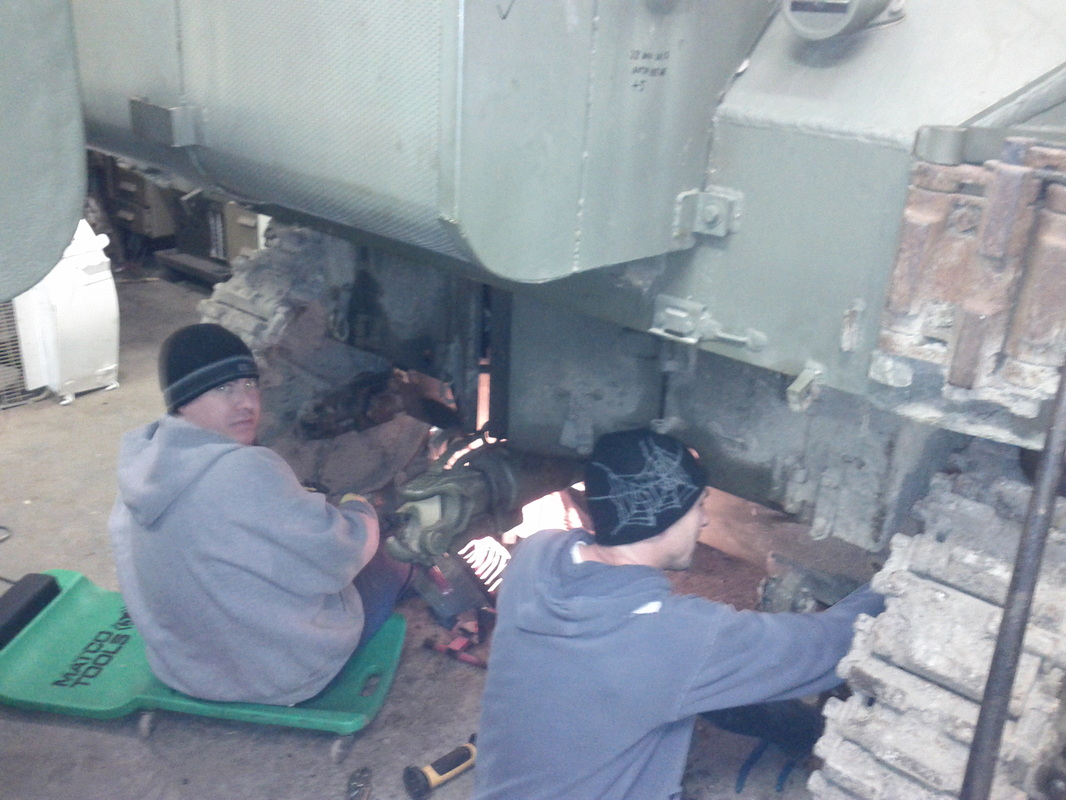
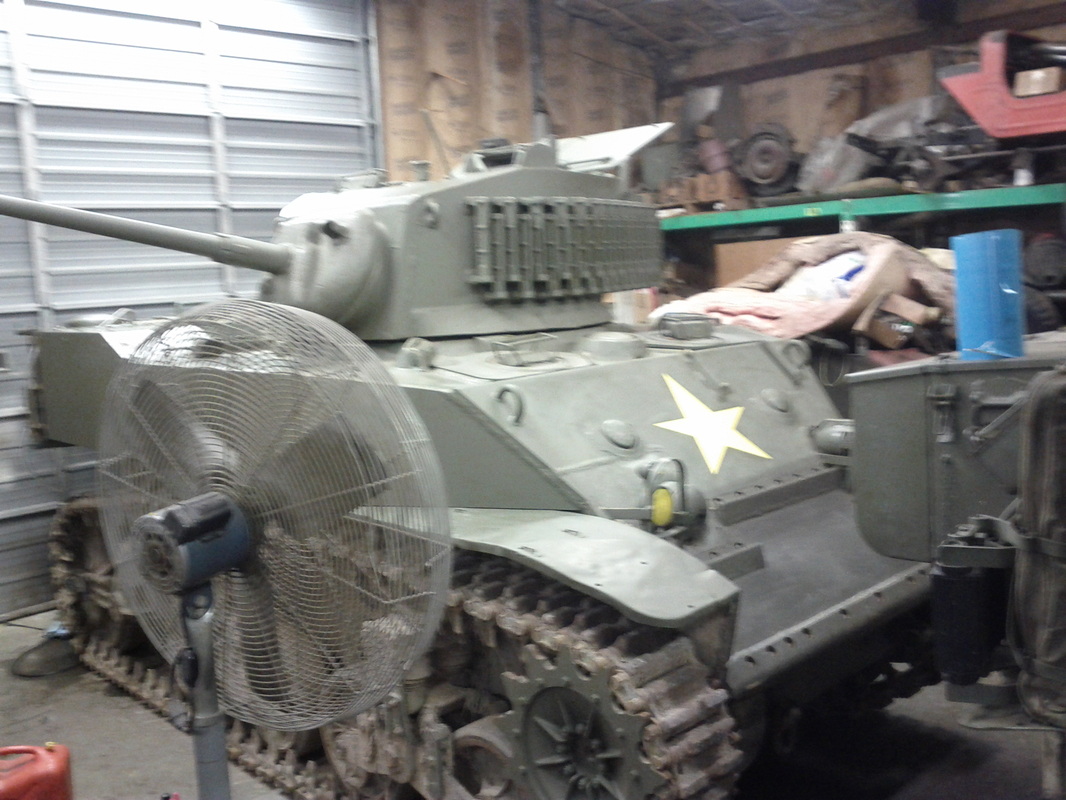
B2 gets it's turn to come inside and get a spring check up! |
